One of the best ways to get into brewing in the all-grain style is to start brewing one gallon brew-in-a-bag batches! In this article, I will show you how to brew a 1 gallon brew in a bag batch! The brew-in-a-bag method uses most of the same principles as all-grain brewing with significantly less needed space and equipment.
This is my comprehensive version of how to brew a 1 gallon brew in a bag (BIAB) batch, if you would like to start with the simple version, please click here.
Step One: Collect and clean supplies
For the BIAB method, you’ll need the following supplies:
- Brew Kettle
- Brew Bag
- Thermometer
- Mash Paddle/Large Spoon
- Fermenter
- Airlock/Blow Off Tube
- Separate Large Pot to heat water in
- Towels/Sleeping Bags
- pH Meter or pH Strips
- Colander
- Refractometer/Hydrometer
If you are interested in the items that I recommend for simple and quality brewing, please see my post here.
I recommend cleaning everything you are going to use for the actual brewing process including kettle, bag, thermometer, mash paddle/spoon, and large pot with soap and water. It is not a bad idea to sanitize these items; though, technically, as they will all be exposed to boiling water, this is not absolutely necessary. It is okay to wait to clean the fermenter and airlock as you will have ample idle time during the mash and boil later.
Step Two: Add water and salt additions
Once all your supplies are clean, add the water and any salt additions. I plan on putting together an article on how to calculate salt additions, but until then, please reference this article. For this beer, will start with 7.25qt of tap water, which equates to about 1.5 quarts of water per pound of grain. For most of my BIAB beers, I prefer to use between 1.25qt water/pound grain and 1.5qt water/pound grain.
I will also add 1/5tsp of Calcium Chloride and a very small pinch of Gypsum.
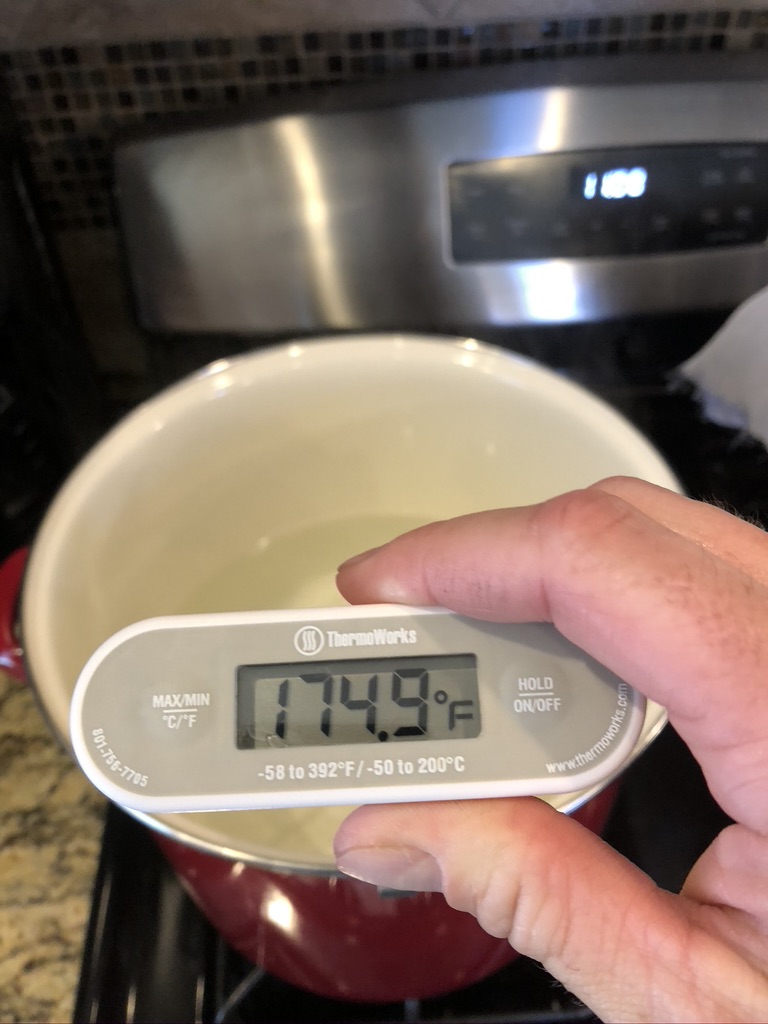
This water will be heated to 160F. The water that the grain will be added to is called the ‘strike water’. Heat the strike water to a higher temperature than you will want your mash to start at as the grain will lower the water temperature by several degrees.
My target mash temperature (temperature that the mash will start at) for this particular beer is 152F.

Strike Temperature- It is worth noting that many things you will read on strike temperature say to heat to about 10 degrees warmer than target mash temperature. In my experience, with these small volumes and using 1.5qt water/lb grain, you don’t need to get the water quite as hot as you would with larger batches. I have found that 7-8 degrees Fahrenheit above target mash temperature works well. Two things to keep in mind regarding mash temperature: thin vs thick mash and grain temperature.
A thin mash has a higher relative water to grain content than a thicker mash does. For example a thinner mash using a 1.75qt water/1lb of grain ratio would have a higher water content than a thicker mash using a 1.25qt water/1lb of grain ratio.
Thus, the thinner mash has a higher content of hot water that you are putting the same amount of grain into. It is important to keep this in mind because if you have a thinner mash (more water), you will need to heat the strike water less than you would in a thicker mash.
The other thing to keep in mind is your grain temperature. If your grain has been stored refrigerated vs room temperature, you may have to heat your strike water up slightly more. However, in my experience, I have noticed that this only differs by 1-3 degrees.
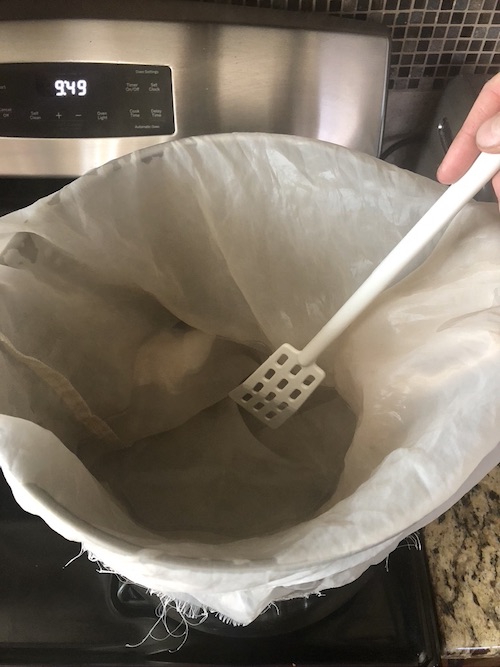
Step Three: Add grain
Once your strike water is up to calculated temperature, it is time to add the bag and then the grain. Set the bag into the hot water and place the sides of the bag over the rim of the kettle.
Slowly add your milled grain into the bag. If you have multiple different types of grain in separate containers, I prefer to add each in small increments that way they mix together well. This may or may not make a huge difference in the end, but it has worked out well for me. Stir the grain in well with your mash paddle or spoon as you are adding it, making sure to avoid any clumps.
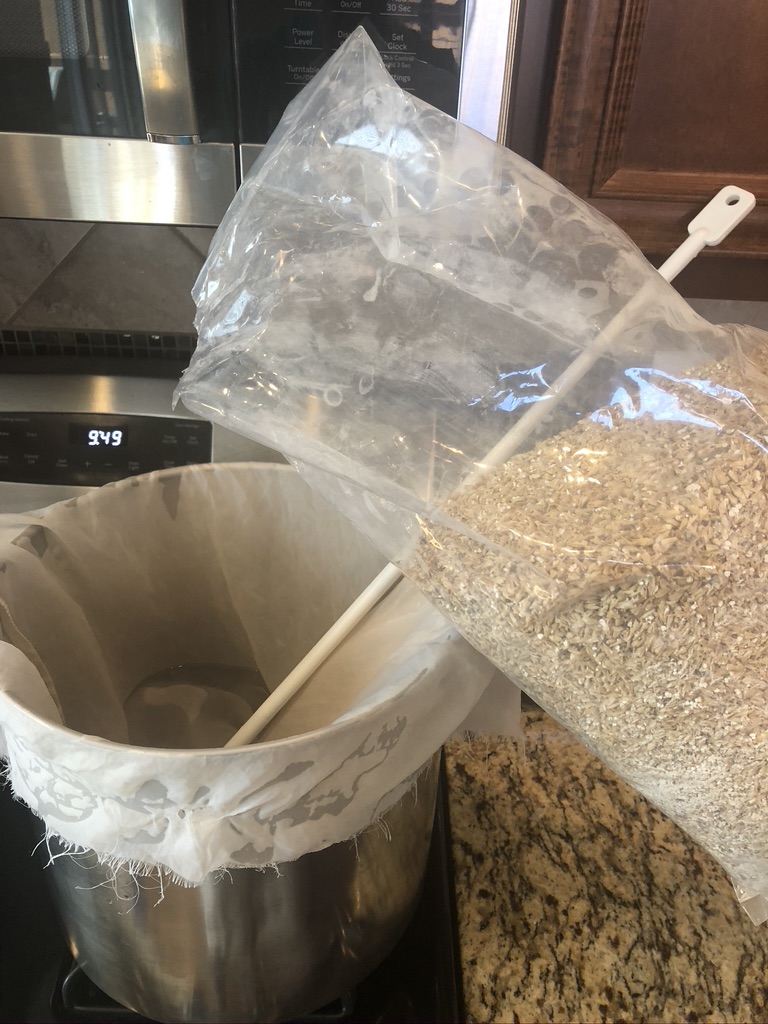
Adding grain to the bag 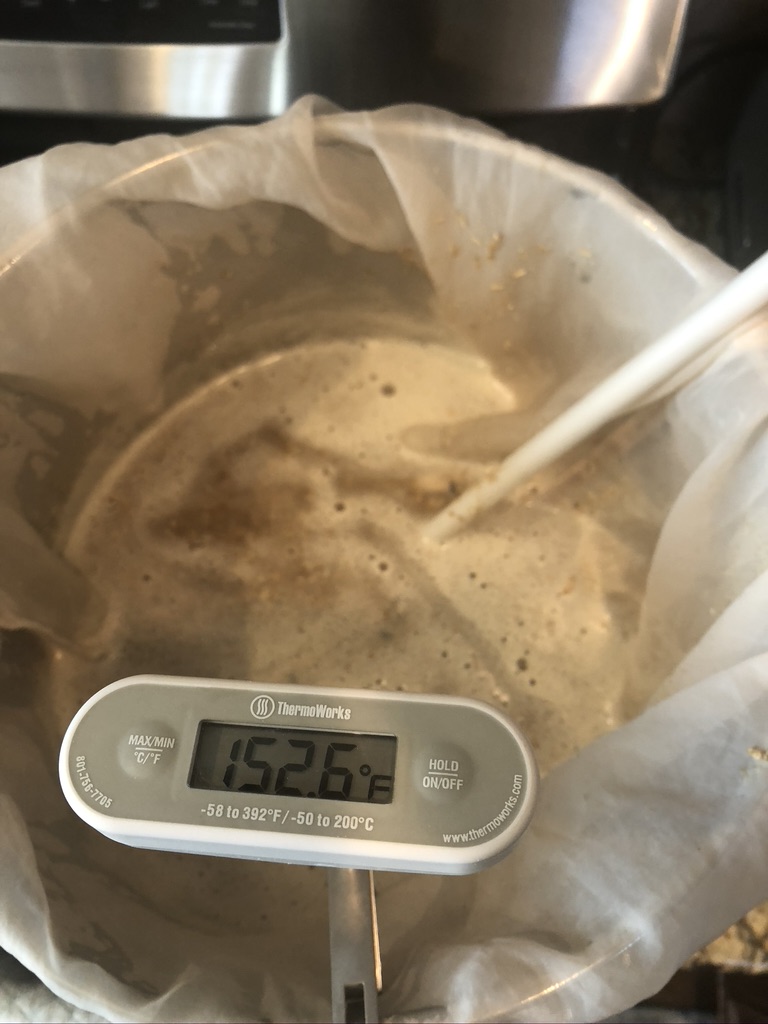
Starting the mash
Step Four: Start the mash
Once all of the grain is added, put the lid on your kettle and wrap it. I have had good success with using beach towels as insulation; however, some people prefer sleeping bags. PLEASE: MAKE SURE HEAT IS OFF AT THIS POINT! You do not want a towel fire!
I like to wrap the kettle fully with one towel, securing with a clamp, and then draping another towel on top and around the kettle.
Set a timer for 60 minutes or for however long of a mash your recipe calls for.
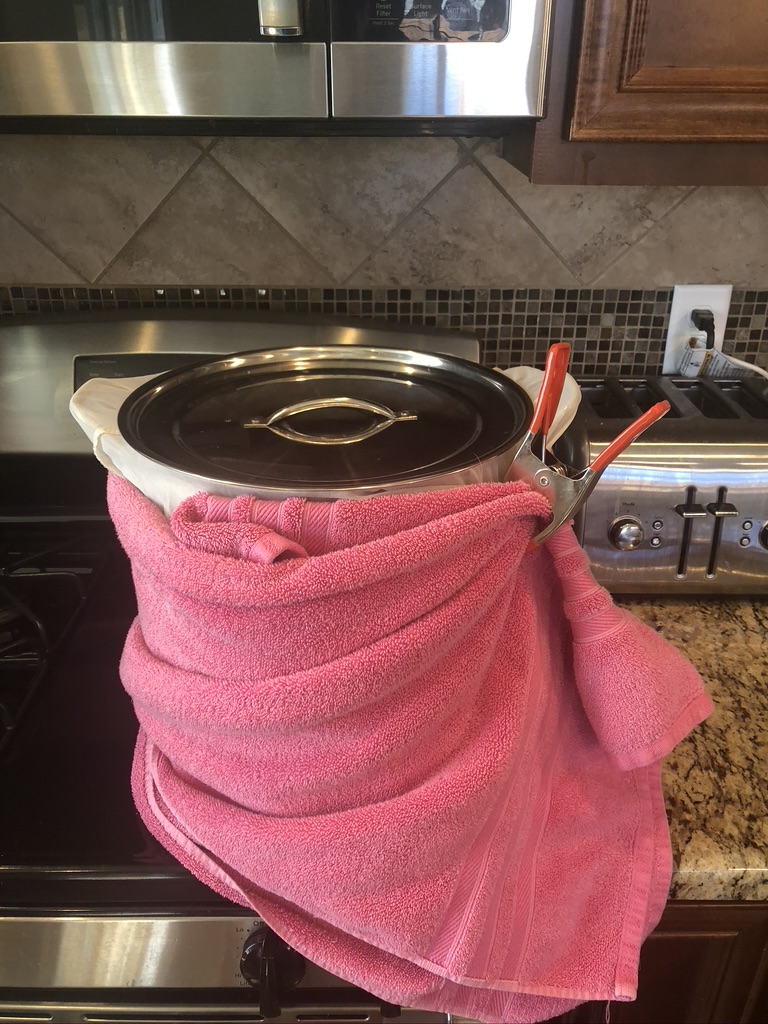
Single towel secured with a clamp 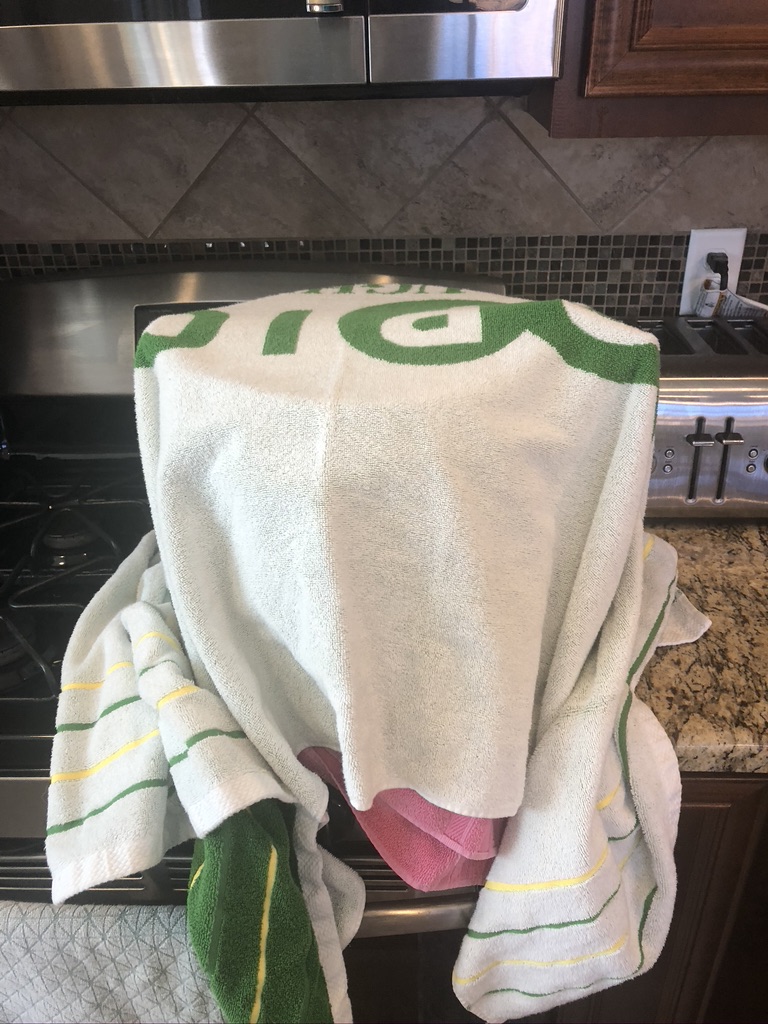
Second towel draped around kettle
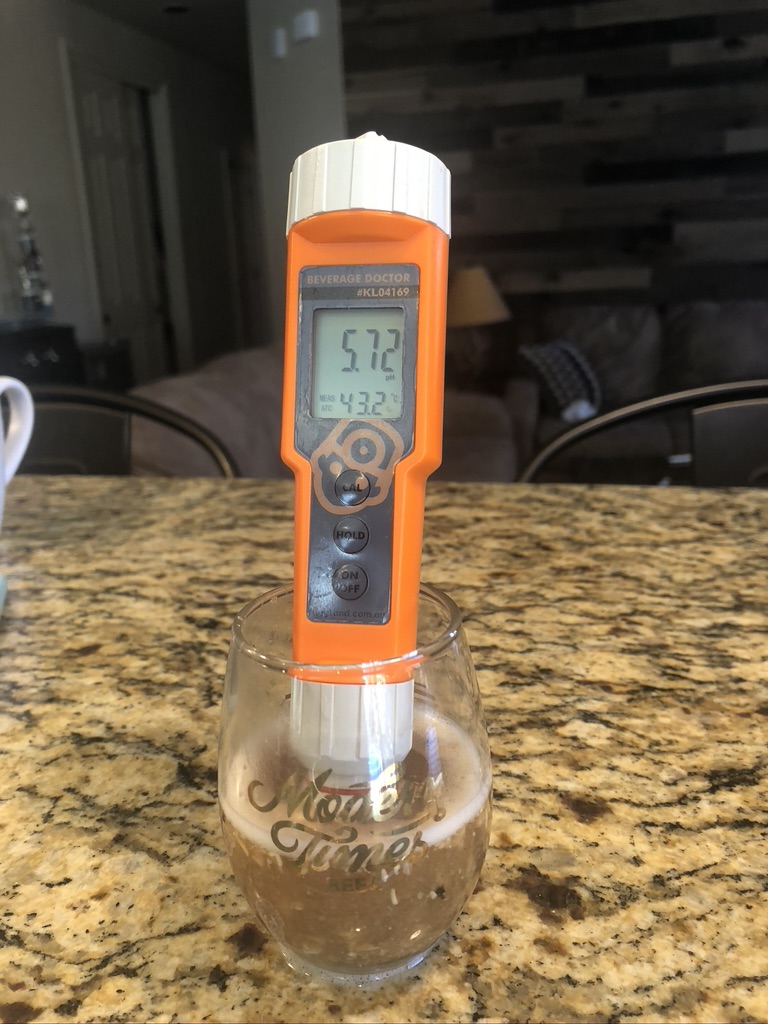
Step Five: Check pH
After 10 minutes have passed, check the pH. It is important to give the grain and water some time to interact prior to checking the pH. There are different methods of testing pH, mostly differentiated by cost. You can use inexpensive pH strips or get an electronic pH meter.
I plan on writing an article on pH adjustments, but until then, please see this article.
For this particular beer, I was shooting for a pH of about 5.7. I have found that the liquid lactic acid is the simplest and most reliable way to make small pH adjustments. Today, I added 0.25mL of lactic acid to bring the pH down to 5.7.
Once your pH is in a good range, it is time to let the mash proceed for another 50-60 minutes. I would advise trying to keep the lid and insulation untouched as much as possible during this time. Your temperature will drop slightly, but not so much that the necessary enzymatic reactions will not occur as long as your initial temperatures were correct.
If you found that when you opened the lid to take your pH readings that your temperature had fallen significantly, that would be the time to bring the temperature back up. If you found that your mash was too thick, you can add hot water back to the mash to bring temperature up. You can also heat up the whole mixture. It is important to be careful going this route as some people have reported scorching or burning the bottom of their brew/grain bag. I personally, have not had this issue, but I try to keep the burner at a low-medium setting while doing this if needed.
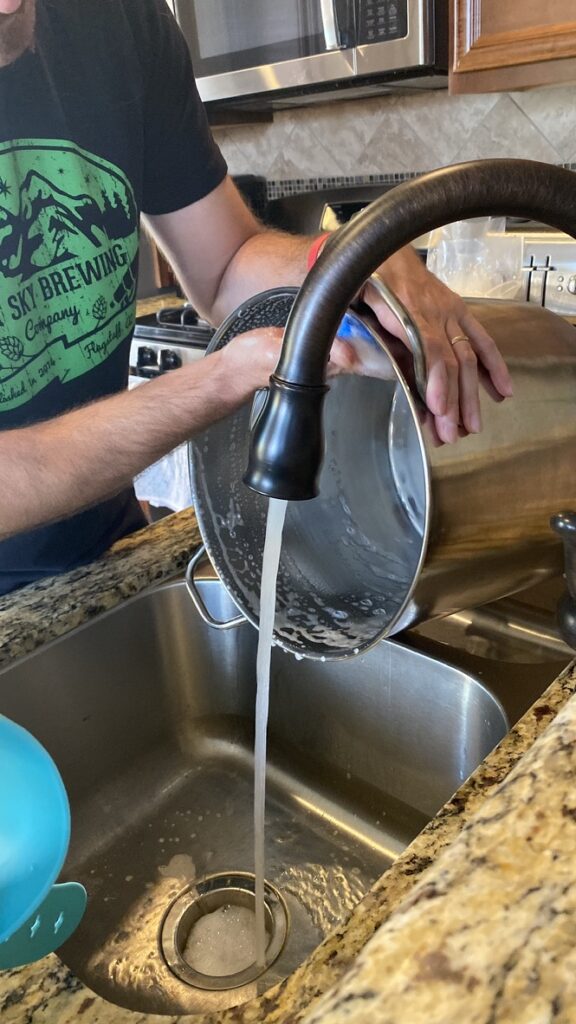
Step Six: Collect and heat sparge water
Collect 1.5 gallons or so of sparge water in a separate large pot and heat to 175F-178F. The right thing to do here is to add the same percentage of salt additions to your sparge water as you did your strike water. However, I will say that seemingly more often than not, I forget to do this.
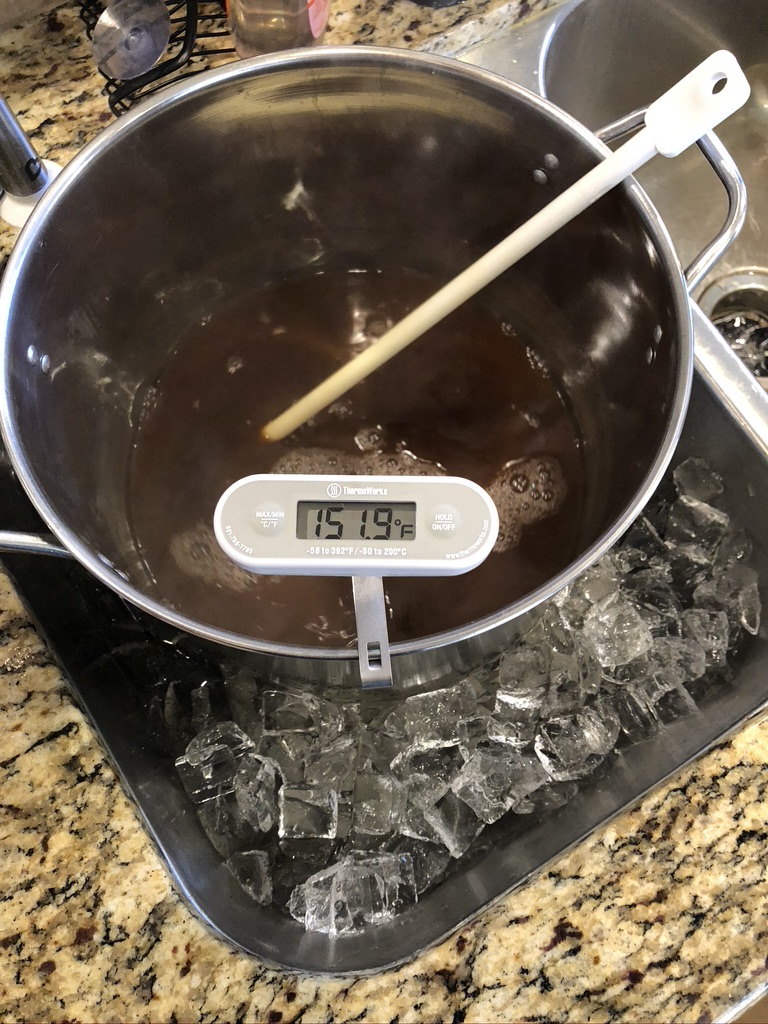
Once the mash has completed, take the insulation and lid off. I like to take both a pH and a gravity reading at this time. A refractometer can come in handy when taking multiple gravity readings!
Now is a good time to get any other supplies cleaned and ready, and/or most importantly, open a solid homebrew or commercial beer of choice! I like to take this time to fully clean the kitchen and weigh out my hop additions.
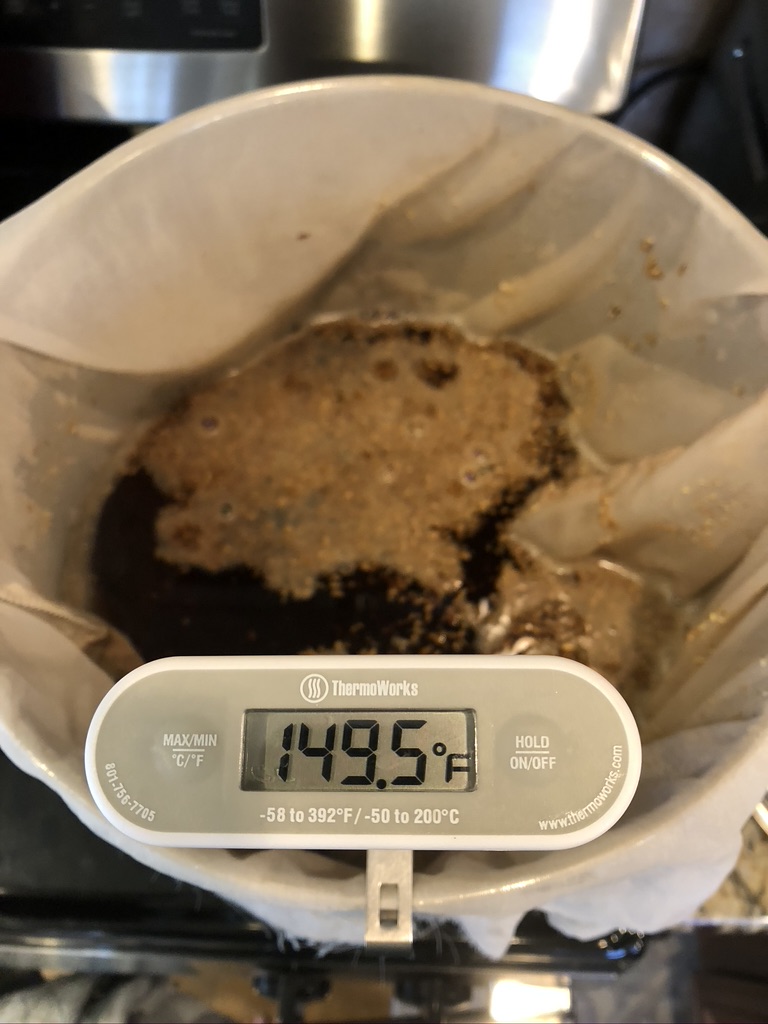
Step Seven: Sparge the grain
Sparging is the process of rinsing any leftover sugar out of the grain and into your brew kettle.
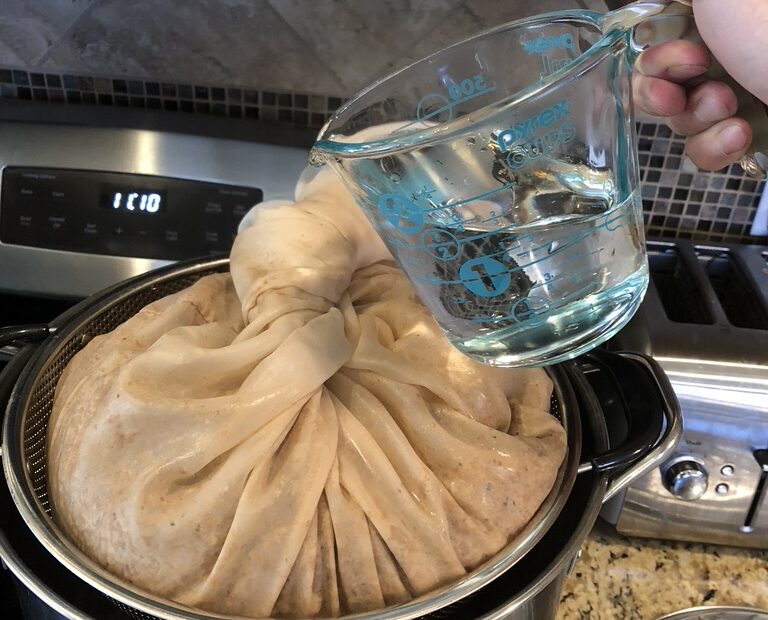
The simplest way that I have found to sparge the grain is to get a colander that fits over your kettle, place the grain bag in said colander, and pour sparge water over this grain, which then falls back into the kettle. To be efficient with time, you can turn on the burner at this time to start heating the wort to a boil.
Completed mash temperature 
Sparging the grain with 176F water
Colanders – I highly recommend finding a colander that fits your kettle very well. I am currently on my third or fourth colander, and the difference is night and day. I cannot tell you how frustrating it is when you have grain that is now soaked in hot water fall into the kettle full of sticky wort that splashes up onto yourself, your counters, and your stove because your colander didn’t fit right. My wife would have a lot to say on this topic! So, bottom line, take a little extra time and potentially money (still under $15-20) and get a well-fitting colander.
I like to use a 2 cup (500mL) measuring glass to pour the hot sparge water over the grain slowly. I find that this gives me good control to not sparge too quickly.
Now don’t feel bad if you have to wear gloves during this step, I have sensitive hands, and I’m not afraid to admit it! Turns out, homebrew does not taste any better with burnt hands.
I like to sparge to about 1.75 gallons for a typical 1 gallon batch. Protip: etch small markings on the inside of your brew kettle for at least the 1, 2, and 3 gallon levels so you can easily see where your volume is at while sparging or boiling.
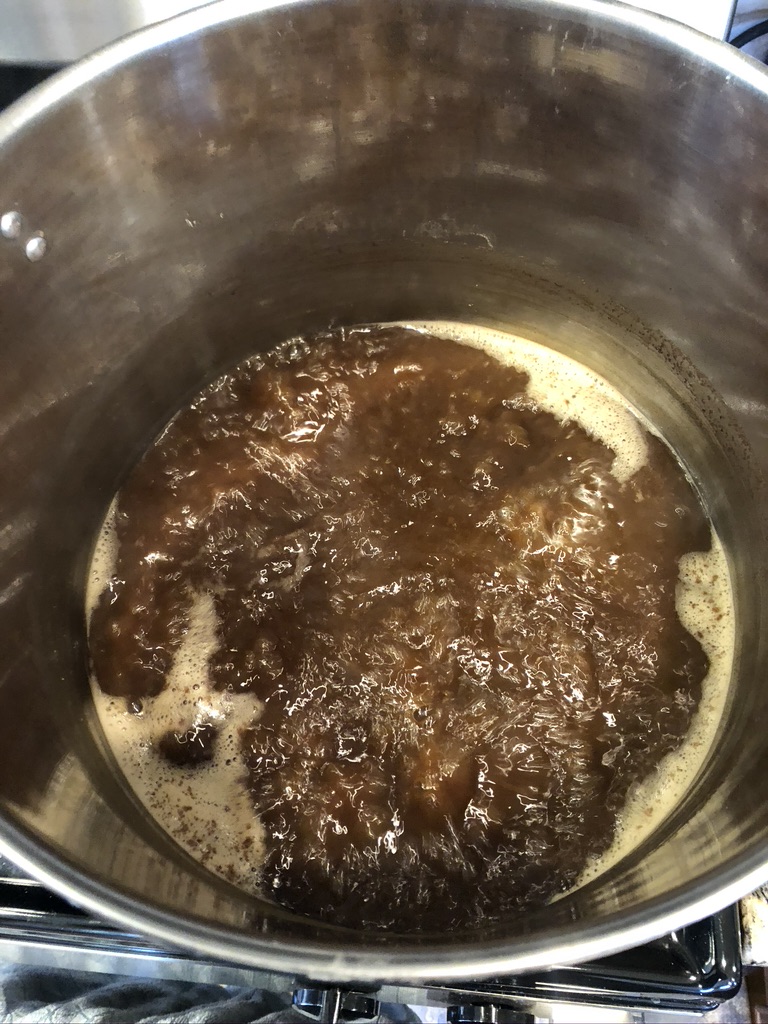
Step Eight: Heat the wort to boiling
Once you have sparged the grain and have a volume of 1.75 gallons of wort in the kettle, it is time to start the boil. Heat the wort to boiling temperature. Boil temperature may be less than 212F depending on the elevation/altitude where you live.
The nice part about sparging in the formerly stated manner is that the wort is likely already halfway to boiling when you’re done sparging.
Some people do prefer to use a product like FermCap at this time, which helps to prevent boil-overs throughout the boil (it also helps to prevent excessive krausen development during fermentation).
Step Nine: Add hops
Once you have a steady boil, start your hop schedule. For this beer, I have a very simple hop schedule including a single 60 minute addition and 20 minute addition. For a heavily hopped style, such as an IPA, you will have many more hop additions!
For beers that I want on the clearer side, I prefer to use a small addition (1/5tsp-1/4tsp) of Irish moss in the 10-15 minute range. Remember that during the boil, hop and other additions count backwards- meaning a 60 minute addition means that you add it with 60 minutes left in the boil, not after 60 minutes have passed.
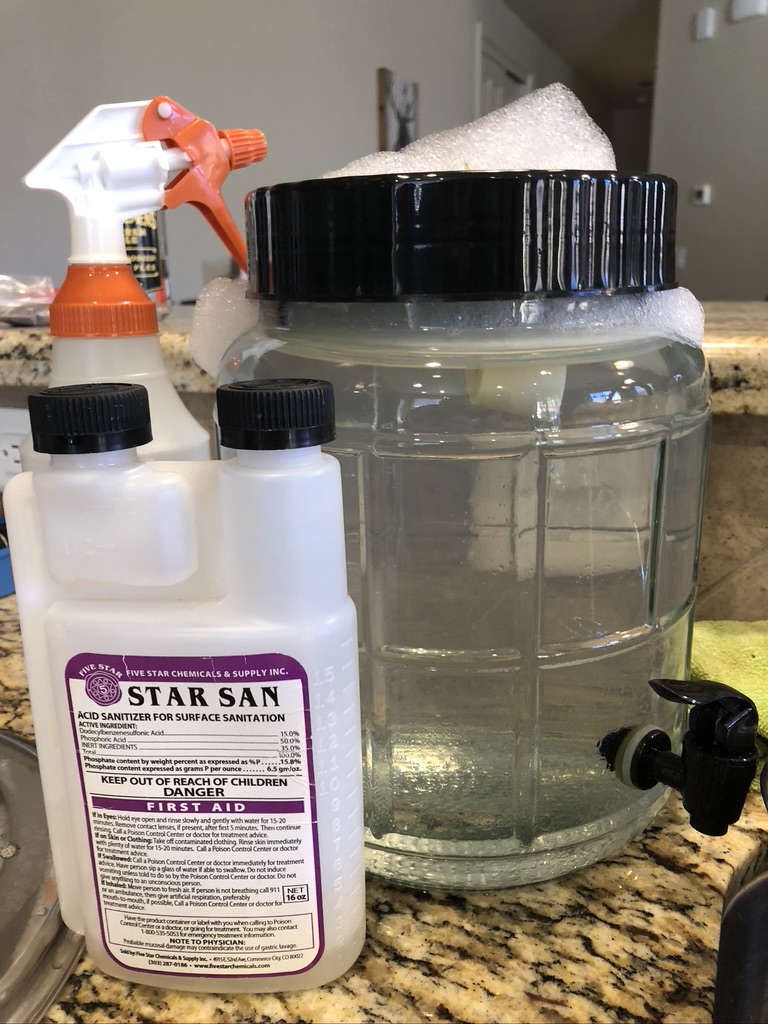
Step Ten: Clean and sanitize fermenting equipment
While the wort is boiling is a great time to clean and sanitize your fermenting container and supplies. I prefer to use a no-rinse sanitizer such as Star-San. In my humble opinion, this type of sanitizer makes things far more simple. Pro-tip here, have a mixture of Star-San in a spray bottle at all times so you can quickly sanitize anything!
With about 15 minutes left in the boil, it’s a good idea to prepare your chilling/cooling supplies. I have found the simplest and most-cost effective chilling method is the classic ice-bath. I have dealt with immersion chillers and plate chillers, but for small batch brewing, nothing beats the simplicity of an ice-bath.
Two regular bags of ice from a local grocery store or gas station is generally the perfect amount for a 1-2 gallon batch. Using this much ice, I generally get to pitching temperature within 15 minutes or less.
Step Eleven: Chill the wort
Once you have completed your boil, carefully move your pot to the ice-bath. I like to make a whirlpool with the spoon during cooling, as it seems to speed cooling along a bit. This is also the time that you can add whirlpool hops if your recipe calls for it.
During this time, it is important to try not to get any impurities in the wort. Try to limit talking/breathing over the wort, limit pet exposures in the kitchen, etc.
Step Twelve: Transfer wort to fermentor
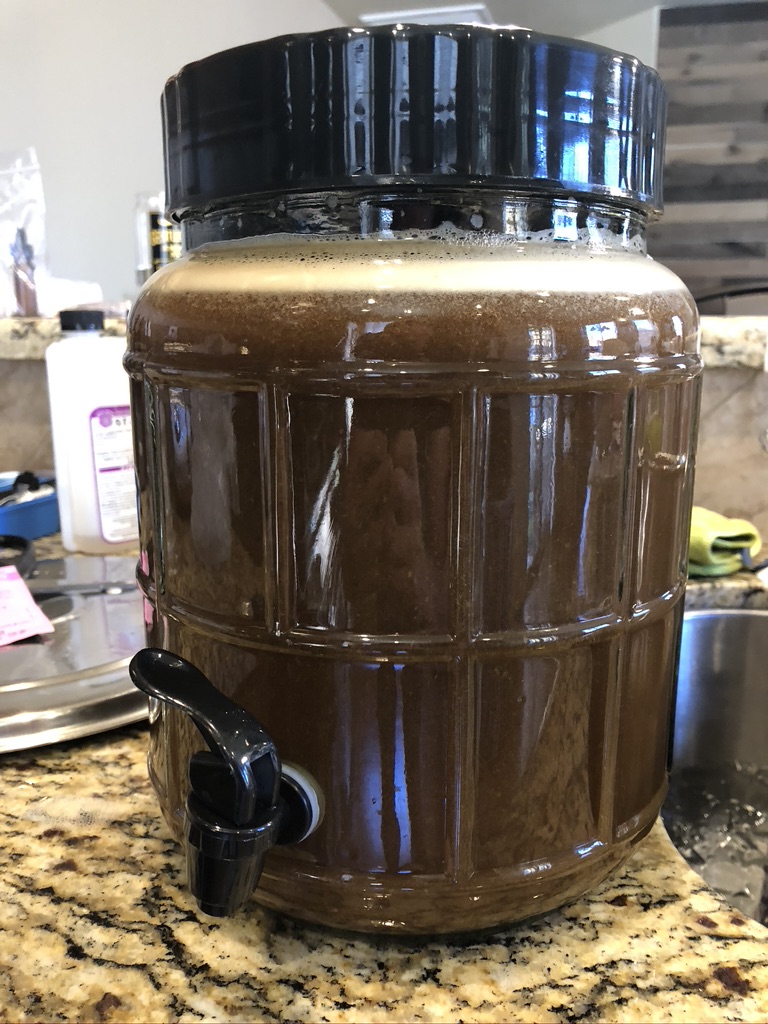
Once you have the wort cooled to ideal yeast pitching temperature (found on back of yeast packet), you can pour the wort into your sanitized fermenter. If you are interested in the fermenters that I prefer to use, again, you can check out this post. Now is a good time to take a specific gravity reading either with your hydrometer or refractometer. This is your original gravity-write this down.
If you used a no-rinse sanitizer, such as Star-San, there may be a bit of left over foam- important to remember, DO NOT FEAR THE FOAM! It is okay for your beer to come into contact with some left over sanitizer foam.
Now comes an often overlooked step, which can be very important for yeast replication and overall survival: oxygenation. There are fancy setups for oxygenation that may very well provide superior results; however, I have found that shaking the fermenter carefully but vigorously for a full 1-2 minutes at this time leads to great results. It is important to perform this in a safe manner, I certainly don’t want anyone dropping a full glass fermenter on the floor (even if it is a small 1 gallon one).
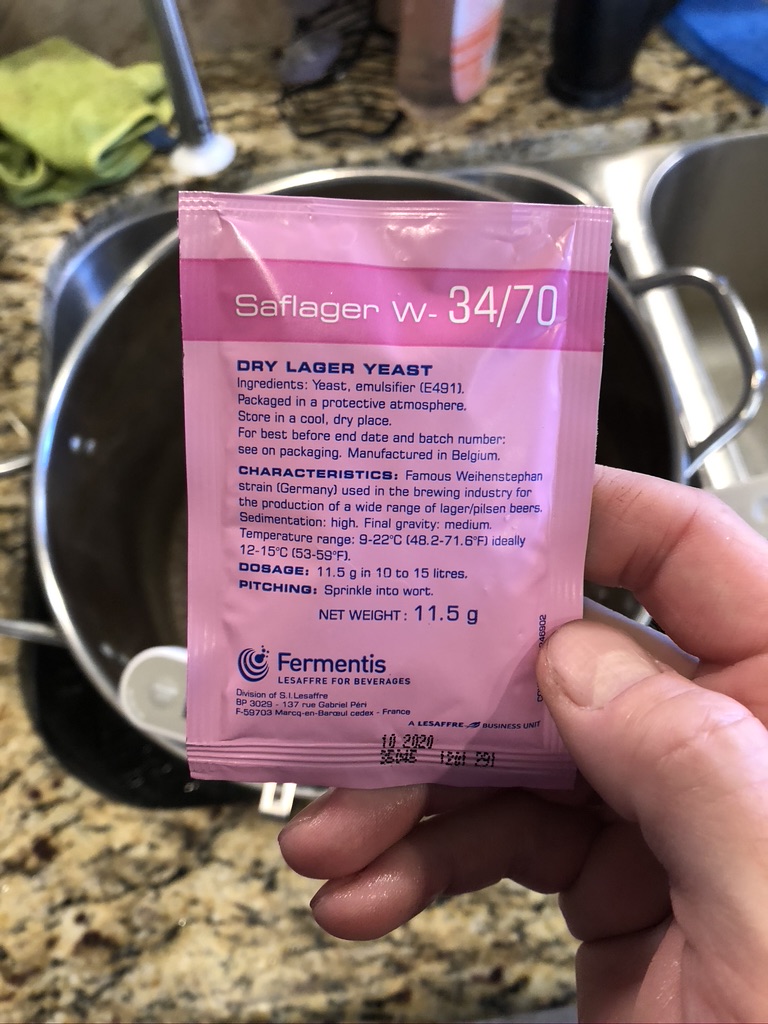
Step Thirteen: Pitch the yeast
Once the wort is oxygenated, pitch the yeast. Depending on the yeast type, you may have rehydrated the yeast first or you may just be directly pitching it into the beer. Remember that most yeast packets are designed for 5 gallon batches of beer. There is quite a bit of info available regarding overpitching and underpitching yeast, along with the effects of each. I generally pitch about 1/3 of a regular packet of yeast for average strength beers. However, for larger (higher alcohol strength) beers, sometimes I use up to a full packet. It’s worth keeping in mind, though, that if you are desiring a certain strong yeast characteristic, this may be restrained by pitching more than enough yeast- ie some of these yeast characteristics develop when the yeast is somewhat stressed (by underpitching).
Yeast characteristics 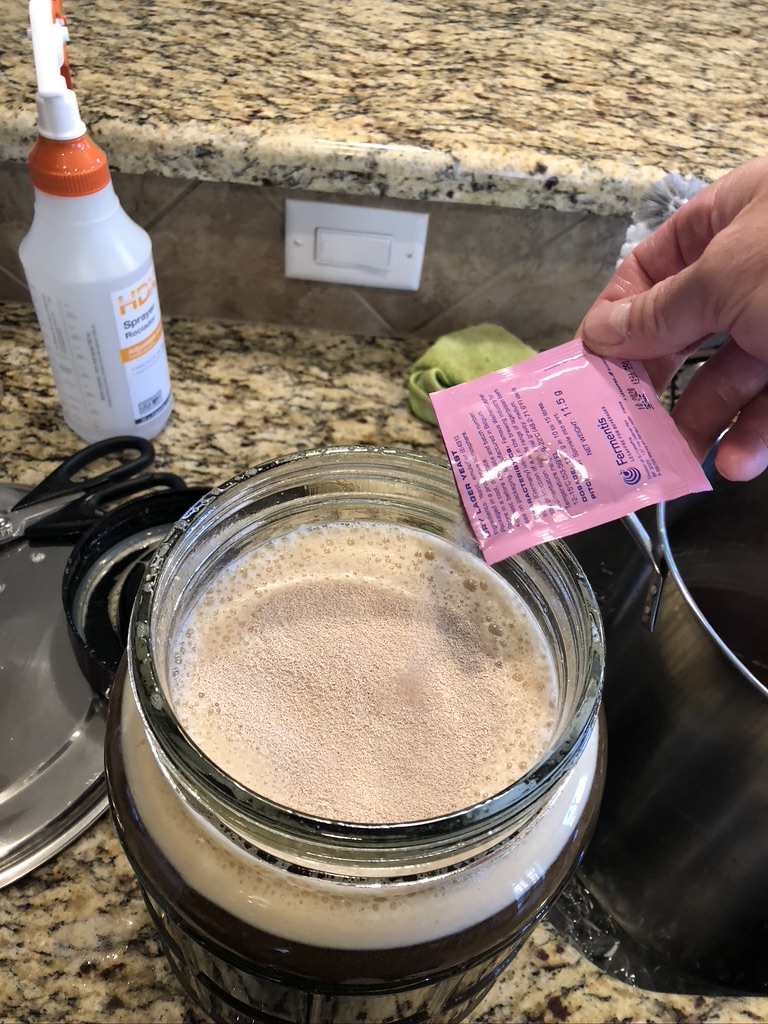
Pitching the yeast
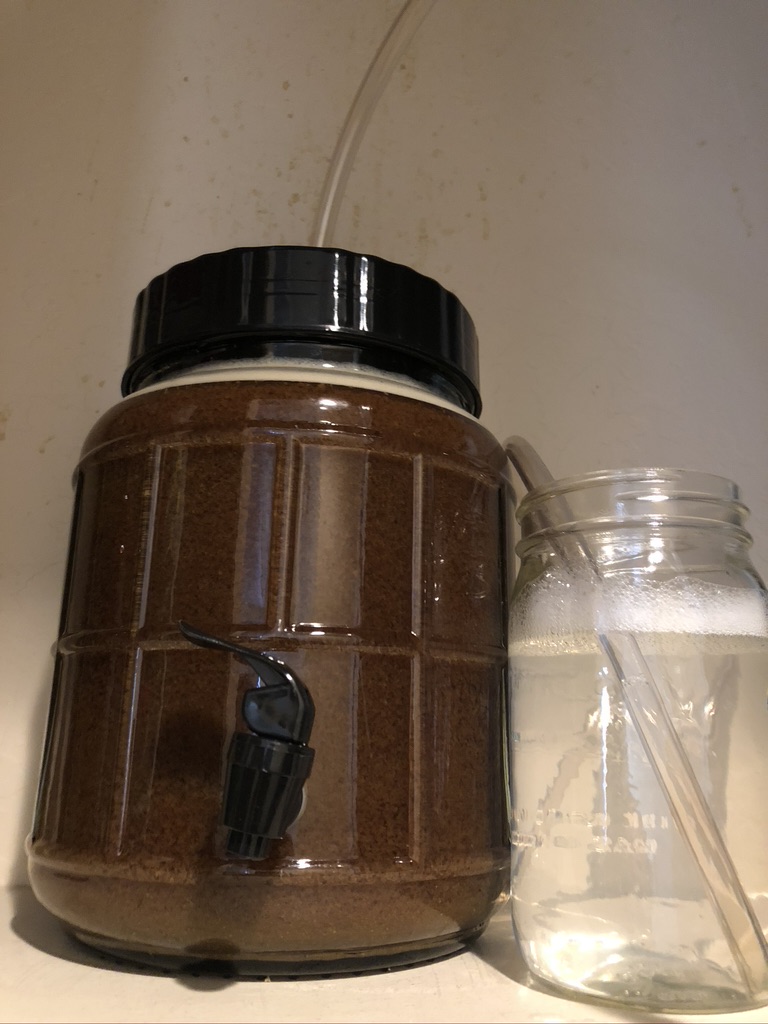
Airlock vs Blow-Off Tube-Time to talk about fermenting airlock/blow-off tubes. Unless you are running an open fermentation, you are going to want to have some type of sanitary airlock or blow-off tube system. I have found that specifically with these small batches, through many blown-off (no pun intended) airlocks and subsequent messes, that it’s worth the effort just to use a blow-off tube every time. You simply find a rubber/bung stopper that fits the opening on your fermenter and has an inner hole diameter that fits silicone tubing, and place the other end of the silicone tubing in a mason jar (or similar vessel) full of Star-San.
Not once have I had an issue with this type of system, which can only be said for about 50% of the fermentations that I have attempted to use various airlocks with.
Step Fourteen: Let the beer ferment
Now comes the most difficult part for many people- waiting for the fermentation to proceed. It is important to choose a fermenting location in your house/apartment/cabin/tiny home/bungalow that has a fairly stable temperature within the ideal range of your yeast. You want to pick a location that the temperature does not vary widely throughout the day and night and that is dark overall. However, if light seems to be the only issue, a cardboard box or similar over the top of the fermenter works wonders!
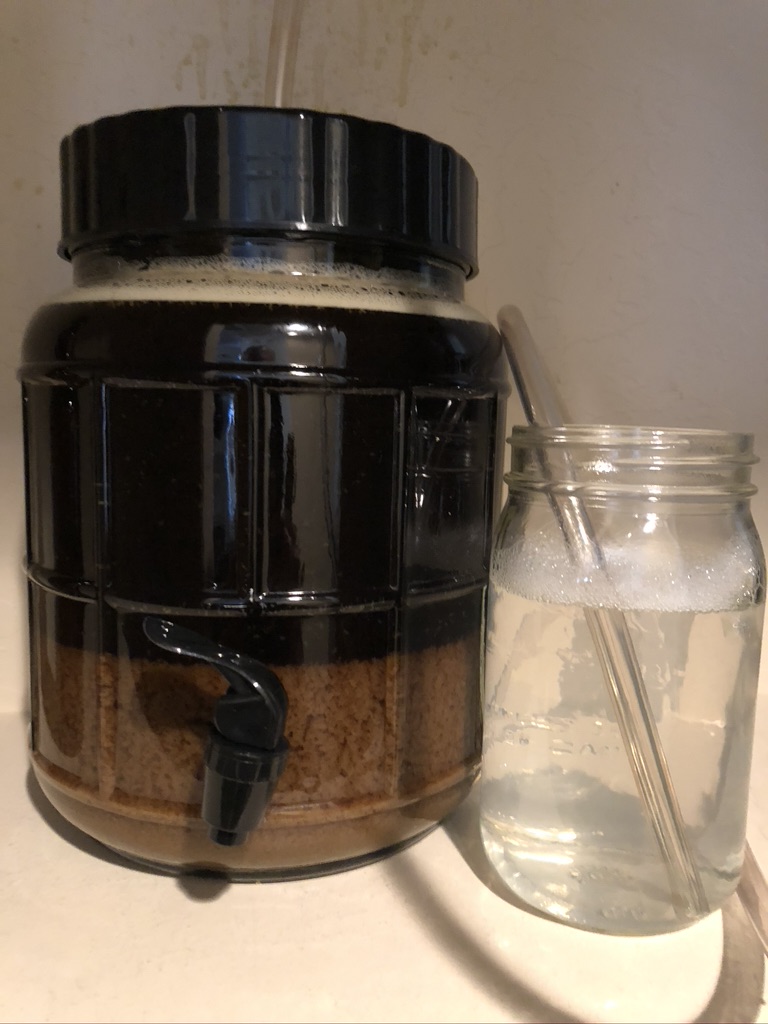
2 hours after pitching yeast 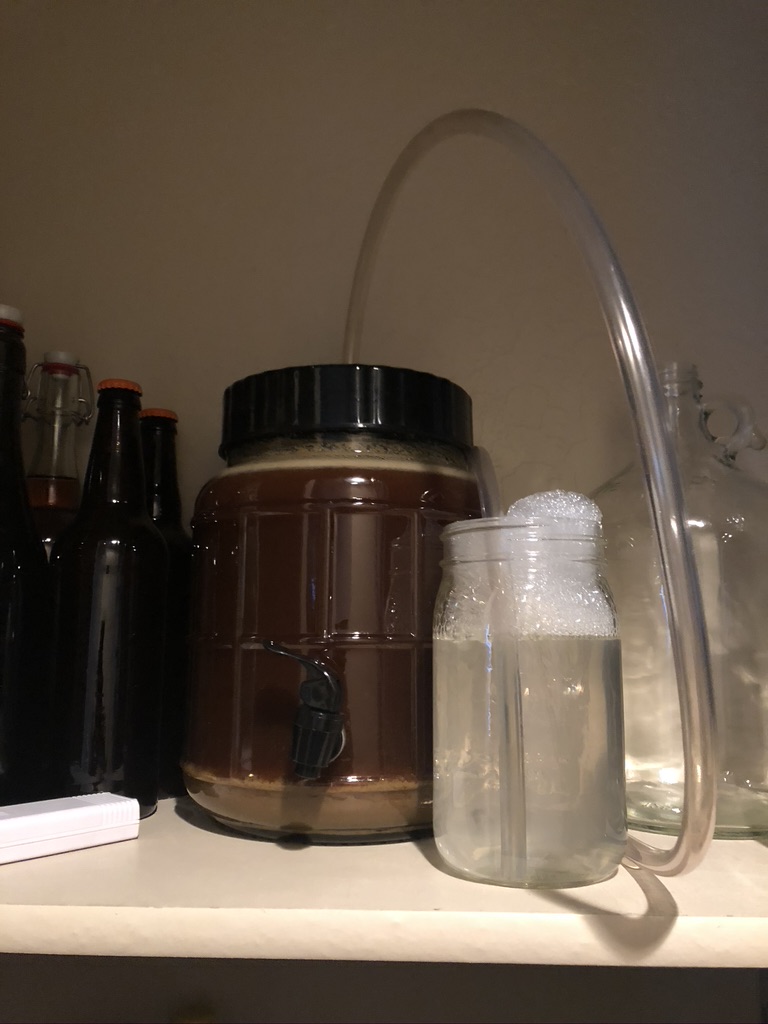
24 hours into fermentation
Depending on the type of beer and yeast used, fermentation can take anywhere from 5 days to several months to complete. For the majority of beers, I like to let them ferment for about 2-3 weeks. The correct way to go about knowing if your beer has completed fermentation is to take gravity samples. If your beer has completed fermentation, the specific gravity (now called final gravity) should remain the same across several days. I will be completely honest, most of the time these days, if the gravity is near predicted and the beer has fermented for 2.5-3 weeks, I generally call it good and package the beer.
Step Fifteen: Package the beer
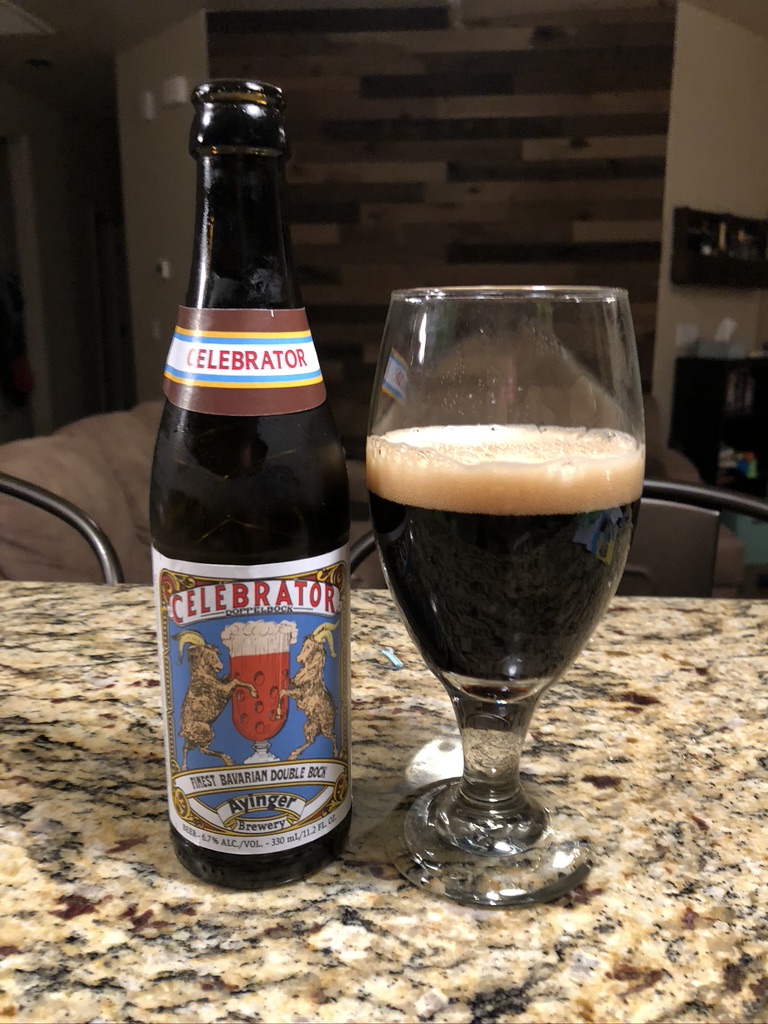
At this point, you have successfully brewed and fermented a beer! Congratulations, might as well open another brewski and celebrate! However, now the time has come to package the beer. Unless you are lucky enough to own a canning setup or kegerator, you will bottling this beer. Please see my post on bottling, here!
Thank you very much for stopping by!
If you enjoyed this article, but you are looking for something more straightforward, please check out my simplified post on how to brew in a bag (BIAB) or how to brew an extract batch.