Want to learn a cheap and easy way to label your beer? In this article, I’ll show you how to label beer with milk! This is not only an inexpensive way to label, but it also makes the labels come off with a short soak so that you can easily reuse your bottles again!
Get excited, this may be one of the only brewing activities where you don’t have to sanitize anything!
Step One: Make labels
There are various ways to make your homebrew labels. Some people prefer to use programs as simple as Microsoft Word or PowerPoint. There are also some good options online that assist in making the labels, one of which, beerlabelizer.com, I have had great luck with.
This site has a variety of templates available for customization, with additional templates available for a low membership price.
However you end up designing your labels, I recommend printing them off on regular printer paper with a laser printer. If printed with an Ink-Jet Printer, there is a chance that the ink will run.
Thicker paper weight tends to work better than a thinner paper. I have had the best luck with 28 pound paper, which is common at your office supply store (Staples, Office Depot, etc.)
I generally load my label designs onto a USB drive, bring it into my local Staples or Office Depot, and print the labels off of their do-it-yourself copy machines.
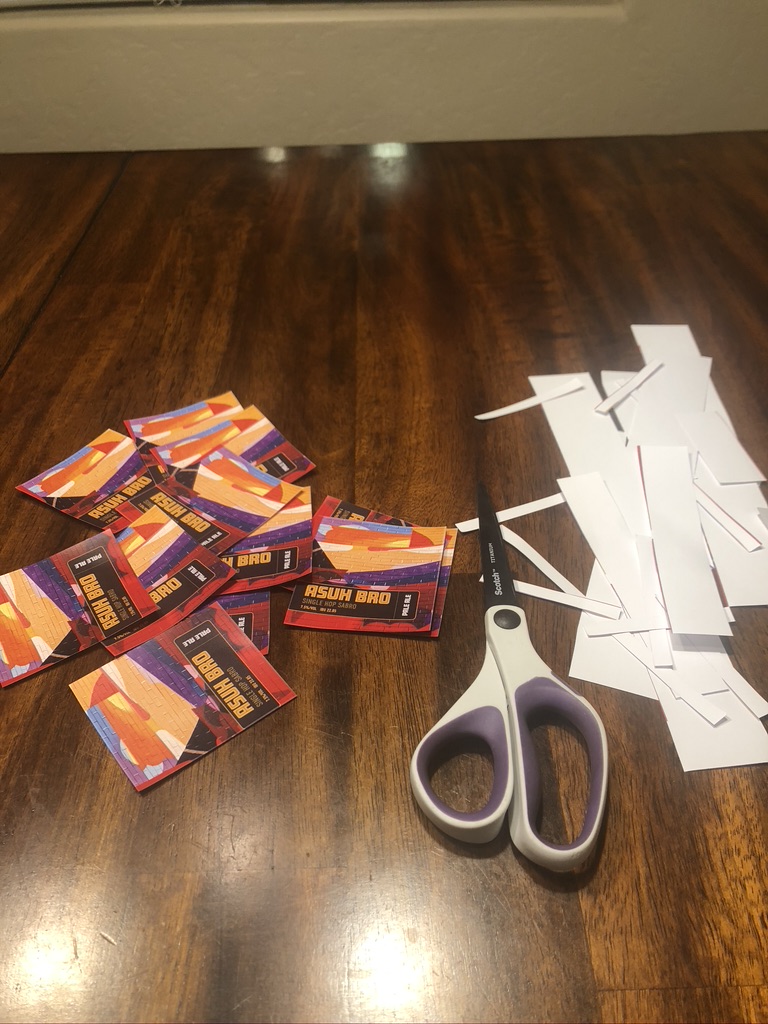
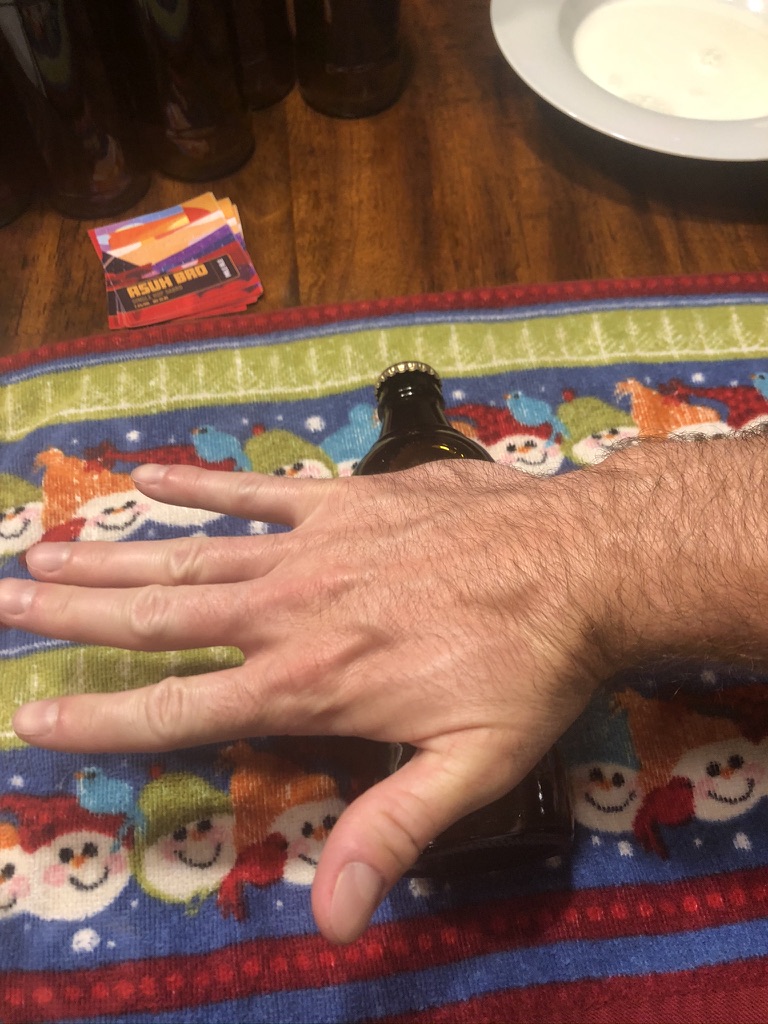
Then, simply cut the labels to size.

Step Two: Obtain supplies
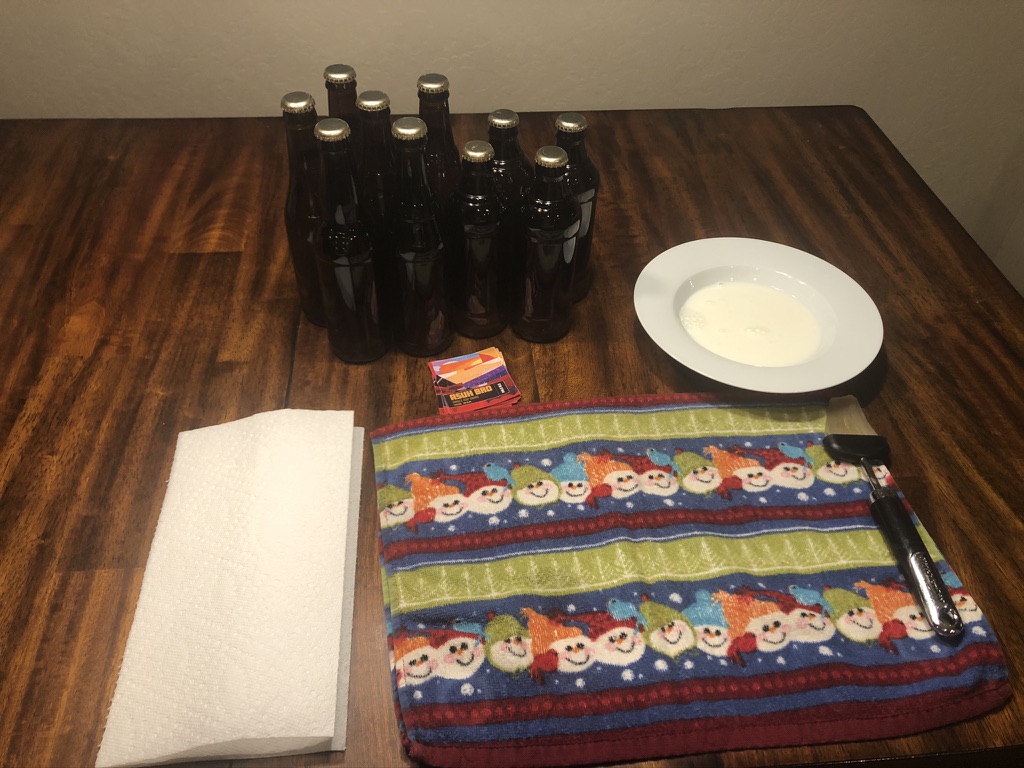
For labeling, you will need the following supplies:
- Milk (I highly recommend dairy milk – 1%, 2%, or whole. I have not had good luck with non-dairy alternatives)
- Shallow bowl
- Basting brush
- Dish Towel
- Paper Towel
- Bottles full of your homebrew
- Labels
Step Three: Label the bottles
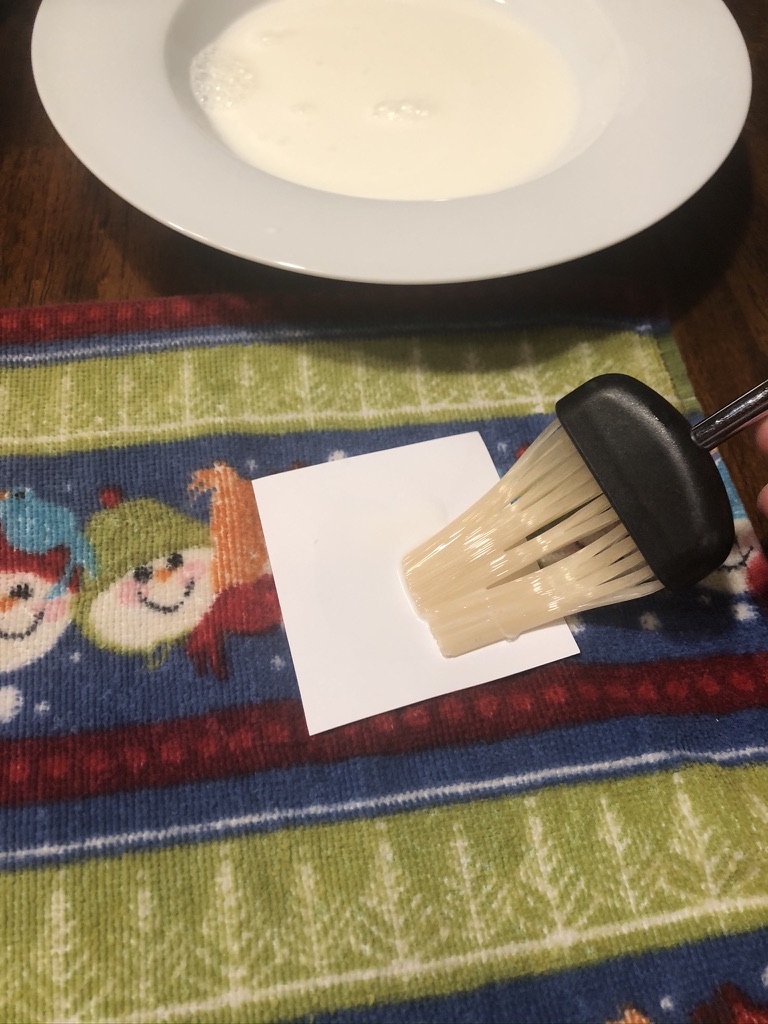
Lay a bottle out in the center of the towel. Next, flip one of the labels upside down and apply the milk to the backside of the label with the basting brush. Some people prefer to dip the label in the milk, but I find that using a brush is less messy.
Once the back of the label is completely covered with milk, place the label onto the center of the bottle.
Then, you will want to roll the bottle along the towel to ensure that any extra milk is squeezed out from under the label.
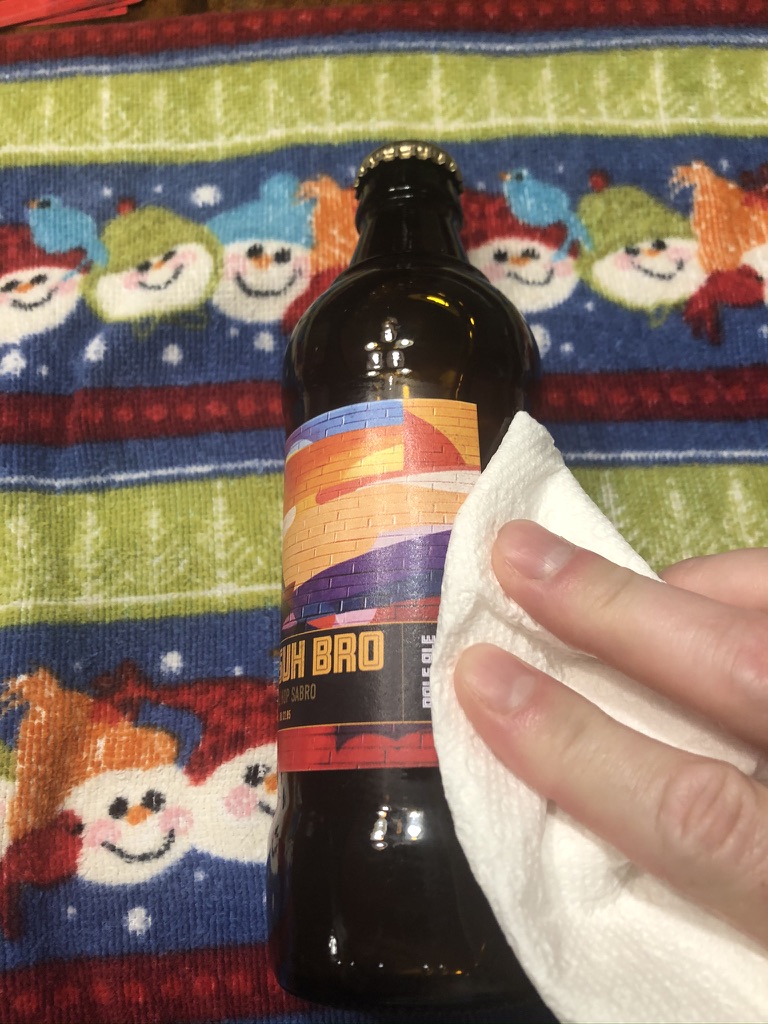
After rolling, make sure all edges are seated well and clean up any extra milk from the edges of the label with a paper towel.
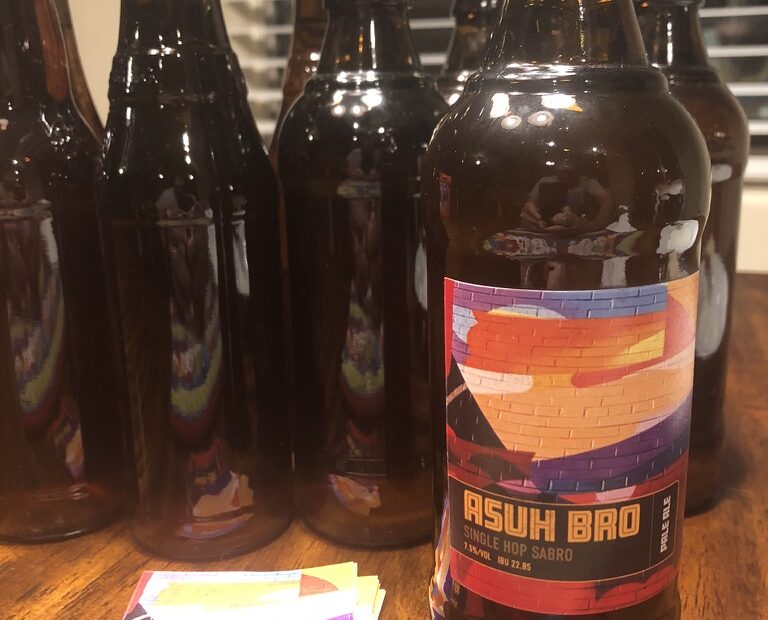
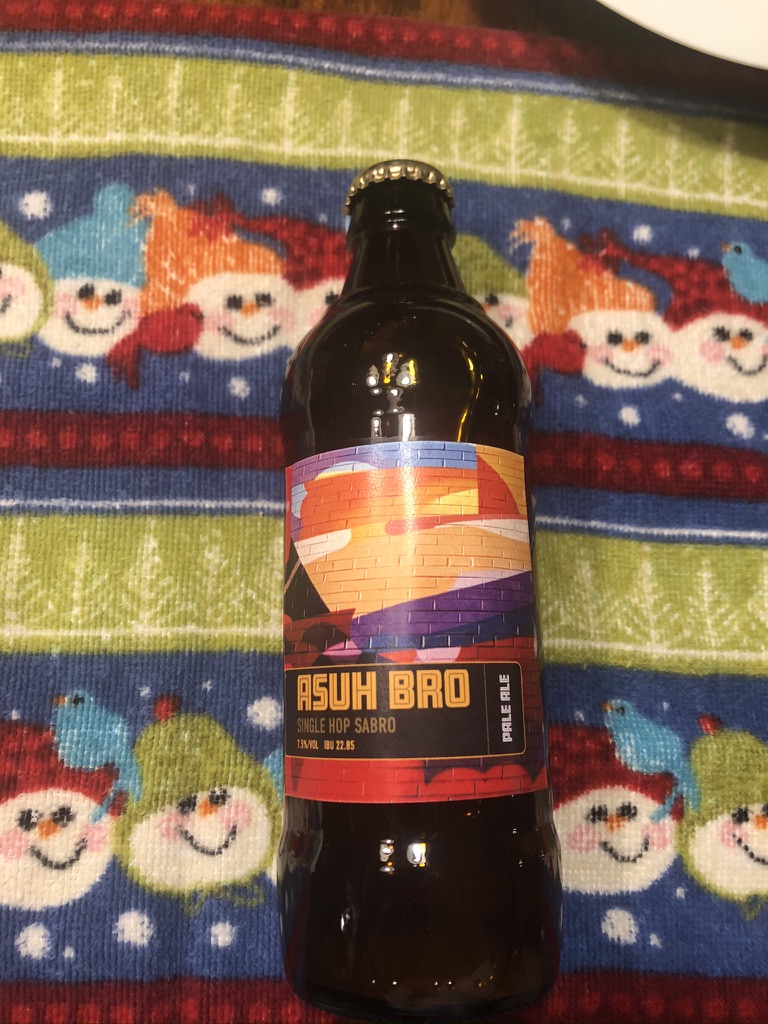
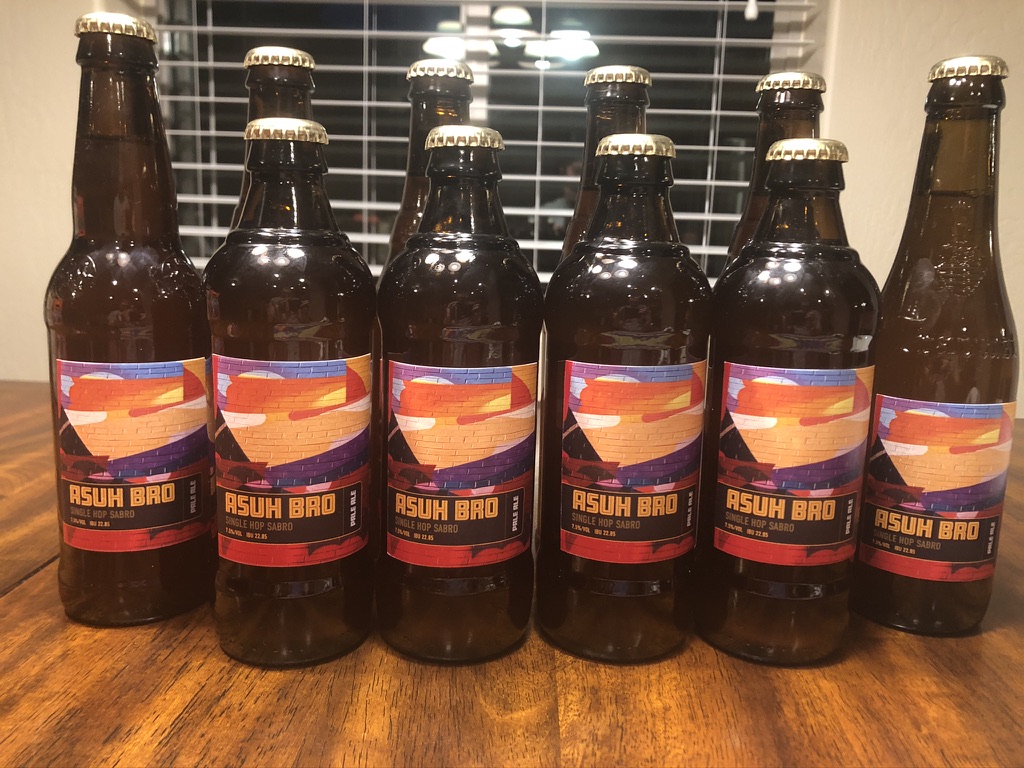
Complete the above steps for all of your bottles, then admire your hard work!
It really is that easy! You will greatly appreciate using this method when it comes time to remove the labels as it is so quick and simple!
Thank you very much for stopping by!
If you enjoyed this article and are interested in similar how-to articles, please follow this link.
It will not be necessary with labels adhered with milk, but if you are interested in how to remove commercial beer labels, please click here.