Do you have an interest in homebrewing but don’t know where to start? Maybe you have your first brewing kit but want to get a solid background before brewing your first batch. In this article, we’ll go through homebrewing 101 including all the basics for the beginner!
What is Homebrewing?
Homebrewing is simply making the same alcoholic beverages we all love (beer, mead, cider, etc.) at home for personal (ie not commercial) use. Homebrewing uses many of the same methods that commerical and craft breweries do, just on a smaller scale.
What is Beer?
Beer is an alcoholic beverage made from malt, hops, water, and yeast.
In Germany, there has even been a purity law put in place, known as Reinheitsgebot, to make sure that beer consists specifically only these ingredients. However, as many of us know these days, beer has been known to contain all sorts of ingredients from pureed fruit to cookies!
Let’s break down the main ingredients in traditional beer.
What is Malt?
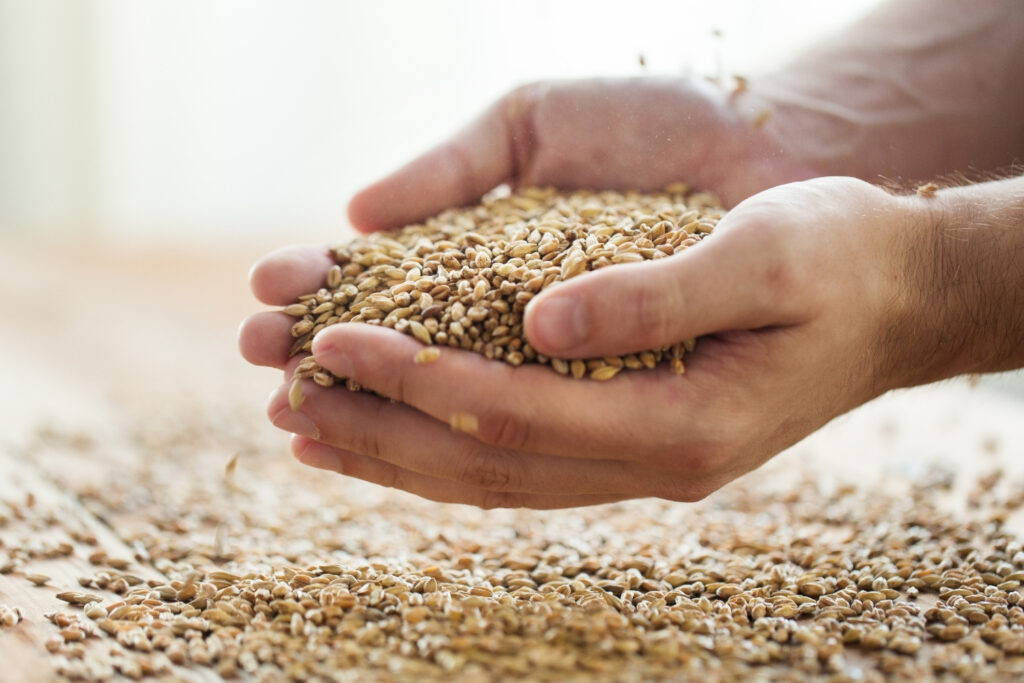
In brewing, malt refers to malted barley. The term ‘malted’ means to allow the barley to germinate by soaking it in water. During the germination process, the barley basically sprouts. The reason behind the malting process is that it opens the grain up to release more enzymes and sugars that are needed during the brewing process.
What are Hops?
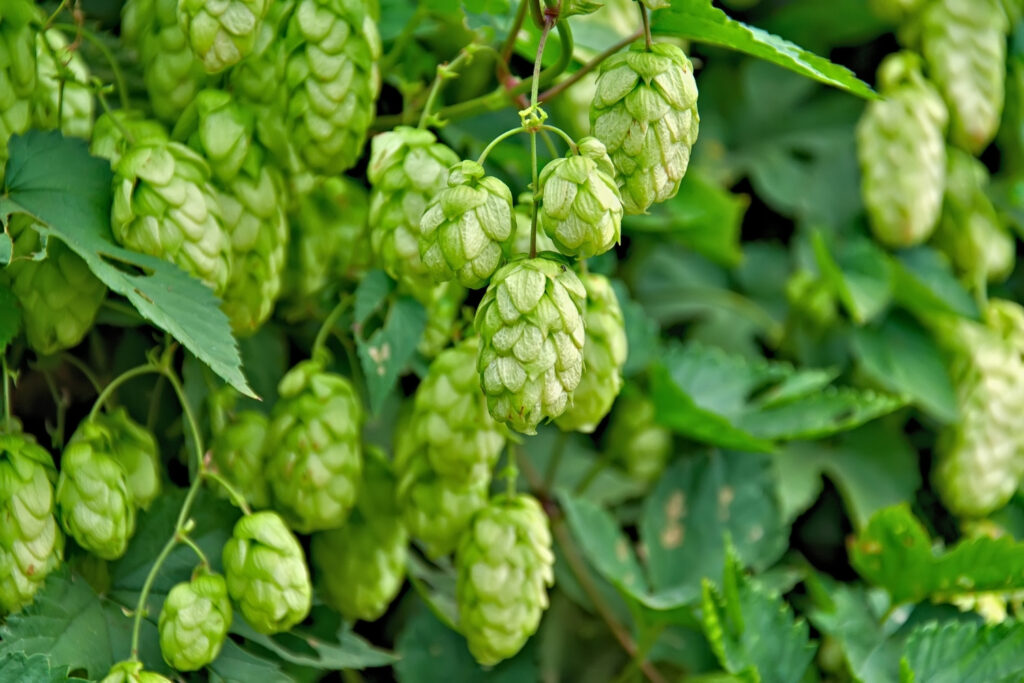
Hops are the cones or flowers of a plant known as Humulus lupulus. The hops plant is a perennial bine that grows very tall (15-20ft)! The climbing portion of the hops plant is known as a bine as it twists around the object it is climbing, this is differentiated from a vine in that vines generally use tendrils or suckers to climb objects.
The hop cones have been found to help to preserve beer, while imparting a pleasant bitterness/flavor to the beer. There are many natural chemicals found in hops that impart these aromas in flavors. Over the years, there has been a great deal of research that has gone into the breeding of different types of hops that can range from very bitter and spicy flavors to tangerine/coconut flavors!
What is Yeast?
Yeast are eukaryotic (meaning the cell contains a nucleus), single-celled organisms that belong to the family of fungi. Yeast reproduce or multiply via budding. This reproduction process happens during the early stages of brewing when the yeast is preparing to do it’s job on your beer.
On that note, let’s talk about why yeast is so important in the brewing process.
Without yeast, your beverage would be a weird blend of malty sweetness and hop bitterness. Most importantly, it would not contain any alcohol!
When yeast is added to the liquid that contains malted barley and hops as discussed earlier, it will basically eat all of the sugars that the brewer has released from the grain, and as a very friendly byproduct, turn those sugars into alcohol!
That’s right, when people talk about beer, hops are generally the ingredient that get the most credit. However, without yeast, your Friday nights would be a whole lot less interesting!
Now that we have the basics on what the main ingredients used in brewing are, let’s get into the brewing process.
How is Beer Brewed?
Even in an article dedicated to the very basics of homebrewing, I feel that it is important to discuss cleaning and sanitization. This is because it plays such a large role in both homebrewing and commercial brewing.
The goal of the first part of the brewing process is to create a sugar filled liquid called ‘wort’. The problem with this is that unwanted bacteria and wild yeast like to consume this sugar just as much as the intended yeast strain does. When bacteria or wild yeast eat the sugar, they can produce sour, cheesy, or even rotten off-flavors.
Thus the first step in any brew day involves cleaning all equipment well with soap and water followed by using a sanitizer to kill any unwanted bacteria. Bleach has most often been used for sanitizing, but there are newer sanitizers that are easier to use as you do not have to rinse the equipment after using them.
Next, I would like to discuss the two main types of homebrewing beer.
What is All-Grain Brewing?
When all-grain brewing, all of the sugar content that ends up in the beer comes directly from the grain. This sugar is extracted from the beer during a step called the ‘mash’ which will be discussed in detail below.
What is Extract Brewing?
Extract brewing involves using ‘extract’ which can come in either a dry powder form or a liquid form that has a consistency similar to honey. This extract is made by concentrating and evaporating wort, which is the sugary liquid described above. The advantage to using extract to brew is that you can essentially skip a time-consuming step in the brewing process in which the sugars need to be extracted from the grain.
There are even some extracts that come with the hops already added to them. However, most brewers generally recommend staying away from these types of extracts.
Next we will discuss how brewing would proceed in the all-grain manner; along the way, we will discuss where extract brewing would start.
The Mash
At this point, all equipment has been cleaned and sanitized.
The next step is the ‘mash’. Mashing simply means adding the malted grain to heated water to extract sugars from the grain.
In this step, water is heated to around 150F. The reason that the water is heated to this temperature is because the two main enzymes found in grain are most active at this temperature. For some more complex styles, the grain is allowed to sit in water at multiple different temperatures for certain amounts of time, this is called step-mashing.
Once the water is heated to the right temperature, the grain is added. The brewer will stir the grain into the water to make sure that there are no dry spots, often known as ‘dough-balls’.
The grain is then held in the warm water for about one hour. During this time, the complex starches in the grain will break down into more simple sugars. This will be necessary later as the yeast will consume these simple sugars to form alcohol.
The Sparge
Sparging means to rinse the grain with hot water after the mash has completed.
Sparge water is often heated to about 170F degrees. The reason for this is that the enzymes discussed earlier will become inactive at this higher temperature.
Sparging will rinse any leftover sugar from the grain into the new ‘wort’.
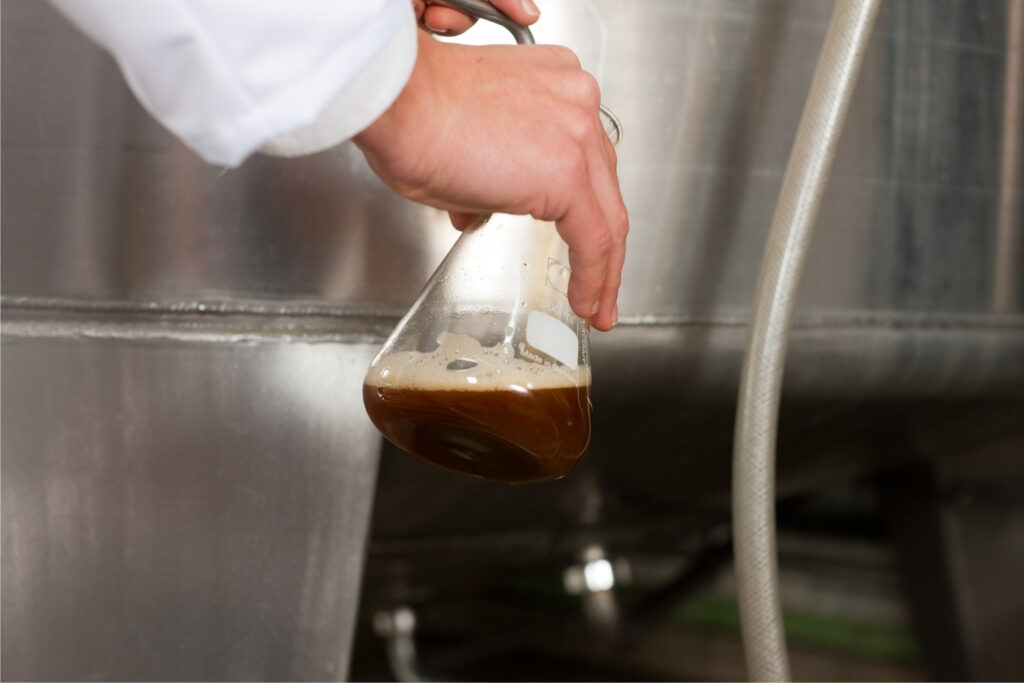
Wort is a liquid that contains the sugars that have been extracted from the grain. This liquid is not called beer just yet!
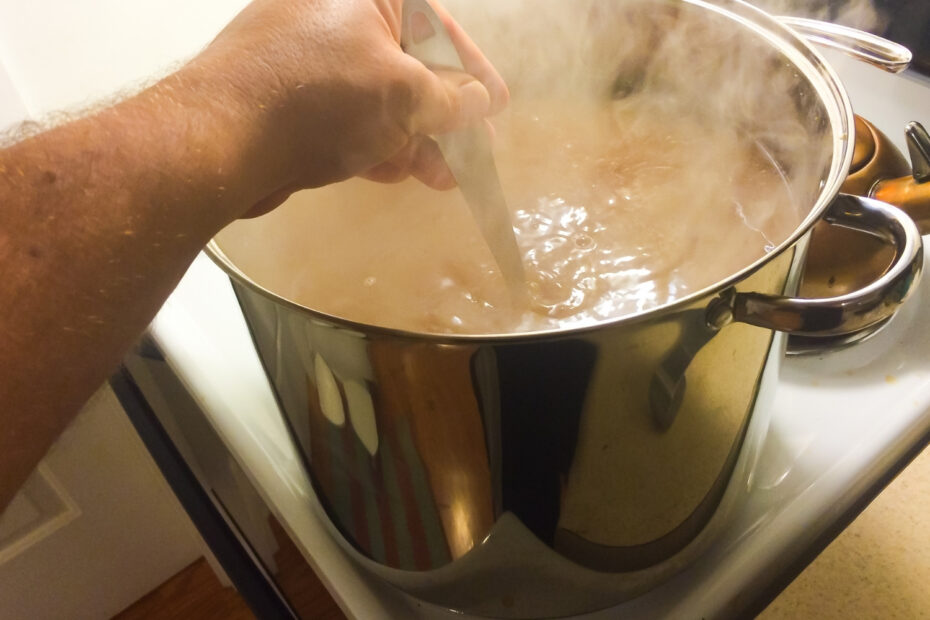
The Boil
At this point, the wort will be heated to boiling temperature. There are multiple reasons for this step: sterilization of the wort, concentration of the wort, and extracting bitterness from the hops.
This is the step that hops are added to the wort.
In general, there are two types of hops: bittering and aroma/flavor hops. Bittering hops are added towards the beginning of the boil as the longer they are exposed to boiling water, the more bitterness they will lend to the finished beer. Aroma/flavor hops are added towards the end of the boil.
The boil is where the extract brewer’s day will begin. As the first two steps have basically been completed for you when you buy either dry malt extract or liquid malt extract, you can skip them.
Extract is added most often towards the beginning of the boil, but it can be added towards the end as well.
The boil during the brewing process generally lasts for 60 minutes; however, with some styles this boil is prolonged to concentrate and darken the beer further.
Cooling the Wort
Once the boil has completed, the wort needs to be cooled to a temperature that the yeast will perform best at. For most ale yeasts, the wort needs to be cooled to the 60F range.
There are multiple ways to cool the wort. The most simple method is an ice-bath. With this method, you will fill your sink, bathtub, or other vessel with ice, and put the pot full of wort inside.
There are other devices such as immersion chillers or plate chillers that use cold water either passed through or near the hot wort to cool it.
Adding the Yeast
Once the yeast has been cooled to the right temperature, it is time to add the yeast.
There are two main types of yeast: lager yeast and ale yeast.
Lager yeast perform best at lower temperatures (48F-55F) and are active towards the bottom of the beer.
Ale yeast, on the other hand, perform best at higher temperatures (60F-75F) and are active towards the top of the beer.
As most people do not keep their houses at temperatures less than 55F, a fridge or other temperature controlled vessel is required for lager fermentation, in general.
For homebrewing, yeast will come in either dry or liquid form. Which type brewers will use is dependent on personal preference as well as the style of the beer that is being brewed.
The term ‘pitching’ is used to refer to adding the yeast to the wort.
Fermentation
Once the yeast has been pitched, the fermentor is sealed up and an ‘airlock’ is added on top.
An airlock functions as a one-way valve to let carbon dioxide leave the beer without allowing any air or other environmental contaminants enter the beer. As we discussed earlier, it is very important that no bacteria, wild yeast, or other contaminants enter the fermentor as they can cause off-flavors in the finished product.
Fermentation often takes about 1-3 weeks to complete. During this time, the yeast is converting the sugars that were produced earlier in the brewing process into alcohol and carbon dioxide. Your initial wort can now be called beer!
What is Dry Hopping?
Dry hopping refers to the adding of hops after the initial brew day. These hops can be added during fermentation. The idea behind adding hops during this time is to obtain lots of aroma from them without adding much bitterness as the hops are not exposed to boiling water.
Packaging
At this point, the yeast has completed its job by turning the majority of sugars into alcohol and carbon dioxide.
The beer can now be packed into bottles or kegs.
However, one key part of a good beer is missing.
Carbonation
Carbonation refers to carbon dioxide being dissolved into a liquid.
Beer can be carbonated in two main ways: bottle conditioning or forced carbonation.
Force carbonation means that CO2 is added the to beer (most often in a keg) from a CO2 cylinder. The advantage to carbonating in this manner is that it is more predictable and often quicker.
Bottle conditioning is the more interesting method of carbonation, in my humble opinion. With this method, additional sugar is added to the finished beer before it is sealed in a bottle. As there is still some active yeast present in the beer, the yeast will consume this small amount of additional sugar and as a byproduct, produce CO2. Since the beer is sealed in the bottle, the CO2 will dissolve into the beer.
Bottle conditioning does take longer to happen, generally about 2-3 weeks at room temperature. The bottles are kept at room temperature at this time as the yeast is more active at this temperature than at fridge temperatures.
I hope this article has helped break down the homebrewing basics and simplify the brewing process for you!
Homebrewing is a wonderful hobby with a great community surrounding it.
If you enjoyed this article and are ready to take the next step into brewing, please see my articles on extract brewing and BIAB (brew in a bag) brewing.
I would also check out why I recommend small batch (1 gallon) brewing so highly in this article!
If you seem to learn better from books, I highly recommend How To Brew by John Palmer and The Complete Joy of Homebrewing by Charlie Papazian.