Have you ever wanted to make those crisp, tart beers such as the Gose or Berliner Weisse but have been intimidated by the souring process? In this article, I’ll walk you through the process of how to kettle sour a beer with a Robobrew or other electric kettle. I’ll also discuss some things you can do if you don’t yet have an electric kettle!
What is Kettle Souring?
Kettle souring is a process in which a sour beer is made in the boiling apparatus (ie kettle). This process is much quicker compared to traditional souring processes that can take months-years.
These beers are intentionally infected with souring bacteria in a controlled fashion. This allows you to have much more control over the final product than you do with traditional souring processes.
After a souring bacteria is pitched into the wort, it will be held at a temperature ranging from about 90-100°F (32.2-37.8°C) for 24-72 hours. This temperature allows the intended strains of bacteria to be active while inhibiting the non-intended ones.
An electric kettle makes the kettle souring process super easy in my opinion!
Why Should I Buy an Electric Kettle?
My choice to buy an electric kettle came down to the fact that I wanted to brew all-grain beers, but I didn’t have room for all the equipment that is generally needed.
Electric kettles allow you to have your entire brewing setup take up a very small footprint. It is also convenient as you can brew inside or outside, really anywhere with an outlet!
I have found that my Robobrew takes longer to reach a rolling boil vs using propane, but the benefits outweigh this downside, in my opinion.
The biggest advantage of using an electric kettle for kettle souring is its ability to hold a precise temperature for an extended period of time. We will get more into this later on in the article, but with an electric kettle, you can basically ‘set it and forget it’. This process is more labor intensive when using gas.
Are Electric Kettles Expensive?
As with most things in life, they certainly can be! However, there are inexpensive options that work well too!
I think the most well known and highly regarded electric kettle is the Grainfather. Almost everyone who has had the opportunity to use the Grainfather loves it. It is a highly reliable machine, and has bluetooth connectivity. This means that it can be controlled remotely. However, these benefits do come with a steep price tag.
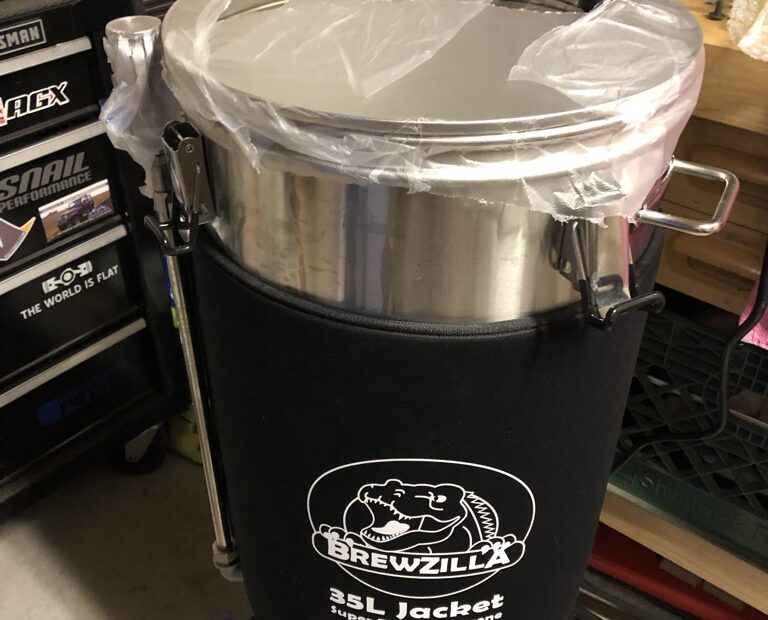
The Robobrew or Brewzilla are more middle of the road options. These are generally half the price of the Grainfather. They are also reliable machines and do have a built-in pump, which some of the cheaper options do not. Unfortunately, these do not have the remote capability that a Grainfather does.
The Brewer’s Edge Mash and Boil is a cheaper option that people seem to love. You can obtain this machine with or without a pump.
Can I Kettle Sour without an Electric Kettle?
Yes. You do not absolutely need an electric kettle to kettle sour. It will just take a little bit more labor and/or creativity on your part.
I, personally, have not gone through the kettle souring process without an electric kettle. That said, I have talked to multiple fellow brewers who have performed this successfully.
I have had some friends that used an aquarium/reptile tank heater to hold the kettle temperature. Another option that homebrewers have used is a heat-belt surrounding the fermentor/kettle to hold the desired temperature.
On the other hand, some brewers kettle sour on their stovetop, with the heat set very low. I would be very careful if considering this option. The risk of fire is obviously much higher going this route than what will be discussed in this article! Perform this at your own risk!
Do I Need a pH Meter to Kettle Sour?
Technically no. You could go about the kettle souring process using your taste and smell as guides. However, this is obviously a much less accurate method.
I would highly recommend getting a pH meter or at the very least pH strips to help guide you through the kettle souring process. There are multiple times throughout this process that you will want to take pH measurements. Having an accurate and reliable meter goes a long way!
If you decide to go with pH strips, make sure that these can accurate measure pH in the 3-5 range. Most pH strips do not measure pH this acidic.
Before I get to deep into the process, I’d like to say, if you want to read even more about souring, the book Gose: Brewing a Classic German Beer for the Modern Era by Fal Allen is absolutely amazing. It was the best resource for me when getting into kettle souring.
That said, let’s get right into kettle souring!
How to Kettle Sour with an Electric Kettle
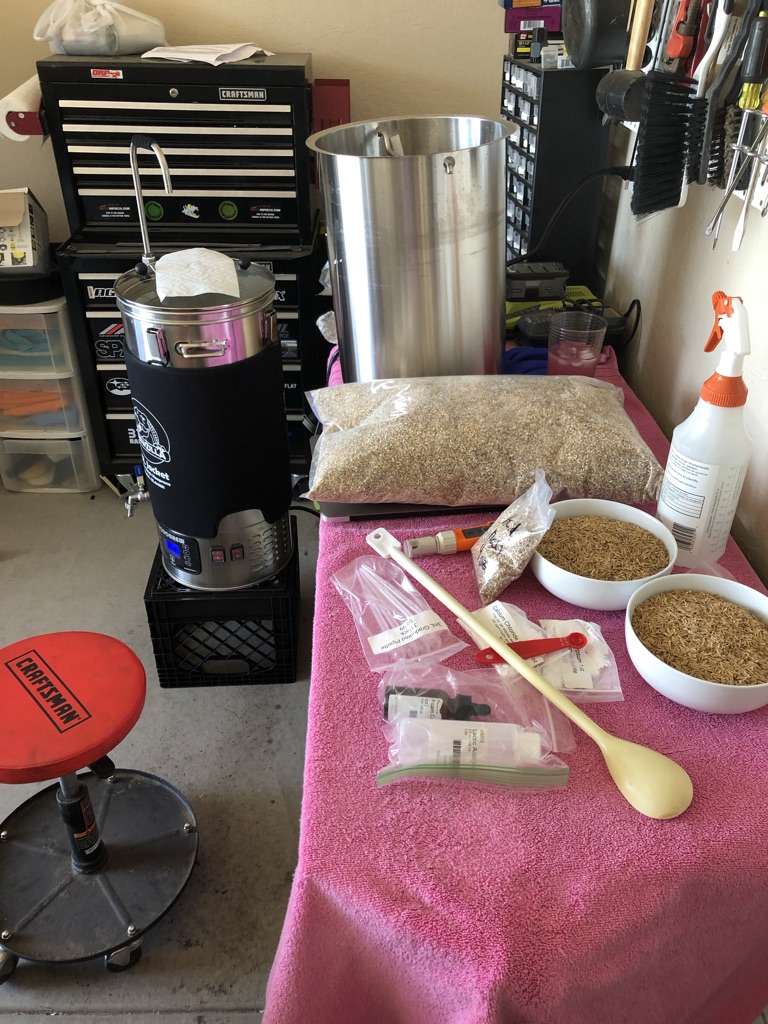
Step One: Clean and Sanitize Equipment
This is definitely the least fun step in the brewing process, but it’s likely the most important. Since you will be intentionally infecting your beer, you want to make sure there aren’t any unintended bugs already in or on your equipment.
Step Two: Calibrate pH Meter
As I said above, a pH meter will make your kettle souring time experience more enjoyable. It will also allow you to produce higher quality product.
However, even if you just spent a decent amount of money on a pH meter, it won’t help you unless it’s calibrated correctly!
Each pH meter has a slightly different method for calibration. Many of the meters do come with calibration solutions. If yours didn’t, you can get some on amazon, most homebrew shops, or most hydroponics shops.
Step Three: Perform Mash Normally
A step that doesn’t differ very much at all in the kettle souring process is the mash. You will mash just like you would with any other beer at this time.
One difference I do recommend is adding a small amount acidulated malt near the end of the mash. Acidulated malt helps to decrease the pH of the wort prior to kettle souring.
You will want to bring the pH of the wort down to about 4.5 with either acidulated malt and/or lactic acid prior to starting kettle souring. The reason for this is that some yeast and bacteria will still be active above this pH. As you want a controlled souring process, ending with a beer that does not taste too ‘funky’, lower the pH prior to kettle souring.
About 4oz (113.4 grams) of Acidulated Malt is sufficient in a 5 gallon (18.9L) batch.
Step Four: Perform a Quick (15 minute) Boil
This is the first of two boils that you will perform with this wort. This initial 15 minute boil is to sanitize the wort, and make sure that there not any unintended bacteria or yeast viable.
You will be performing your regular 60 minute later on. It is extremely important not to add your hops during this 15 minute boil. Hops will inhibit the growth and activity of the bacteria you will be adding later.
Step Five: Cool the Wort
Next, cool the wort to 95-100°F (35-37.8°C). This will function just like when you are cooling your wort to pitch the yeast. However, you will stop the cooling process when you get to 95-100°F (35-37.8°C).
This is the temperature that the intended bacteria will be most active.
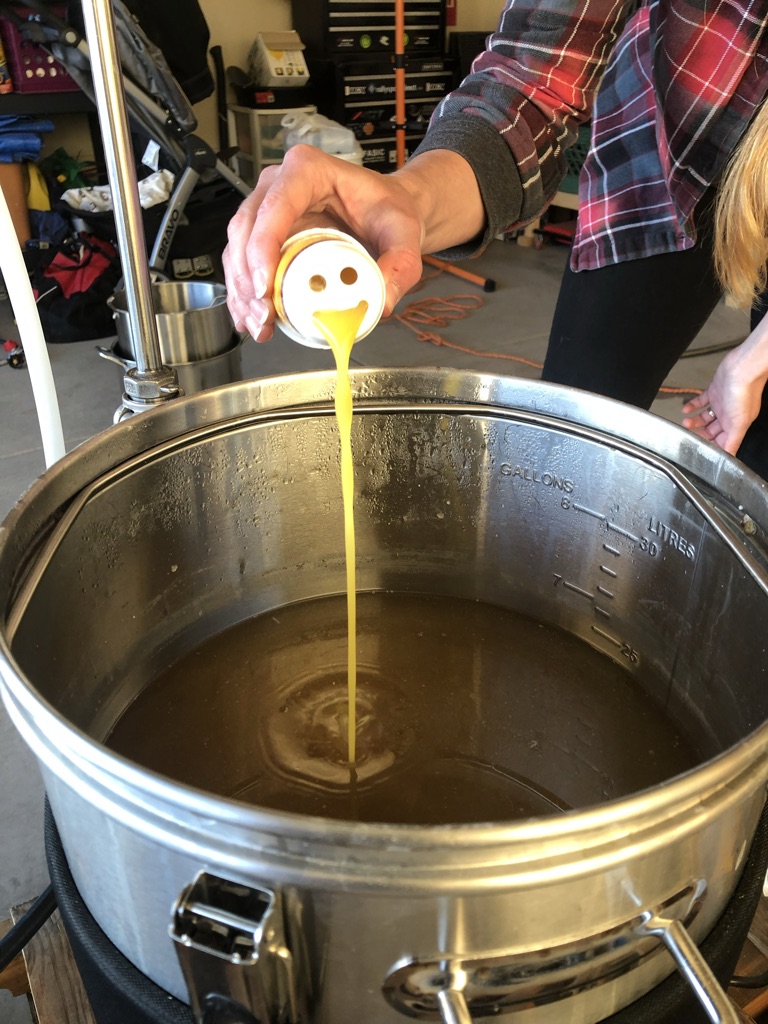
Step Six: Adjust pH With Lactic Acid
Adjust the pH of the wort to about 4.5 with lactic acid. I recommend slowly adding lactic acid, taking pH measurements until you reach 4.5.
The range of lactic acid that it takes to reach this point (if using acidulated malt) is about 10-15mL. Your particular wort may require slightly more or less than this.
Some people ask, can’t I just sour a beer completely with lactic acid? You can, but it almost always ends up tasting artifical or candy-like in my opinion. This method is also generally looked down upon in the homebrewing community.
The reason for acidifying the wort to 4.5 is to inhibit unintended bacteria/yeast to growing during the kettle souring process.
Please keep in mind that even if your pH meter is equipped with ATC (automatic temperature compensation), this only works if the wort is under about 120°F (48.9°C). If the wort is hotter than this, the reading will not be accurate.
Step Seven: Pitch The Bacteria
The fun part has come! This is where the magic happens.
Pitch your bacteria strain. There are strains of bacteria made specifically for kettle souring, such as White Labs Lactobacillus strains.
Some people have also had good luck with pitching yogurt even.
My favorite for kettle sours is pitching Goodbelly Probiotic Drinks, specifically mango flavor. This is easy to find at health food stores, and very successful and clean during the souring process.
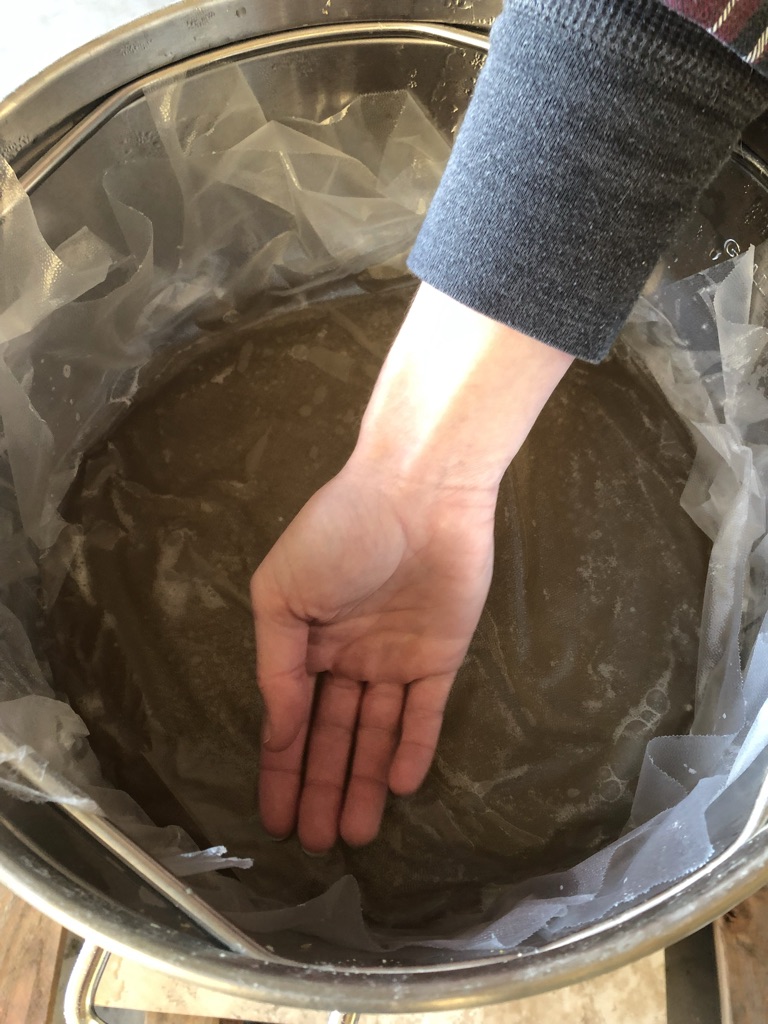
Step Eight: Purge With CO2 and Cover
I recommend purging the space over the wort with CO2. You can use your CO2 canister for a kegging setup or a smaller handheld CO2 canister. The reason for this is to reduce as much oxygen exposure as possible. Too much oxygen exposure can cause off flavors during the kettle souring process.
Then, place sanitized saran/plastic wrap right over the wort. Gently rub all bubbles off to the sides. Again, this is to further exclude oxygen.
Step Nine: Hold Warm Temperature for 12-72 Hours
Hold the 95-100°F (35-37.8°C) degrees for 12-72 hours, periodically checking the pH. I recommend using the spigot to take a sample as to reduce oxygen exposure.
I generally shoot for a pH of 3.4-3.5. If you would like it less tart, you can stop the kettle sour before it gets to this point.
Step Ten: Boil As Normal
Once you have achieved your desired acidity, you will proceed with the boil just like a regular brew day. This will be your traditional 60 minute boil. Follow your hop schedule at this time.
As mentioned above, it is important to wait to add the hops until after the kettle souring process as they can inhibit bacterial activity. This antimicrobial action is, in fact, a large part of the reason hops have been used in brewing for ages.
Step Eleven: Cool Wort to Pitching Temperature
Next, cool your wort to the correct pitching temperature for your yeast. With many kettle sours that I do, I prefer to use Safale US-05 due to its clean and neutral fermenting nature. However, you can use whatever yeast that matches your intended beer style.
Step Twelve: Transfer to Sanitized Fermentor and Pitch Yeast
Finally, transfer to your sanitized fermentor, oxygenate, and pitch your yeast!
As you can see, the actual ‘brew day’ process takes much longer than an average brew day. However, the majority of this process is inactive, especially with an electric kettle.
Your beer will also be sufficiently soured much quicker than using traditional souring methods!
I hope this article made the kettle souring process more understandable and less intimidating. I am active on Facebook and Instagram, so feel free to contact me there with any questions you may have!
I will be posting recipes that utilize the kettle souring method very soon. I will start with a gose recipe, so stay tuned!!
Thank you for stopping by!
If you liked this article and would be interested in other similar how-tos, click here!
As I said earlier, I highly recommend the book Gose: Brewing a Classic German Beer for the Modern Era by Fal Allen. It was the best resource for me when getting into kettle souring. It also has a great deal of interesting information on the Gose style.