Extract brewing is likely the best way to get into the homebrewing hobby. The process helps you to get comfortable with the primary steps of a homebrewing regimen while keeping many of the complex variables out of the equation. In this article, I will walk you through how to brew a 1 gallon extract batch of homebrew.
I recommend getting a few successful extract batches under your belt, then if interested, stepping up your game into brew-in-a-bag or all-grain batches! However, there have been many a great beer made using the extract method, and many people choose to stick with this method for years and years, and who can blame them when they’re making delicious beer?
Step One: Collect the ingredients
Collect your ingredients and brewing equipment. Whether you have a pre-made brewing kit or you chose ingredients individually, it’s a good idea to get everything set out and organized. For supplies, you will need the following:
- Brew Kettle
- Brewing Spoon
- Thermometer
- Hydrometer/Refractometer
- Muslin Bags (if steeping grain)
- Fermentor
- Airlock/Blow-Off Tube
Now comes likely the least fun part of brewing- the cleaning. I like to clean everything with soap and water and rinse well. It’s not a bad idea to sanitize everything at this point, but in theory, as the kettle, spoon, and thermometer will be exposed to boiling water, you shouldn’t absolutely need to do this.
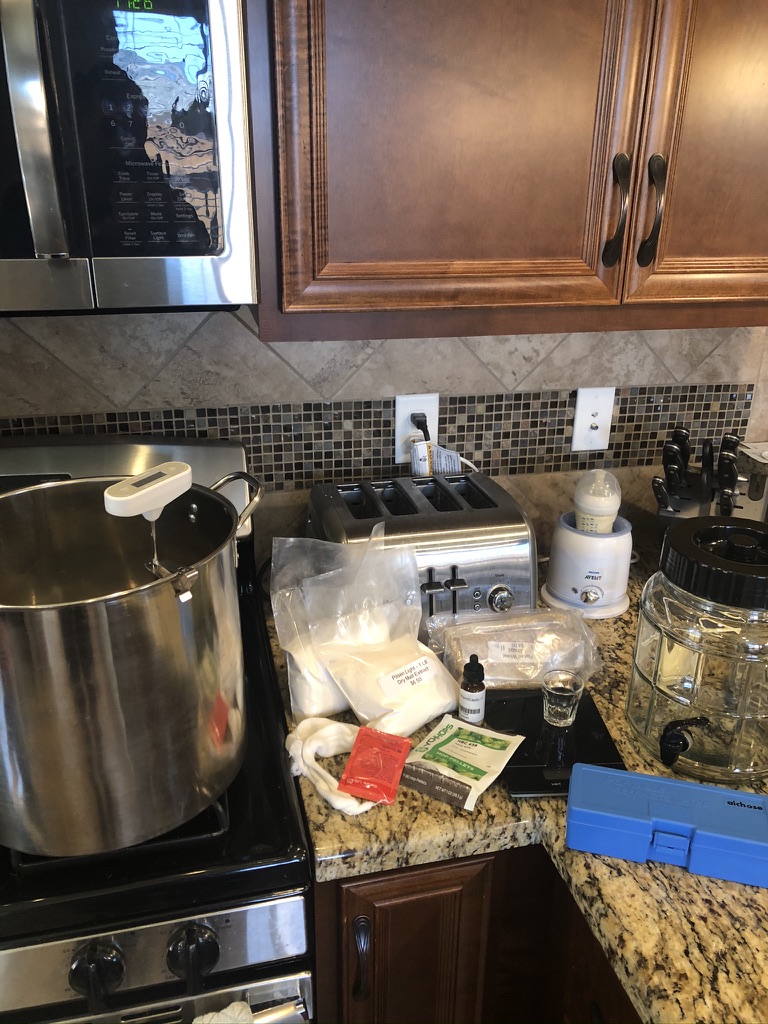
Supplies for a 1 gallon extract batch 
Cleaning the brew kettle
Step Two: Collect the Water
Collect your water. The convenient thing about extract brewing is that if your tap water tastes good enough to drink, it is likely just fine to brew with! You do not have to worry about salt additions or pH adjustments. If you have less than ideal tasting tap water, may not be a bad idea to grab some of your favorite tasting bottled spring water.
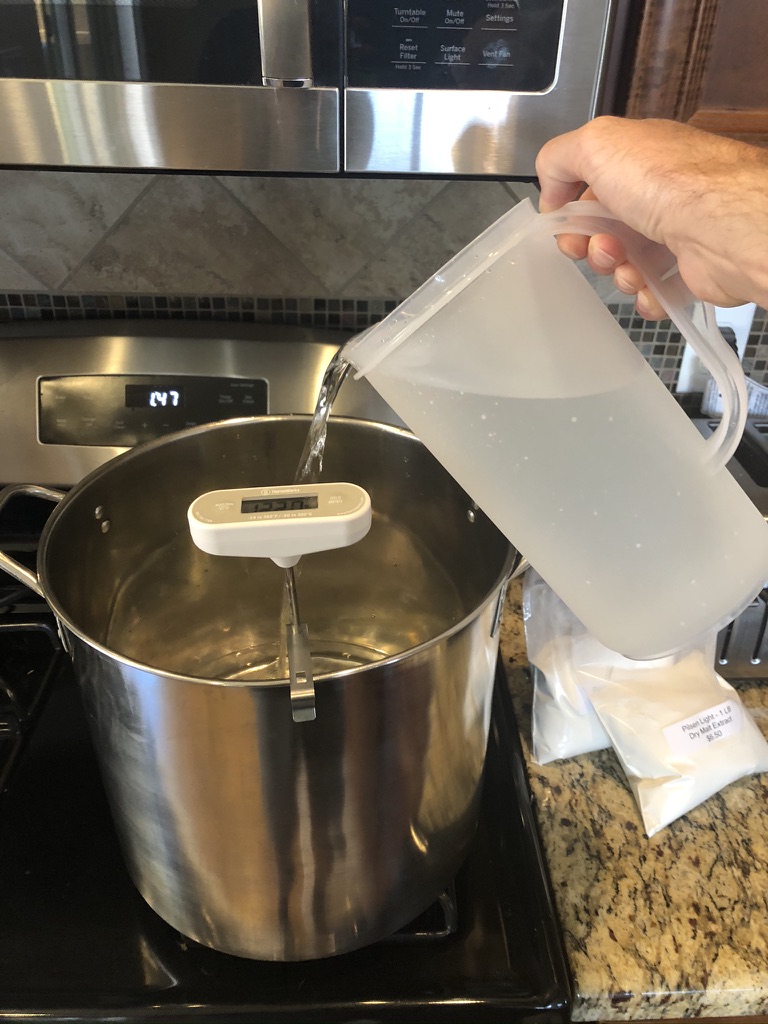
I would recommend collecting 1.5 gallons of water into your kettle at this point. During any boil, you will have some loss of volume.
If you will be steeping grain, this is the time that this will be added. If your beer does not use any steeping grain and only extract, you can skip to Step Four. Milled specialty grains are used during the steeping process to add color and complexity. As most of these types of grains do not have the enzymes to convert starches to fermentable sugars, it will not change the gravity or strength of the beer very much. I always recommend using a muslin bag for your steeping grain. This makes it very easy to take out when the process is completed.
Step Three: Add the Steeping Grain
Heat the water to 150-170F. As noted above, you will not be converting many starches during this process, so the temperature is not greatly important. I usually shoot for 160F, smack dab in the middle of the range. It is important not to increase the temperature to above 170F, as you can start to get excess tannins extracted from the grains at that point. Tannins can cause unwanted astringency (the dry feeling you get in your mouth from dry red wines) in your beer.
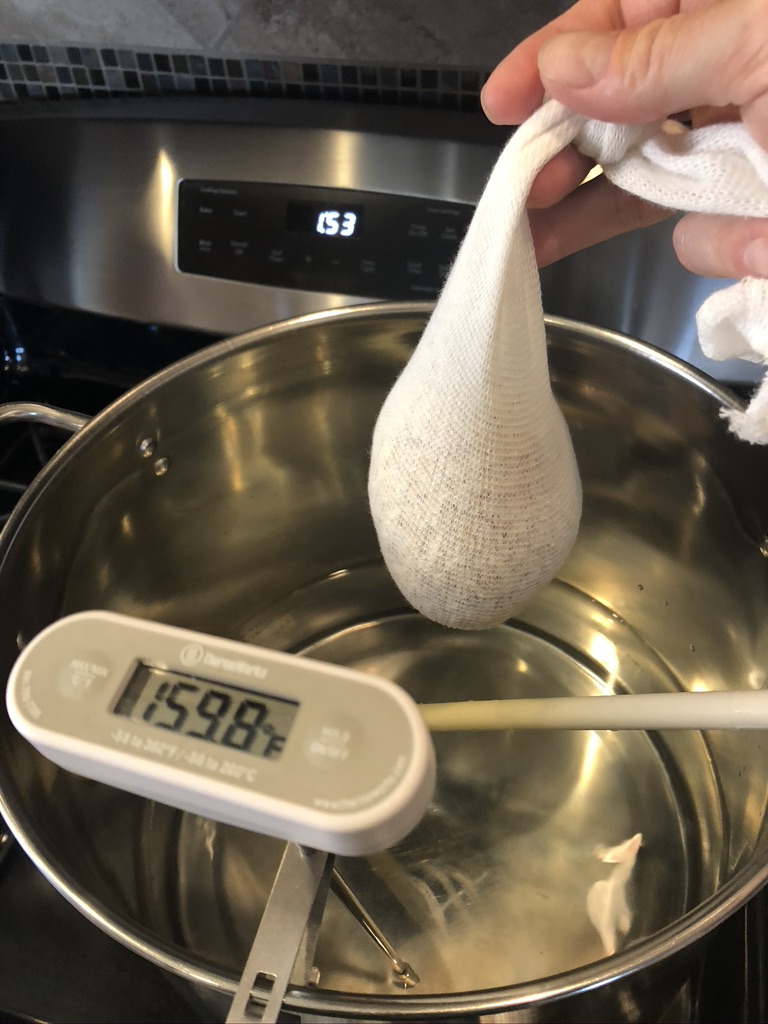
Add your grain bag to the heated water and let sit for 15-30 minutes. I usually shoot for 20 minutes.
You will start to notice that the water will get slightly darker during this time.
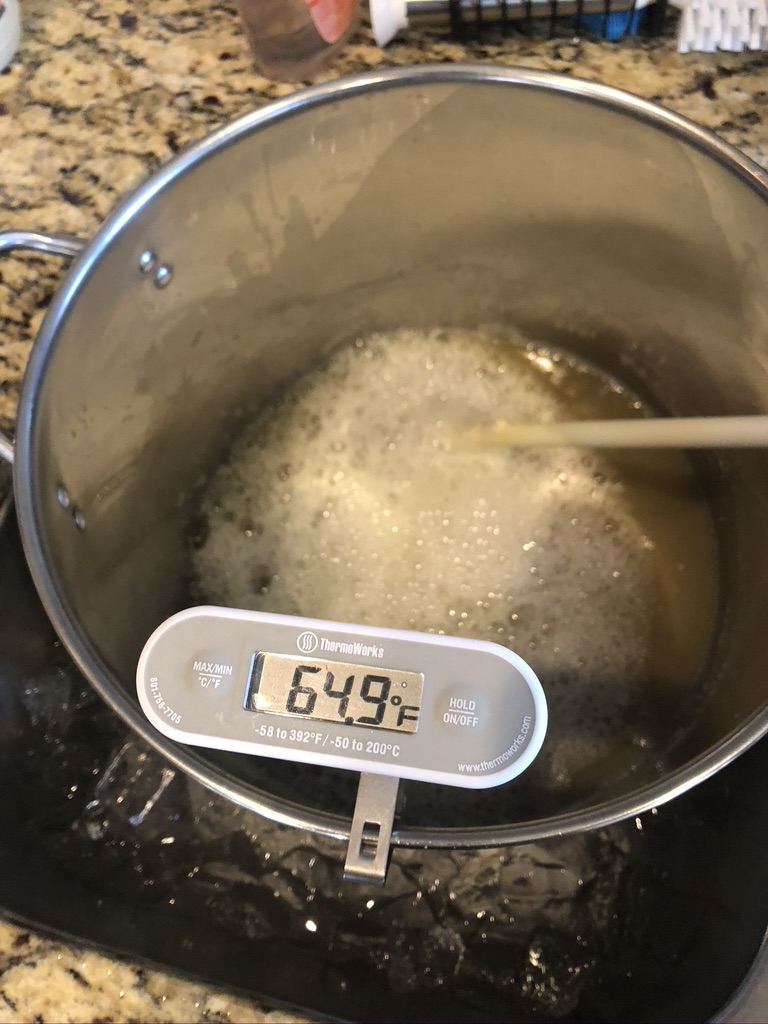
After 15-30 minutes have passed, remove the grain bag from the water. Let the bag drain into the kettle until it is just slowly dripping. At this time, you can start heating the water to a boil. It is important to remember that depending on your altitude, boiling temperature may be less than 212F, your thermometer isn’t broken!
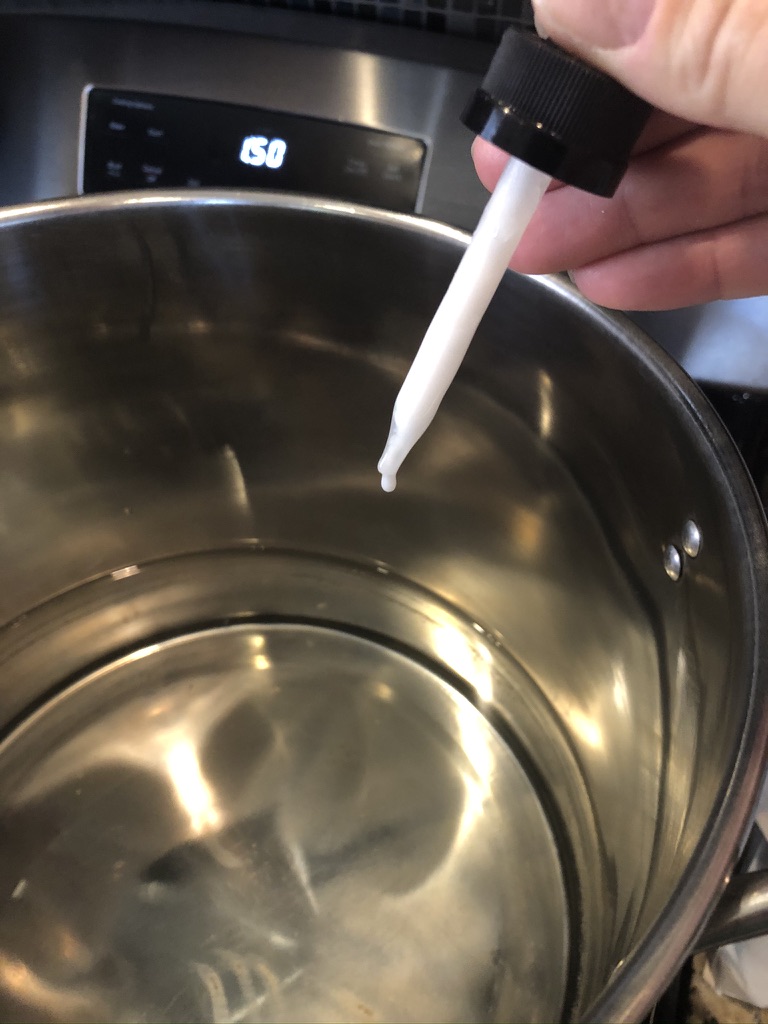
Especially with extract batches, I highly recommend FermCap-S. This is a product that helps to prevent boil-overs. Extract batches can be prone to the very sticky and frustrating mess that results from a boil-over. One drop of this solution will help to prevent this mess from happening!
Quick Word on Boil-Overs- As noted above, boil-overs can be a frustrating and sticky mess. Unfortunately, they are all too common with extract batches, especially. The times that your wort is most prone to a boil-over is once it first reaches boiling temperature and when ingredients (especially more extract) are added. Using products such as FermCap-S can be great ways to mitigate this. However, if you don’t have these products or are not interested in adding them, it is important to monitor the beer closely during the times noted above. If your beer starts to boil over, immediately remove the kettle from the heat. Stirring can sometimes mitigate the boil-over slightly.
If you tried to do everything right but still ended up with a bit of a boil-over, I highly recommend cleaning everything as soon as you can. The longer the sugary wort sits on surfaces, especially when exposed to heat, the harder it will be to clean off later!
Step Four: Heat the Wort to a Boil
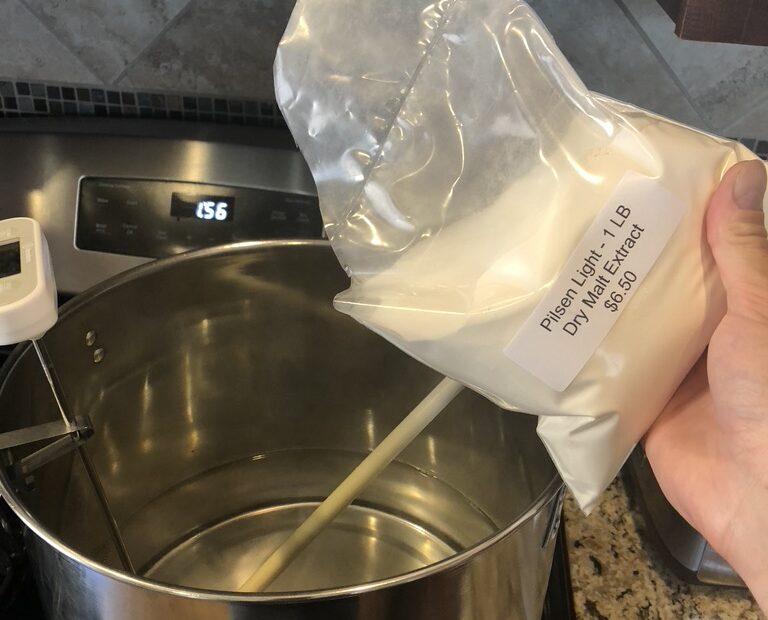
Heat the water to a boil. Once you have achieved a boil, you can add your extract. If you are using liquid malt extract (LME), it is a good idea to soak the can in a warm water bath prior to decrease the viscosity slightly. I recommend either removing your kettle from the heat or turning off the burner while adding the malt extract to prevent any scorching. As you add your malt extract, stir it in well. If you are using dry malt extract (DME), you may notice that some of the product sticks to the edge of the bag as it is being poured in, this is okay, you can pinch this off and add to the boil later.
Once all of your malt extract has been added and stirred in well, you can start heating the beer again. It will take a few minutes to achieve a solid boil again.
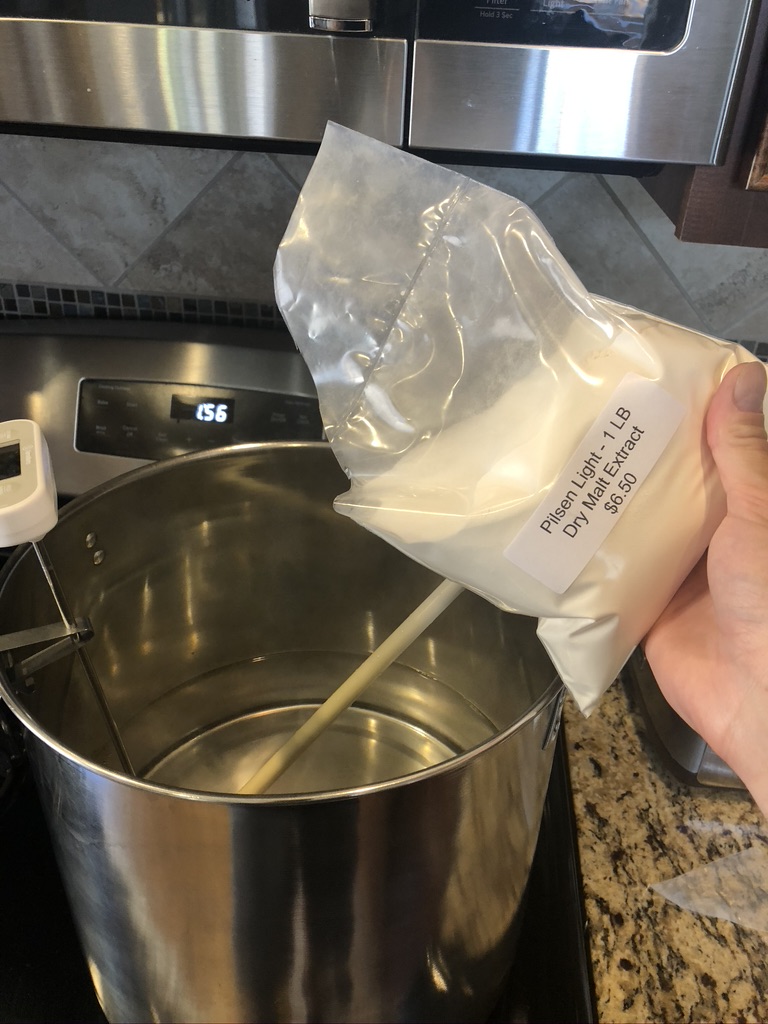
Adding the DME 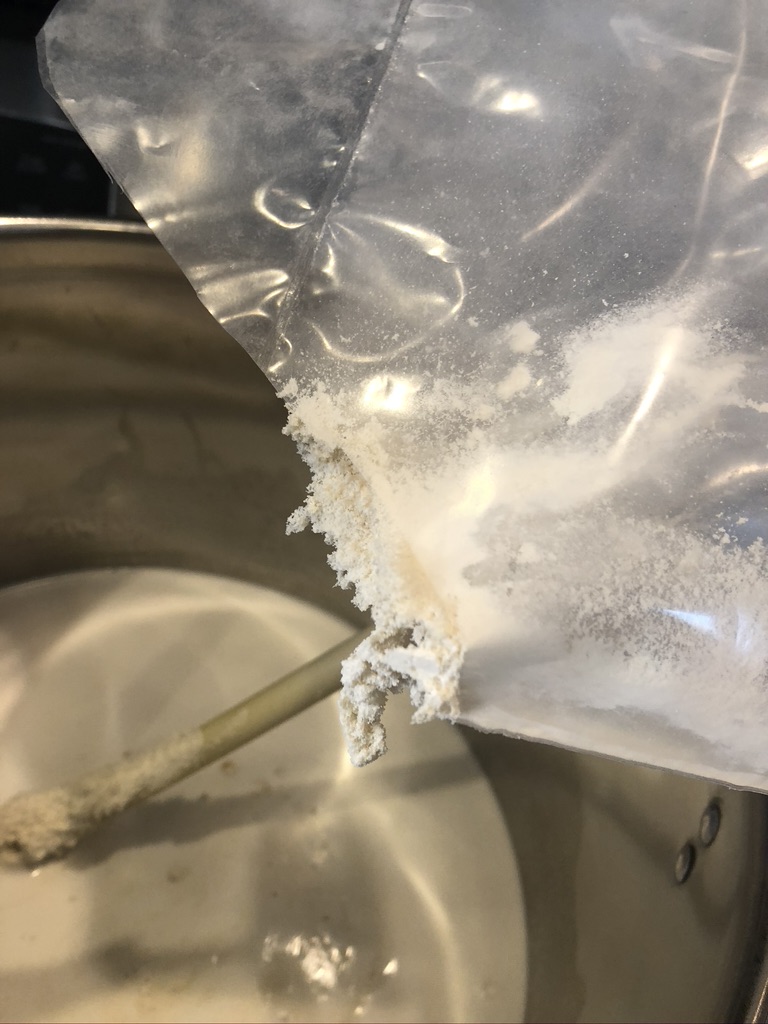
Crusting on the bag, pinch off and add to kettle
Step Five: Add the Hops
Once you have a nice rolling boil, start your hop schedule. It is important to remember that hop and other speciality additions count backwards. Meaning, a 60-minute addition happens at the very beginning of the boil when there are 60 minutes left, not after 60 minutes have elapsed.
Add your hops as your recipe calls for. You may notice that your recipe calls for Irish Moss or Whirlfloc tablets. These are products used to help clarify your beer. These are generally added with 10 minutes left in the boil.
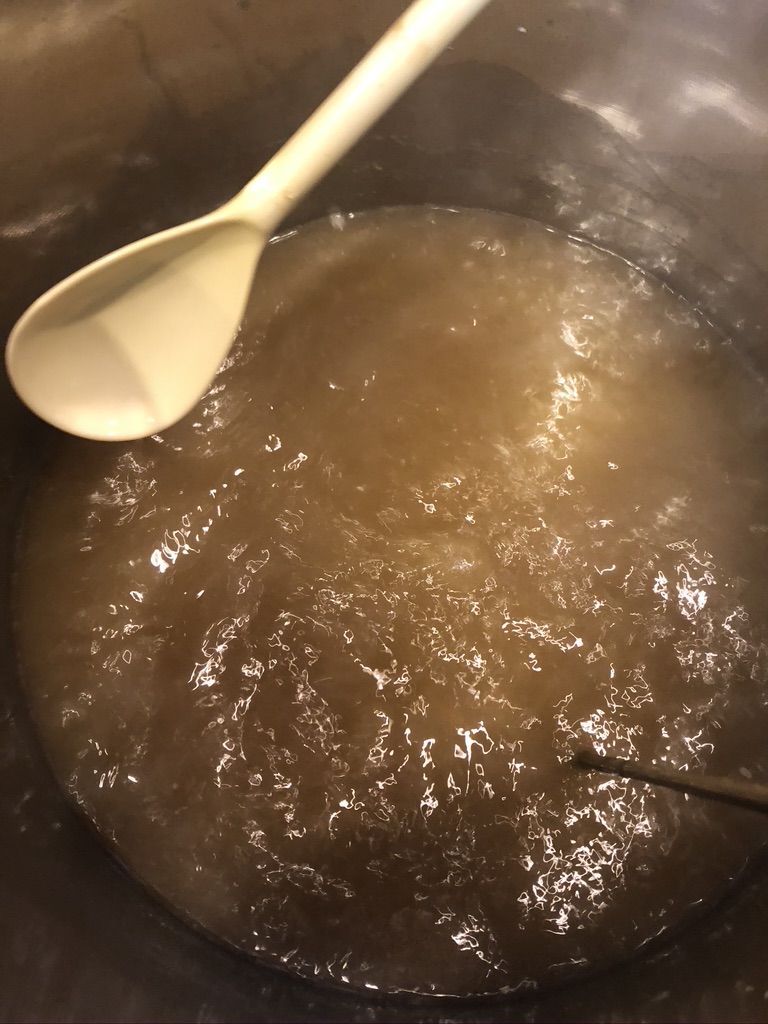
Wort boiling 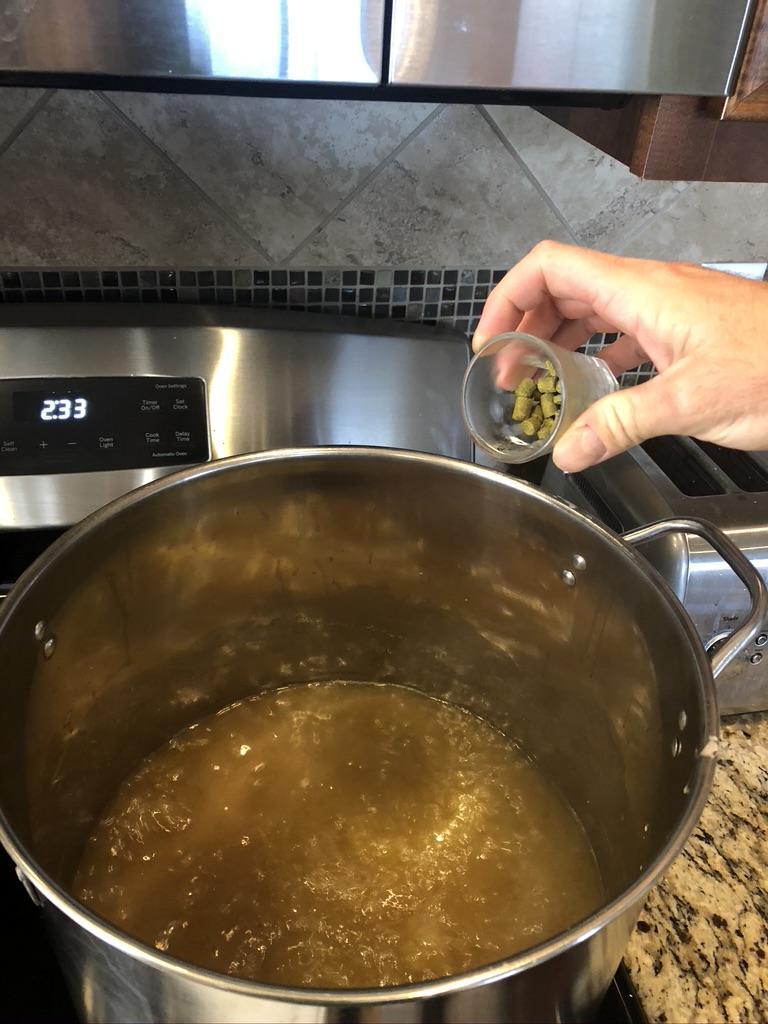
Adding the hops to the boiling wort
Step Six: Prepare Ice-Bath and Fermentor
When you are about halfway through the boil, it is a good time to clean and fully sanitize your fermenting equipment. It is important to make sure that these items are cleaned thoroughly with soap and water and then sanitized well. I prefer to use a no-rinse sanitizer such as Star-San for ease of use. The reason that it is so important to make sure that these items are clean and sanitized is because you will soon be adding a very sugar-rich liquid to the fermenter, and left over bacteria would love to consume that sugar! Pro-tip regarding Star-San: Prepare a solution of sanitizer in a spray bottle so that you can quickly and easily sanitize anything throughout the brewing process.
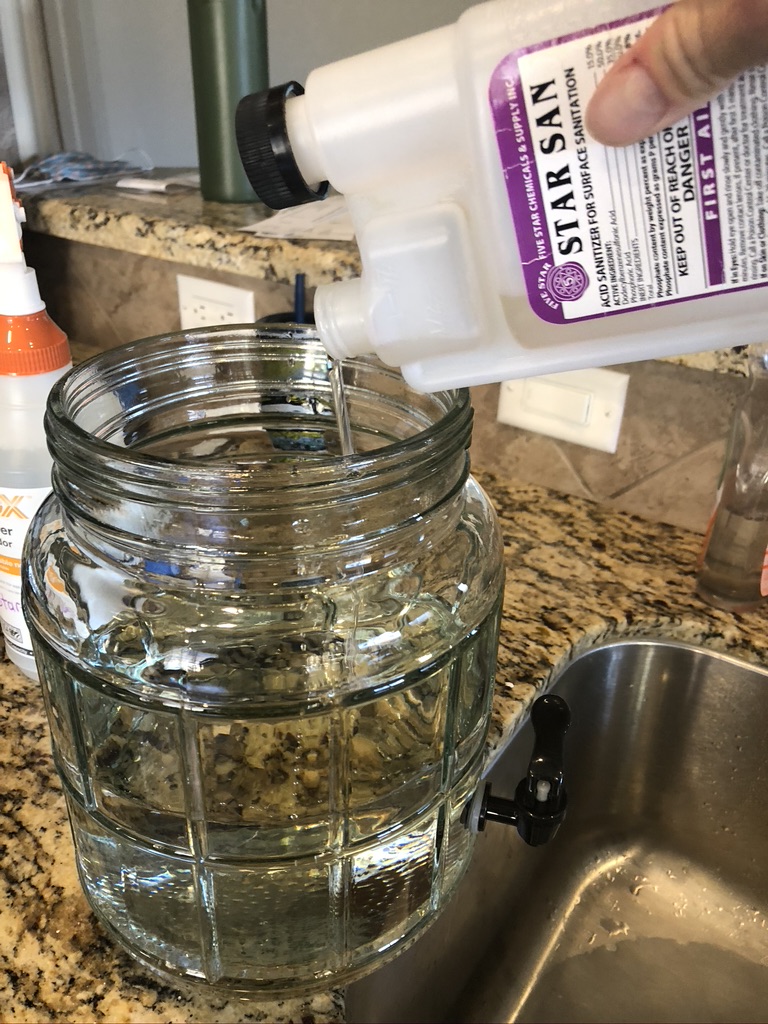
Sanitizing the fermenter 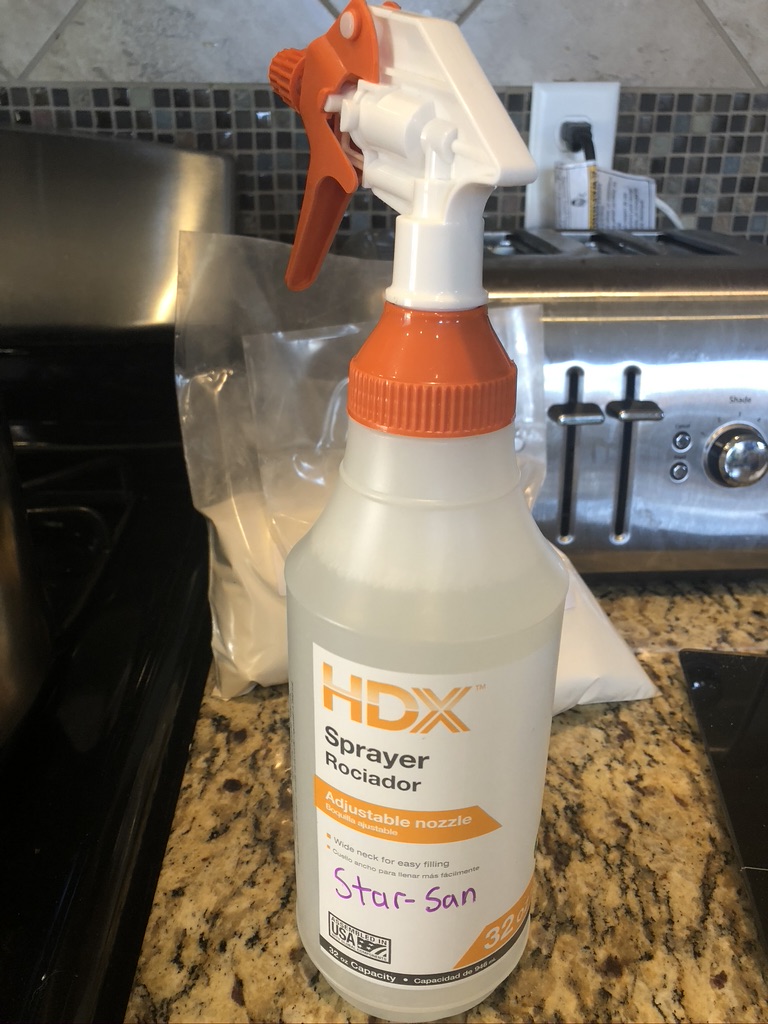
Star-San in a spray bottle!
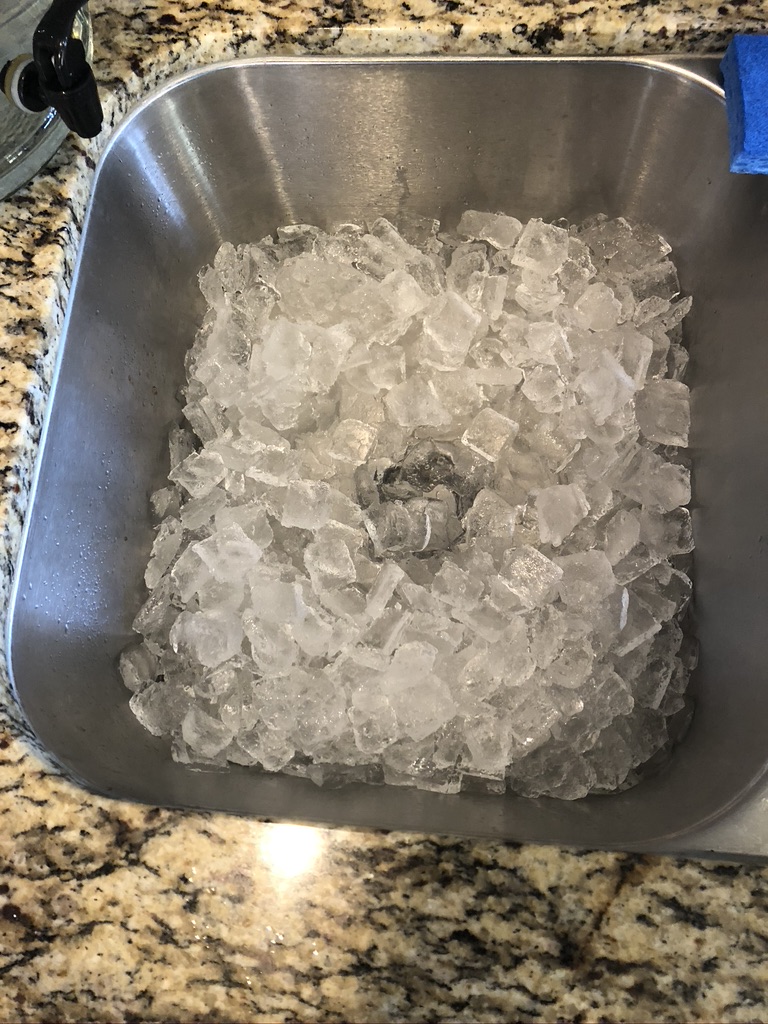
It is also a good idea to start preparing your ice bath at this time. I have found that the best way to set up an ice bath is in the sink. However, if your sink is too shallow or there are other difficulties, a bath tub or similar could be used.
I generally pick up two bags of ice from the grocery store/gas station prior to the brew day for this. Though, this has an added cost, I have found the convenience of having enough ice to be able to cool quickly is worth it.
This is also a good time to check to see if your yeast packet requires rehydrating. Rehydrating is a process used to help get the yeast accustomed to a new environment prior to pitching into your wort. If your yeast packet calls for a rehydration process, start this process now and follow the instructions closely.
Step Seven: Cool the Wort
By this time, you are nearing the end of the boil. All of your hops should have been added by this point, other than any 0 (zero) minute additions.
Once 60 minutes has elapsed, remove the kettle from the burner and place into your ice bath. Add any 0 minute hop additions.
I like to stir occasionally during the cooling process as it seems to aid in decreasing cooling time.
During this time, it is important to try not to get any impurities in the wort. Try to limit talking/breathing over the wort, limit pet exposures in the kitchen, etc.
Once you have the wort cooled to ideal yeast pitching temperature (found on the back of your yeast packet-generally in the 60-70F range), you can pour the wort into your sanitized fermenter. If you are interested in the fermenters that I prefer to use, you can check out my post on my preferred supplies for 1 gallon homebrewing.
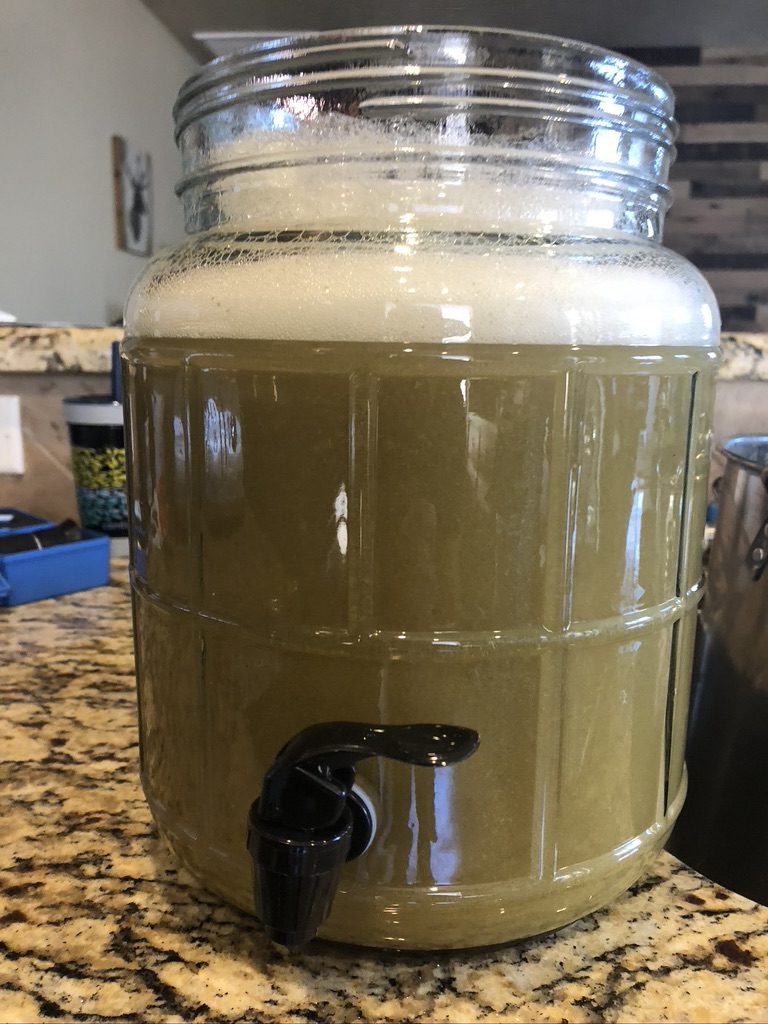
Now is the ideal time to take a specific gravity sample reading with your hydrometer or refractometer. This reading will be called your ‘original gravity’. This original gravity will later be used to calculate your ABV (alcohol by volume) or strength of the beer.
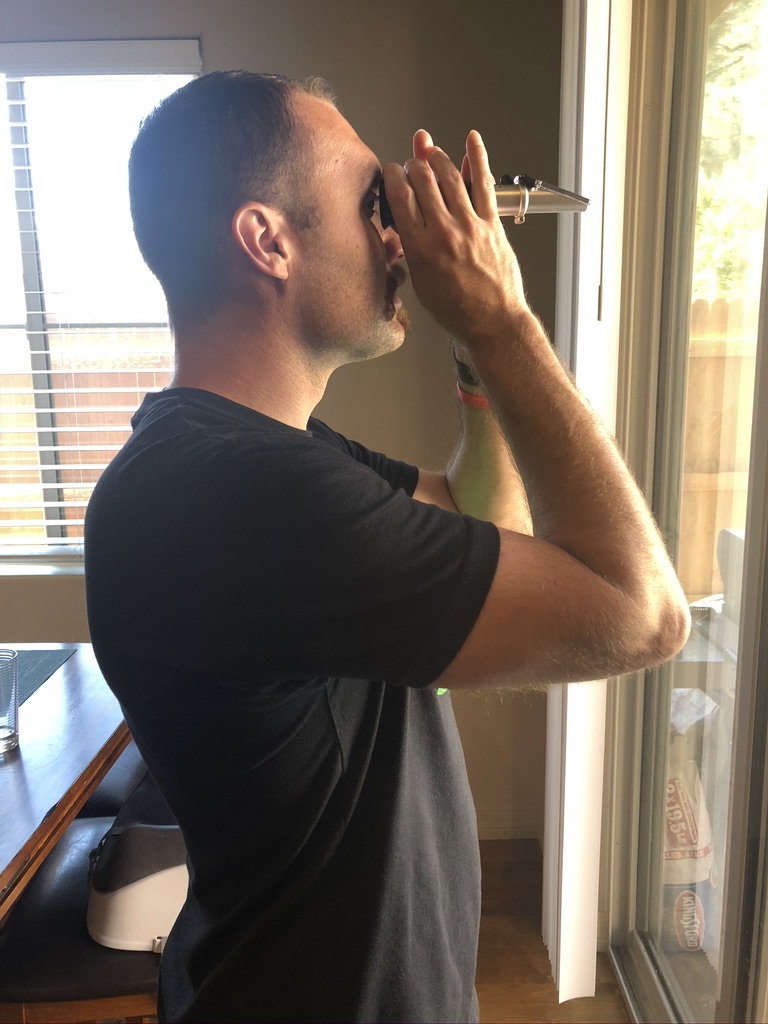
Using Refractometer 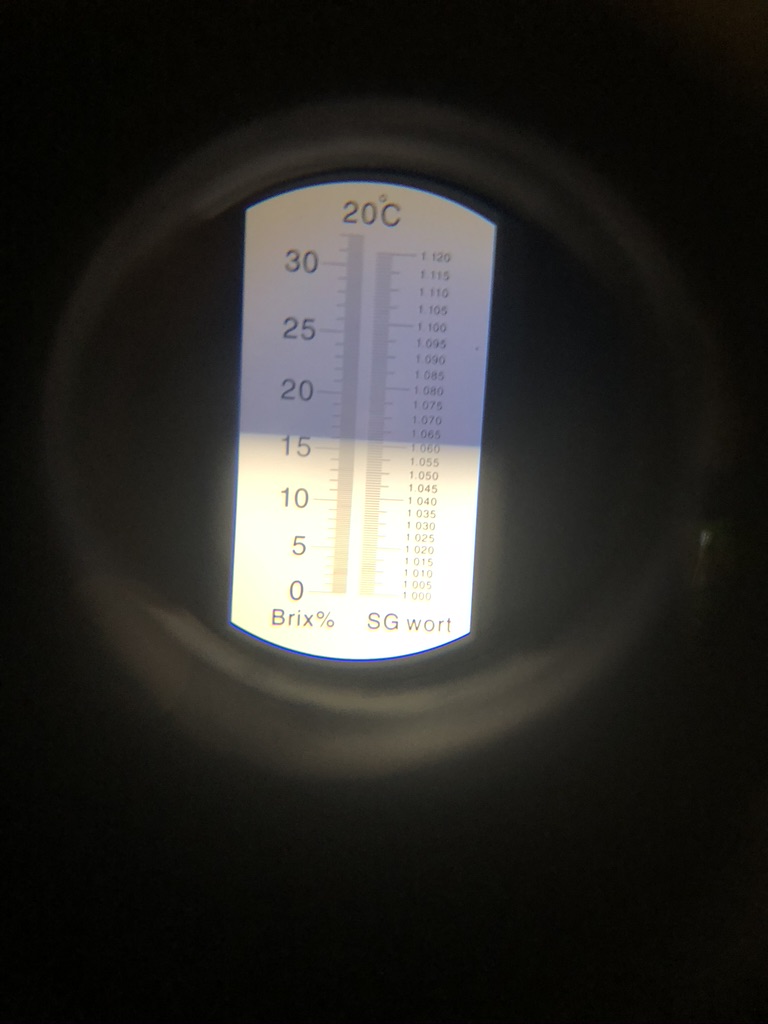
Gravity as viewed through refractometer- just about 1.063
Step Eight: Oxygenate the Wort
Once your wort is in the fermenter, it is important to add oxygen to the beer. There are fancy setups used to add pure oxygen to the beer, but it will work just fine to shake the fermenter for 1-2 minutes. Please do this in a safe manner, you’ve worked hard to get to this point! The reasoning behind oxygenating the beer is that the yeast will consume this oxygen early on in the fermentation process as it is replicating and becoming strong enough to turn the sugars in the beer into alcohol (and CO2).
Step Nine: Pitch the Yeast
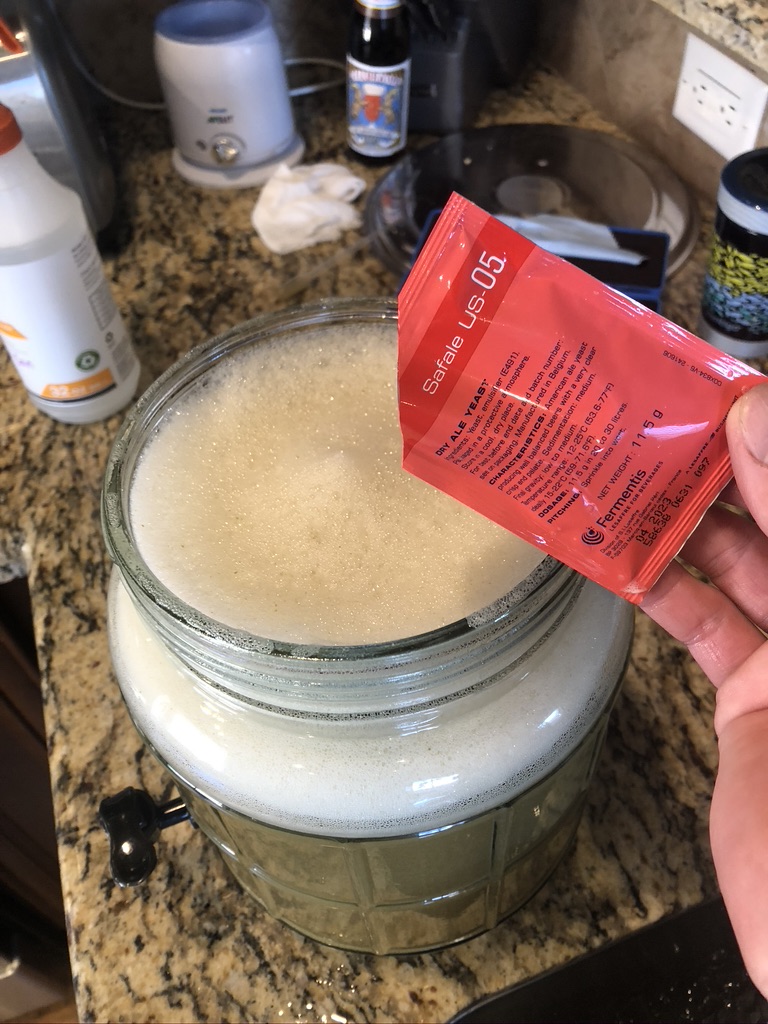
After you have fully oxygenated the wort, it is time to pitch the yeast. On the back of your yeast packet, it will likely say to ‘sprinkle into wort’ or to rehydrate prior to pitching. As stated above, if your yeast packet called for rehydrating, hopefully this process was started earlier in your brew day. If not, start it now!
Either way, you will want to sanitize your yeast packet as well as the scissors that you will use to cut the yeast packet open with.
Now simply pitch the yeast into the wort and seal up your fermenter. For 1 gallon batches, you do not need to pitch the whole packet. I generally shoot for 1/3-1/2 packet, more for stronger beers.
You will want to place either an airlock or a blow-off tube on your fermenter at this time. I generally prefer a blow-off tube as it can be simpler and has much less chance of causing a mess; however, whichever option you choose will work! Fill the airlock or blow-off tube glass with either vodka or sanitizer. Place the fermenter in a location in your household that will have a fairly stable temperature that is within the temperature range listed on your yeast packet. It is also important to keep the fermenter out of direct light. If the perfect place in your residence is exposed to light, I would just recommend simply throwing a cardboard box or similar over your fermenter.

Step Ten: Let the Beer Ferment
Now comes the toughest part of the whole process… waiting for your beer to ferment!
The fermenting process generally takes 2-3 weeks to complete. It is important not to bottle your beer too quickly for two reasons, you can end up with unfermented sugars- and subsequent possible bottle bombs (like literally, the bottles can blow up), and/or you can end up with unwanted byproducts such as diacetyl (causes a buttered popcorn flavor in beer). To absolutely ensure that fermentation has completed, you can take serial gravity samples over the course of 3 or so days. Once fermentation has completed, these gravity samples should not change over several days. However, if you are using a hydrometer and are having to take fairly large portions of beer to get these readings, it can be frustrating. I have found that by letting a beer ferment for 2-3 weeks, especially if you are fermenting at or slightly above 65F, you should have a finished fermentation.
Take a specific gravity reading at this time. This reading will be your ‘final gravity’. You can use this ‘final gravity’ along with your ‘original gravity’ to determine the ABV of your finished beer. It is important to remember that if you are using a refractometer to take a final gravity, you must use a conversion calculator as the alcohol now present in your beer can throw off the reading. My favorite online calculator for this can be found here.
Once fermentation has finished, the time has come to package your beer. I would recommend following this link to my post discussing my preferred bottling technique!
If you are interested in taking the next step into the brew-in-a-bag method, please follow this link.