So you brewed a batch successfully, you have been patient with the fermentation, and now the time has come to package your beer!
Unless you are lucky enough to own a canner or kegerator/keezer, you will be bottling your beer!
In this article, I will go through my preferred method on how to bottle a 1-gallon batch of beer. I have found this method to be effective and efficient through trial and error. I will also discuss products that I have found to make this process much easier.
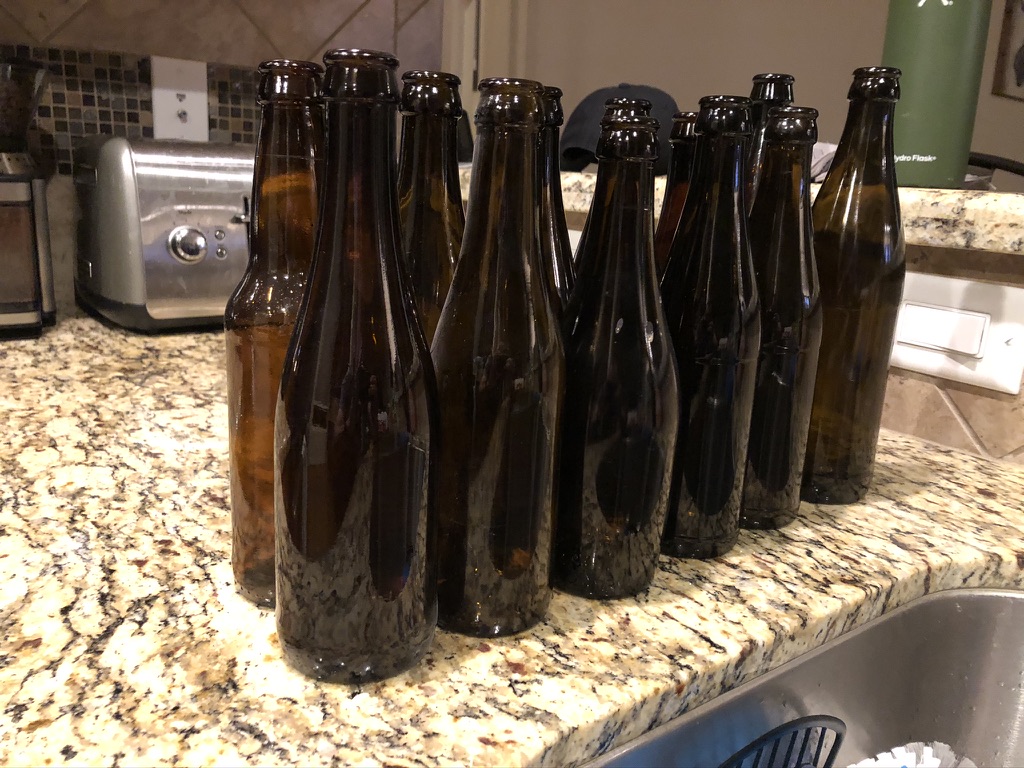
Step One: Collect Your Bottles and Clean Them
As mentioned in my other articles, I am a big fan of reusing bottles from other homebrewers or commercial breweries. Many brewery’s labels can be removed easily, and you can truly recycle them by putting your own delicious homebrew in them. However, for your first batch or two, you may have bought bottles from your local homebrew supply store.
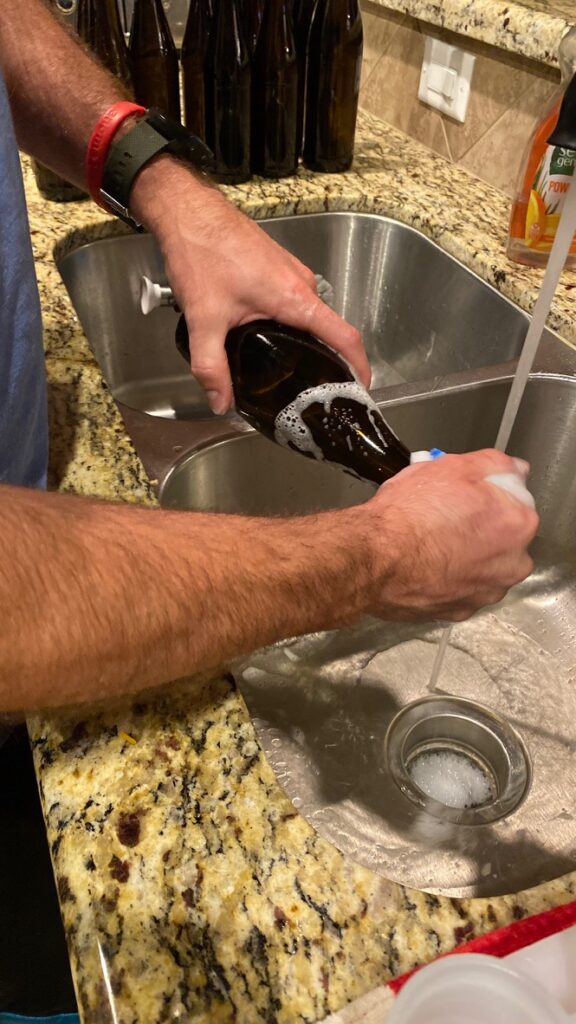
In any event, you will want to fully clean the bottles with soap and water. If these bottles came from your friends or you weren’t sure if they were rinsed soon after consumption, I would recommend using a bottle brush to make sure that the bottles are fully cleansed. I recommend looking through the bottle into direct light to assess the cleanliness. It is important to be selective here, the last thing you want is to go through the work of brewing and fermenting only to have some bottles of beer ruined due to lack of cleanliness.
Step Two: Sanitize the Bottles
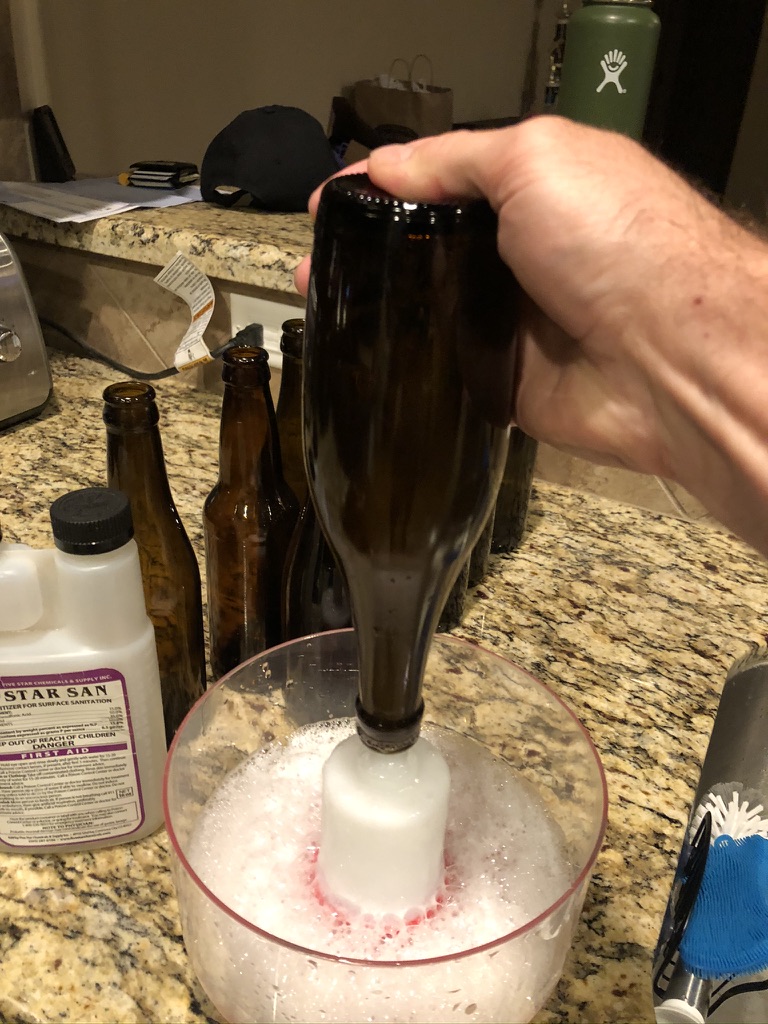
The next step once a bottle is clean is to sanitize the bottle. There are a couple ways to do this. The cheapest option is to make 12oz of sanitizer solution and pour this from bottle to bottle. However, a product that has made this step of the process much easier for me is this type of bottle rinser pictured below.
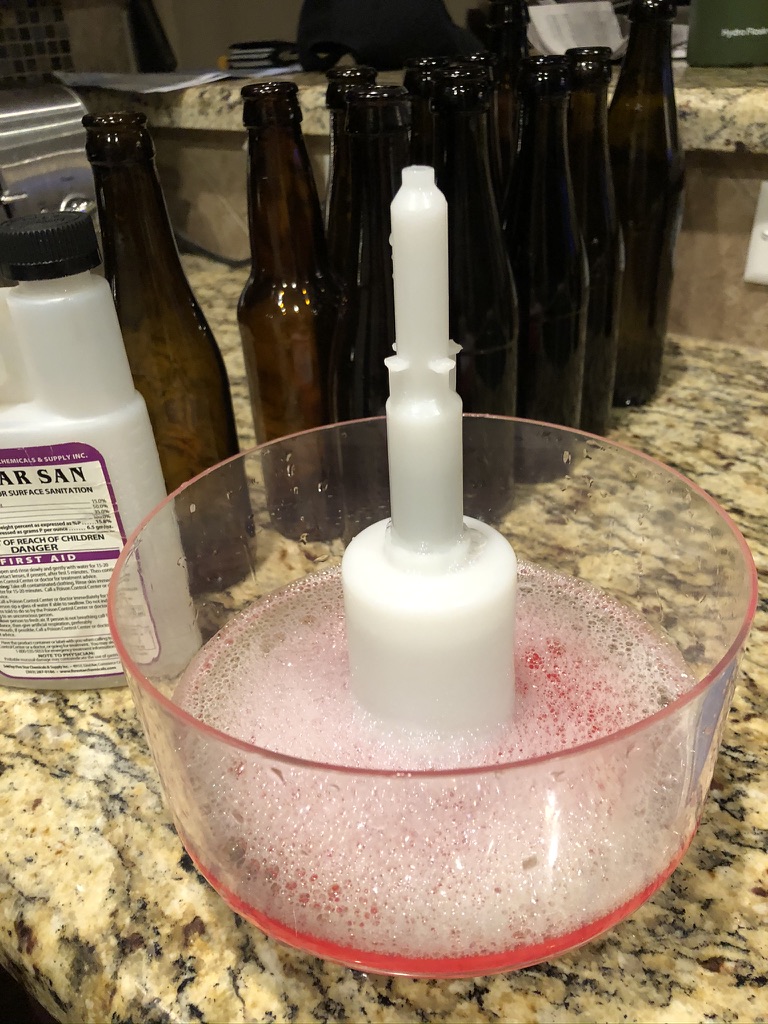
You can simply prepare a small amount of sanitizer solution, and it is ready to sanitize however many bottles you need to.
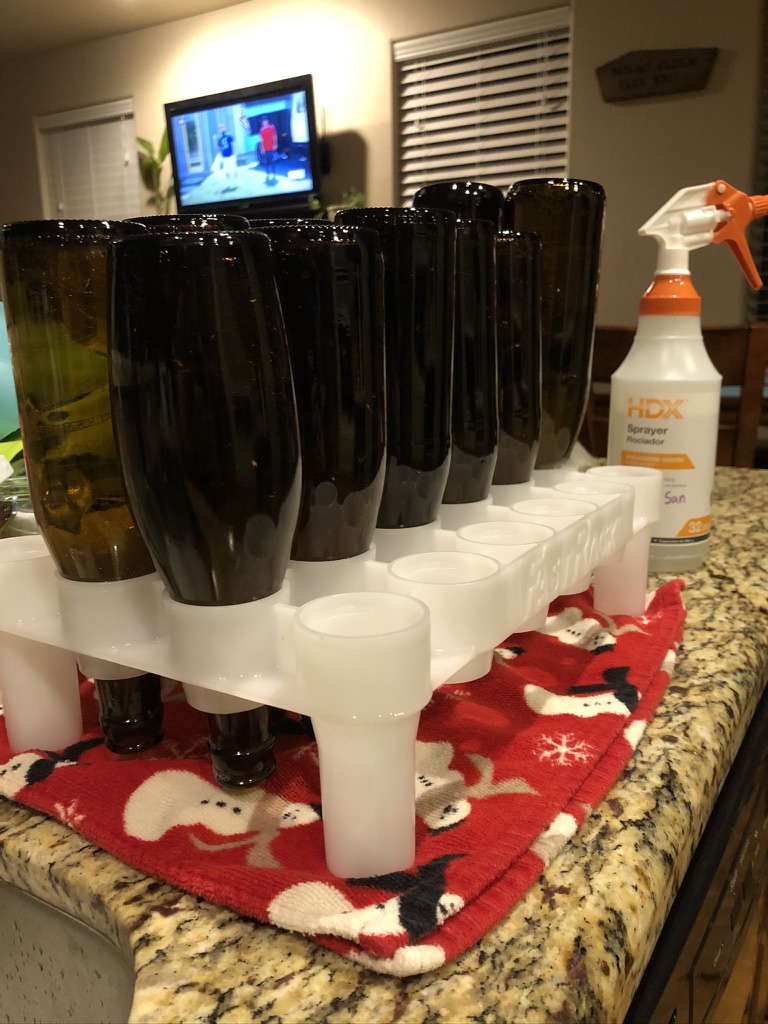
After you clean each bottle, rinse the bottle with sanitizer and place aside to dry. Another product that I highly recommend for this step of the process is this type of bottle rack. I prefer this type of rack vs a bottle tree as once the bottles are sanitized, you are not having to place anything inside the bottle like you do with the ‘branches’ of the bottle tree. These racks can also be stackable as long as the bottles are the same size.
Step Three: Prepare Beer for Bottling
This is where you have two main options for bottling and priming.
- Siphon beer to a bottling bucket and add priming sugar to entire batch
Advantages: can be more precise with priming sugar amount, in theory can decrease amount of sediment in bottles
Disadvantages: more time consuming, increased oxygen exposure (which you don’t want at this point in the brewing process) - Bottle straight from fermentor and prime each bottle
Advantages: easier and less time consuming
Disadvantages: can be tough to prime each bottle, unless using priming ‘sugar drops’- in this case, you don’t have the flexibility to change the amount of priming sugar used in each bottle
If you are using the first method, at this time, you will prepare a priming sugar solution. The most common priming sugar used is dextrose, but most forms of sugar from malt extract to honey or maple syrup can be used as well. There are various calculators online, such as this one, that will help you find how much of each type of sugar to add.
At this time, please clean and sanitize anything that will be coming into contact with your beer. This includes bottling bucket, siphon, hosing, bottling wand, bottle capper and caps.
To make a priming sugar solution, you will heat up 1-2 cups of water to boiling. You will add the correct amount of priming sugar to this water and boil for at least 10 minutes. Then let cool before adding to boiling bucket.
Once cool, I recommend adding the priming sugar solution to the bucket before siphoning beer into the bucket. This helps to get an even mix of the priming sugar into the beer. Now, take your siphon and siphon the beer from your fermentor into the bottling bucket. Be careful to limit the amount of sediment that makes it into the bottling bucket. I recommend pointing the siphon hose at the wall of the bottling bucket so that the beer goes in smoothly vs. lots of bubbles. Some people like to stir the beer at this point to insure good mixing of the priming sugar and beer, but I try to limit any further oxygenation at this time.
If you are using the second method, you simply just have to add priming sugar to each bottle at this time. I have gotten consistent results with these carbonation drops, and you certainly can’t beat the ease of use!
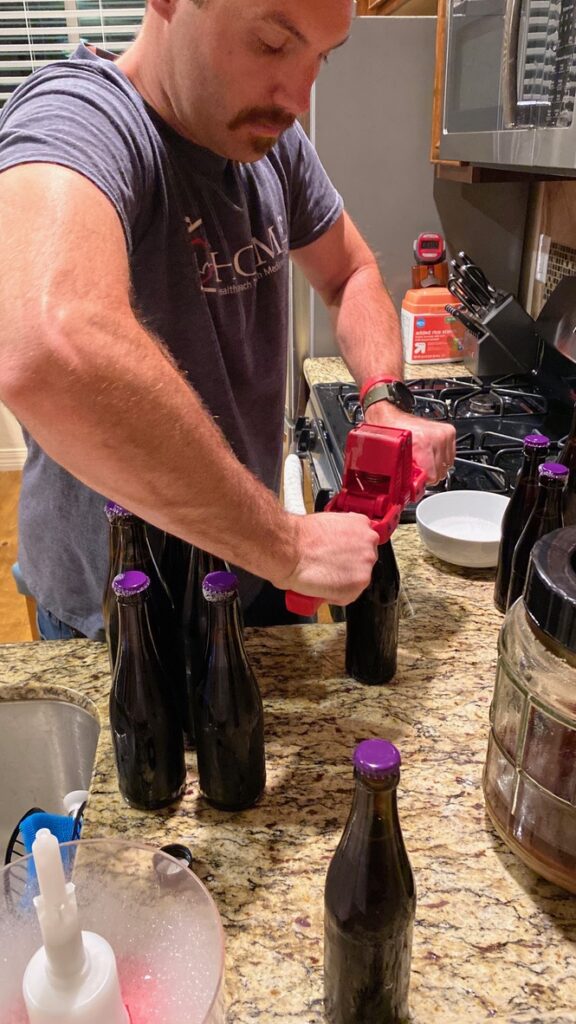
Step Four: Bottle the Beer!
The time has come to add the beer to the bottle.
A bottling wand is worth far more than it’s actual cash value when performing this task. It will allow you to easily start and stop bottling without dripping beer everywhere and/or having to pinch/clamp the hose between bottles. I highly recommend you get one of these if you haven’t already!
Clean and sanitize both the bottling wand and hosing if you haven’t already. Attach the bottling wand to the hosing. Sometimes it can be helpful to run the ends of the hosing under warm/hot water to make them more pliable to be able to fit the bottling wand inside.
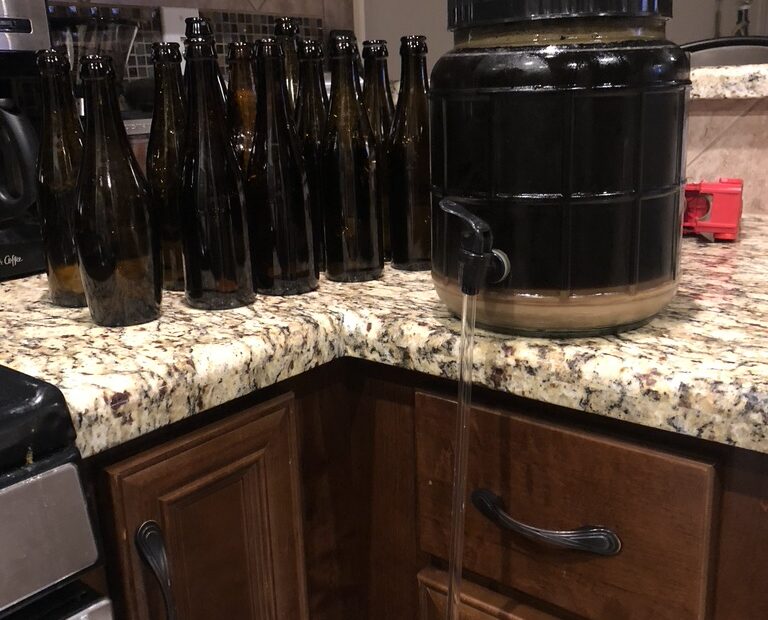
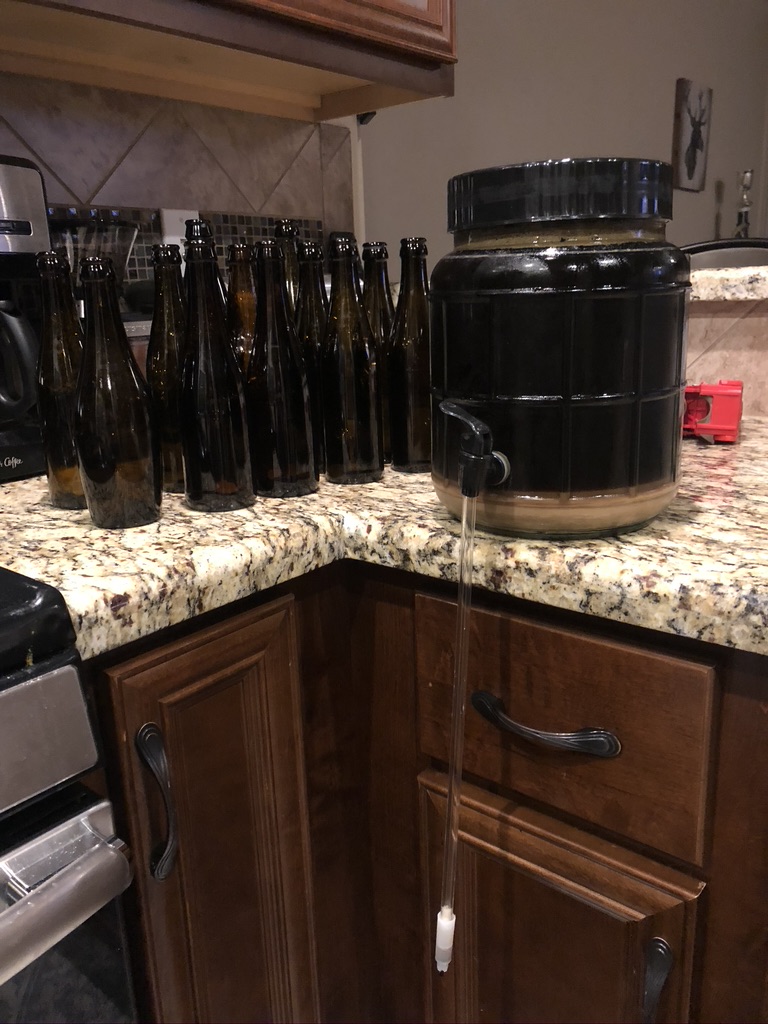
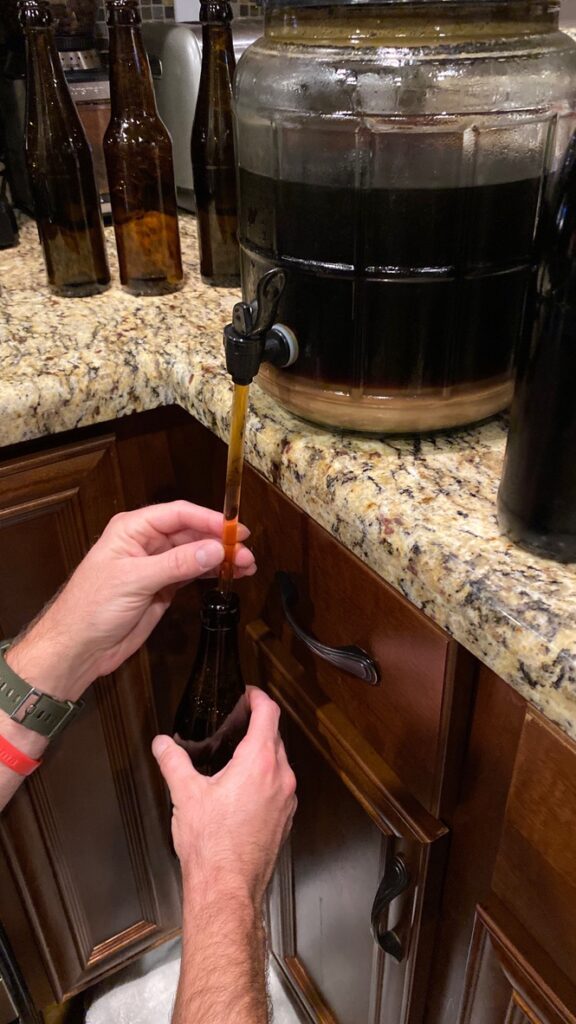
In my case, with my fermentor that has the spigot attached, I will be attaching the bottle wand directly to the spigot without hosing.
One by one, take a sanitized bottle and press the nipple of the bottling wand to the bottom of the bottle. Once the beer reaches the top of the bottle, release the pressure of the bottling wand. Once you remove the wand, it will leave the perfect amount of head space in the bottle.
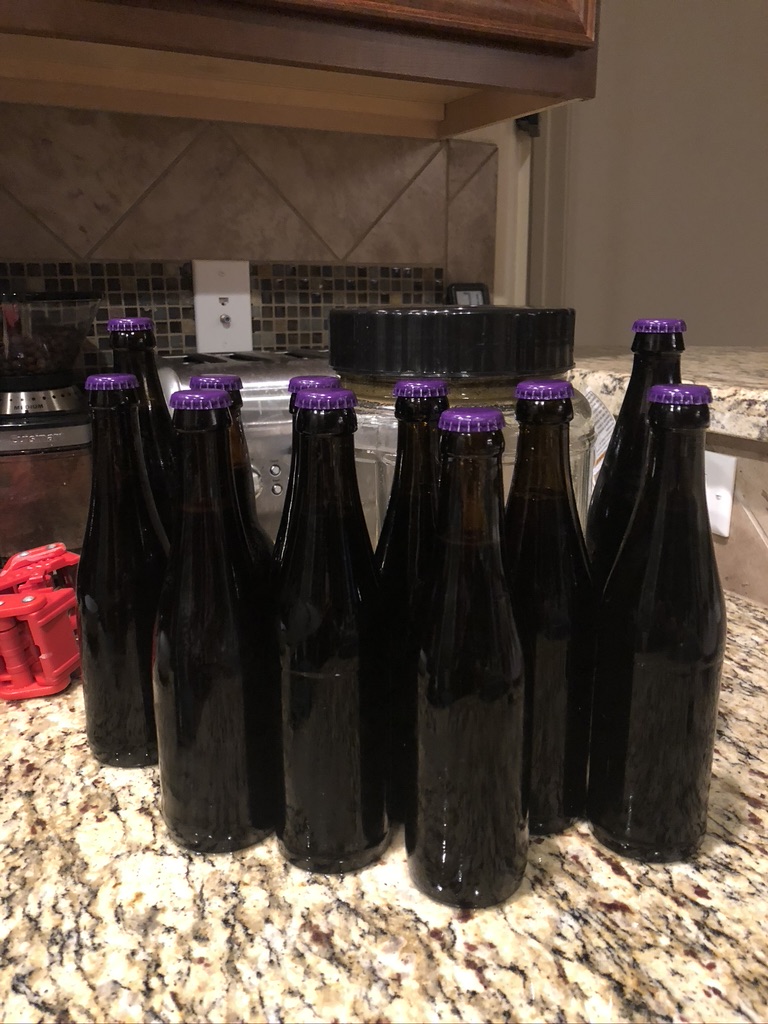
Now, cap the bottle. Some people prefer to add the beer to every bottle and then cap altogether at the end, and some prefer to add the beer then cap one at a time. This really comes down to personal preference, it really depends how I’m feeling that day.
Once you have capped each beer, you are done! The bottle conditioning (carbonation) process will take about 2 weeks. The beer will generally be drinkable in 1 week, but the carbonation in most cases will be low. Basically what is going to happen during this time is the residual yeast from the fermentation process will consume this additional priming sugar that you added, and as a byproduct form CO2 that will be trapped in the bottle.
It is important to let this bottle conditioning process happen at room temperature as keeping the bottles refrigerated during this time will significantly slow down the action of the yeast.
After two weeks have passed, it is time to consume your homebrew, you have certainly earned it!
If you are interested in more how-to articles like this one, please click here!