I’d like to start out by saying, I do not claim to be an expert at taking pictures of beer. However, I would like to share tips that I have picked up throughout my beer drinking ‘career’. The following are my recommendations on how to take better pictures of beer!
Clean Glass
I feel that this is an important one to talk about. Too often on Instagram I see pictures with dirty glasses. Often times, these glasses do not appear visibly soiled to the naked eye until you put a carbonated beverage into them.
Unfortunately for us, beer is not forgiving for showing off dirty glasses. In a clean glass, nucleation should start at the bottom of the glass, and the CO2 bubbles will travel upwards to the top of the beer. When a glass is dirty, you will see nucleation points on the sides of the glass. Basically, bubbles will accumulate in clusters on the sides of the glass.
Now, is this really a big deal? I would say no.
However, if you’re trying to attract more followers, attract people to your blog, etc. you want to look as professional as you can.
I have started to see some people on social media post #DGM, abbreviating “dirty glass mafia”. If you recently posted some pictures and get the #DGM comment, it’s time to clean your glass!
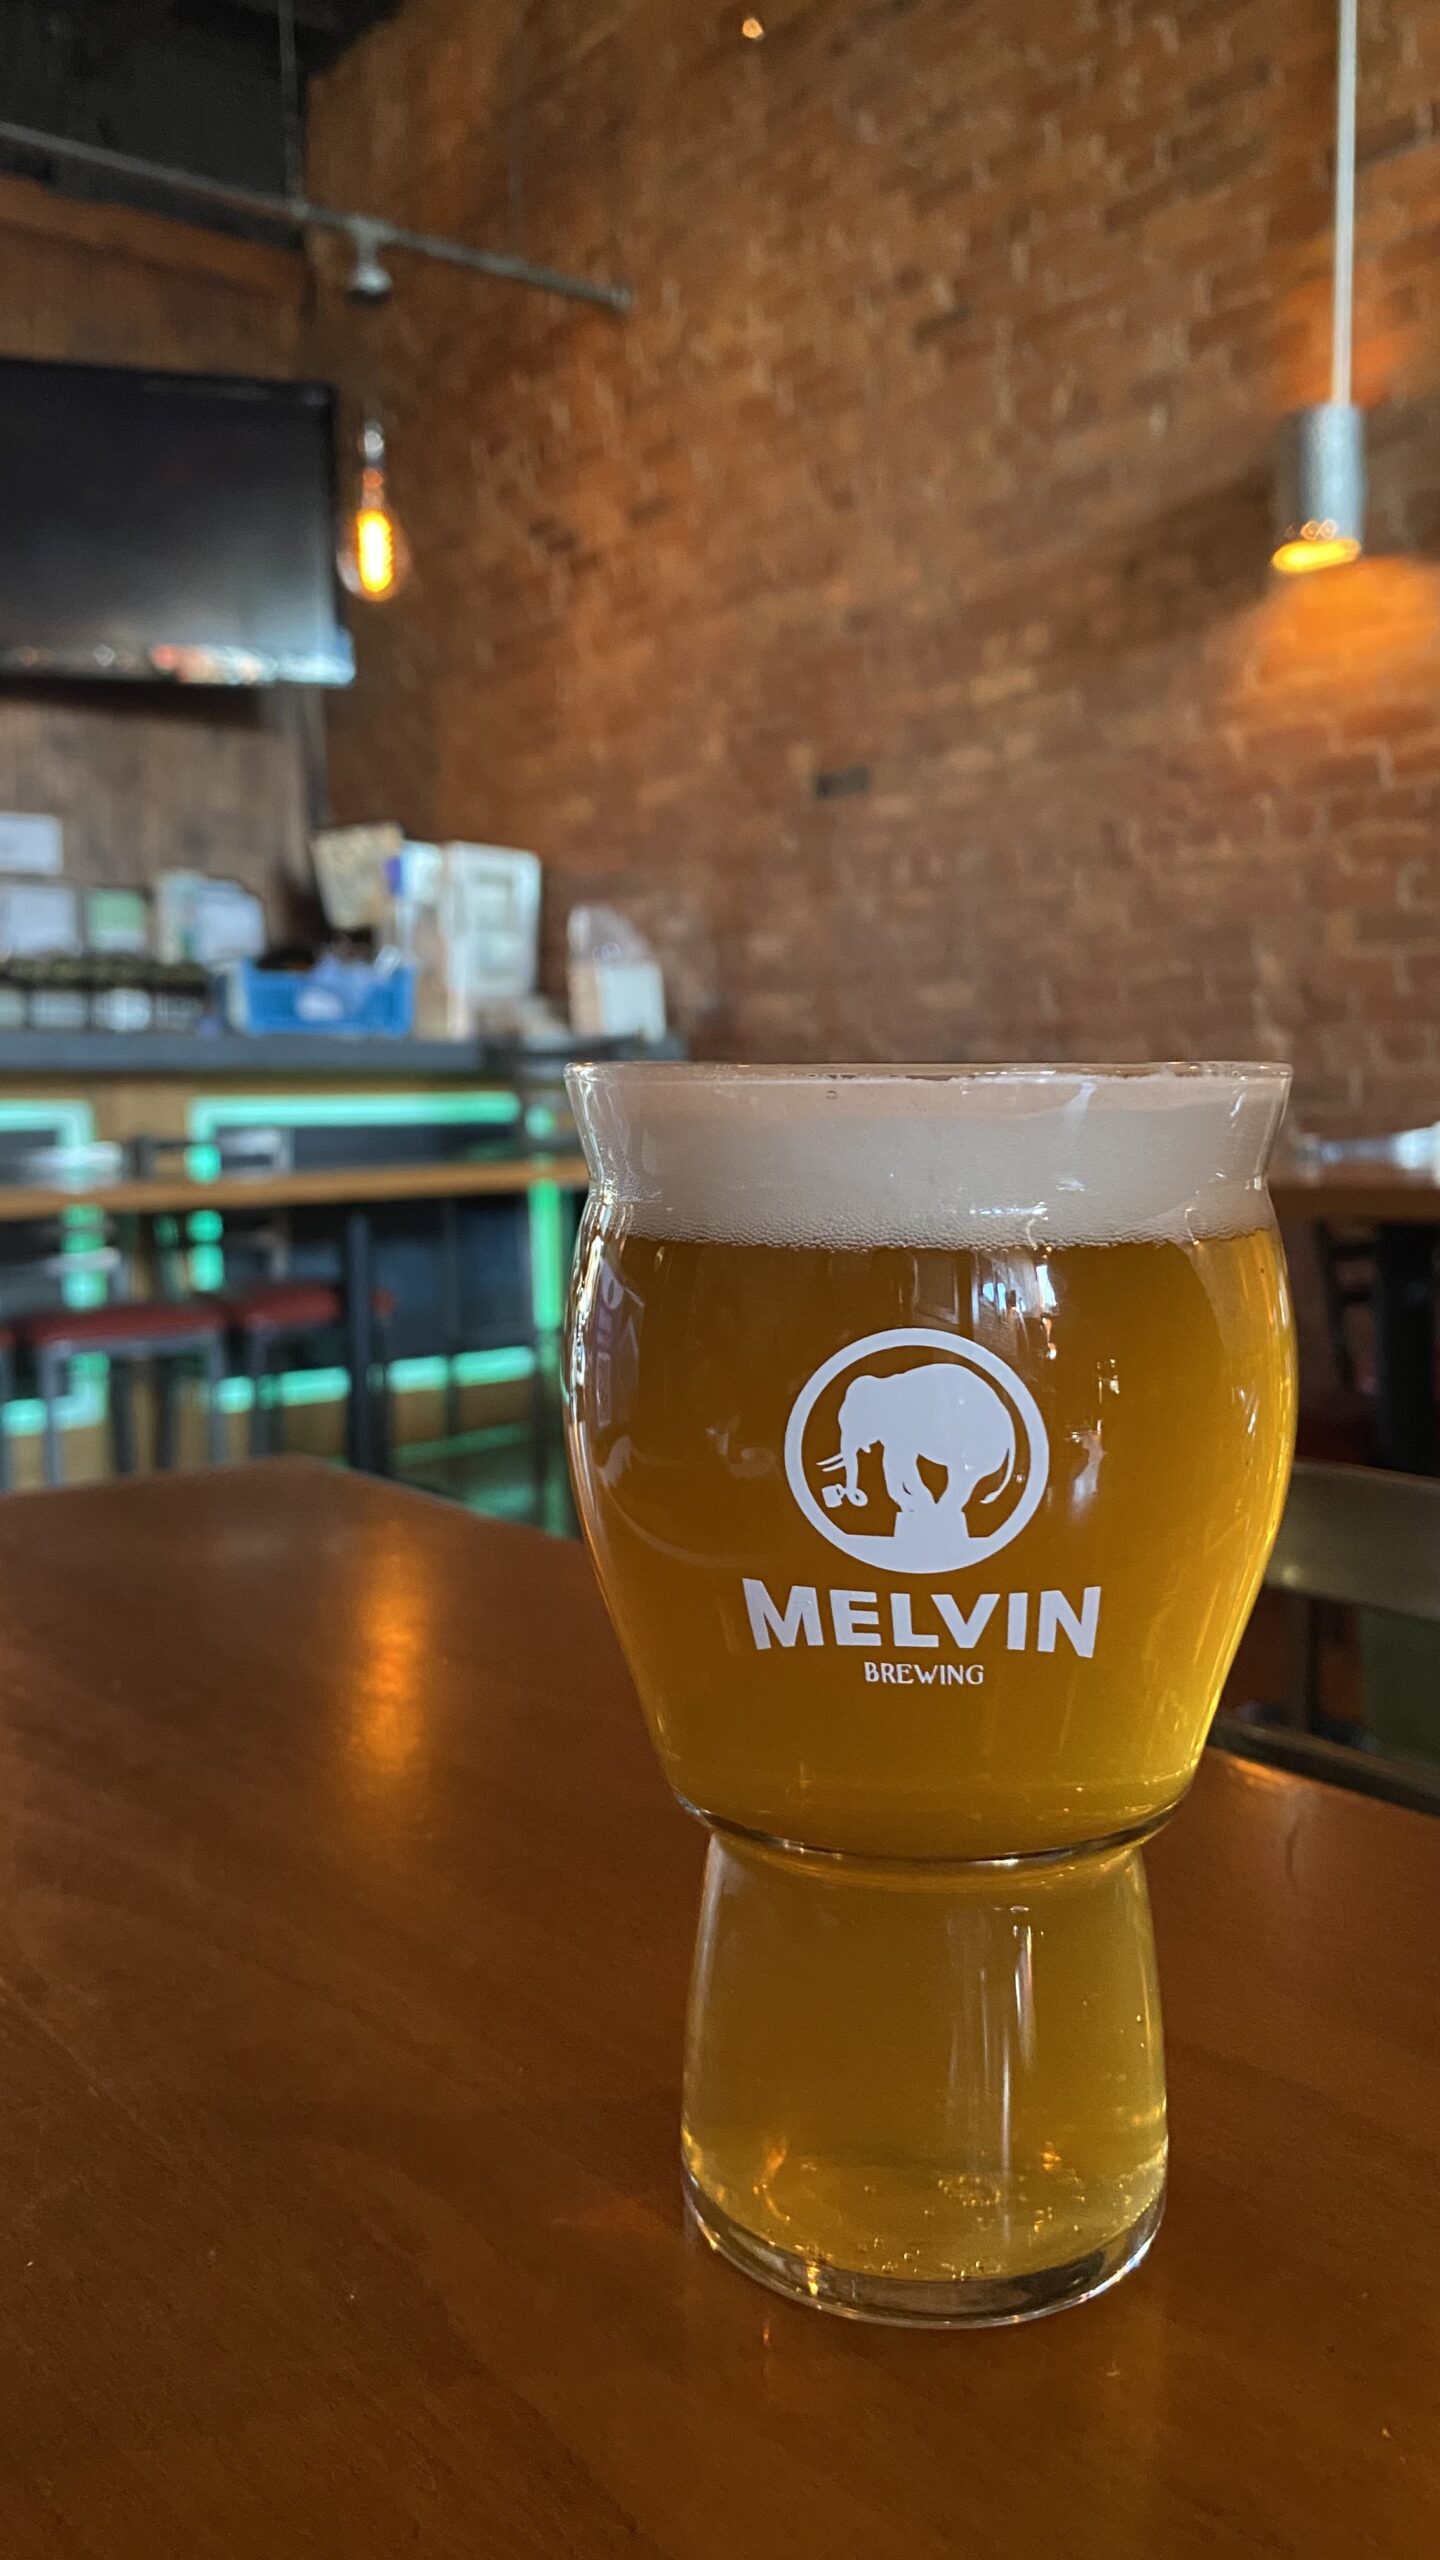
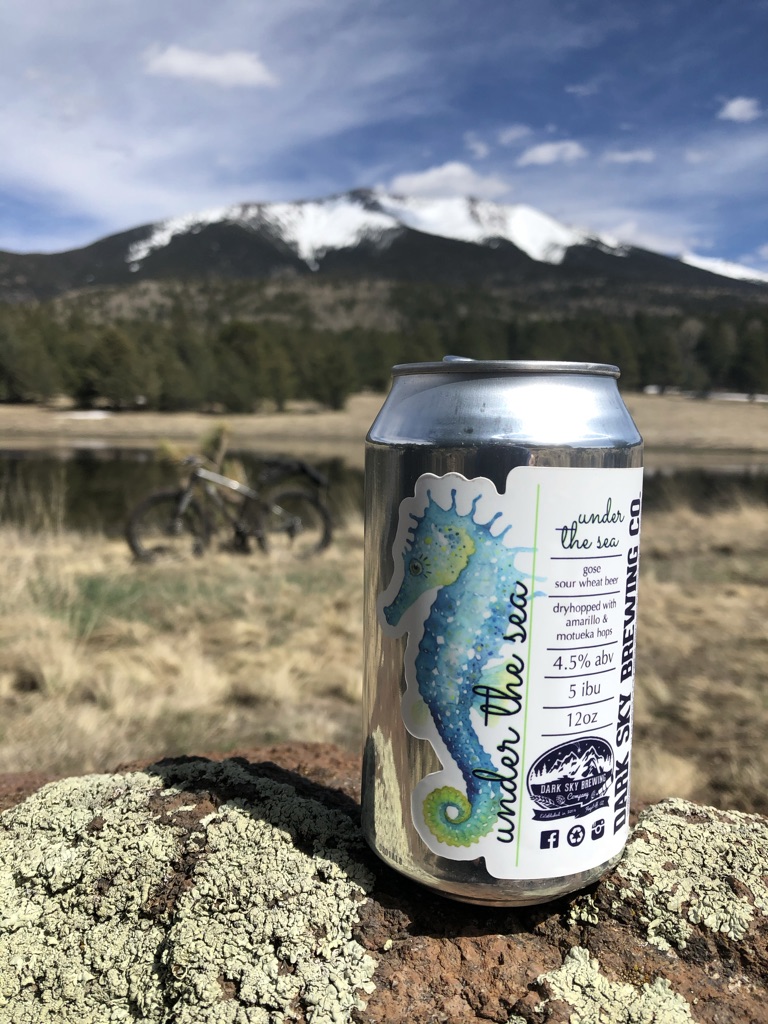
Good Background
Obviously, pictures of beers taken in front of a stunning landscape are awe inspiring. However, for the average beer drinker, we’re not in front of an amazing mountain view every Friday night.
If you are not lucky enough to have a great landscape background to take a picture in front of, I have found that neutral backgrounds work very well.
It is important to avoid distracting objects like lightswitches or household items in the background of your picture.
Make sure to clean your table or countertop that you are placing your beer on. A dirty surface can decrease the quality of your picture significantly!
Get a Photo Lightbox!
In our temporary residence for the past few months, I have had trouble finding a good spot to take pictures. The apartment isn’t laid out in a fashion that’s very conducive to quality pictures (as some of you may have noticed on my Instagram recently).
I considered making my own lightbox to combine a nice neutral background as well as sufficient lighting. However, during my search, I found many options to purchase that were reasonably priced and seemed to be of good quality.
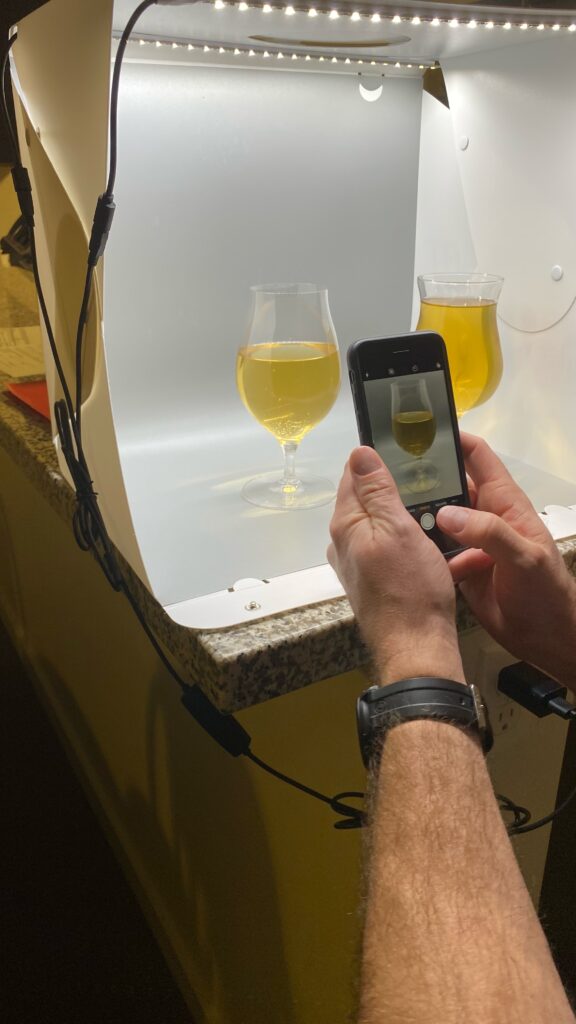
I ended up purchasing the Emart Tabletop Lightbox from Amazon. It was middle of the road as far as price goes (~$40 USD), and I have been happy with the pictures I have taken with it thus far.
There were other options that I found that came with more background color options, but realistically I didn’t see myself using a whole bunch of background colors.
Below is a picture taken with this lightbox.
Good Lighting
As with taking pictures of dang near anything, good lighting is key.
I would argue that natural light outside is best. However, many times you will taking pictures of the beer you are drinking, the sun will have already gone down. Good ambient light in your household can work well for this.
However, sometimes you have to get a bit creative to get good light. Some well placed light behind the camera can do wonders.
As noted above, most of the lightboxes that you can purchase come with built-in auxiliary lighting, making it super easy!
However, feel free to get creative with this!
Keep It Interesting
Keep your photos interesting! If you have followed any beer lovers on social media recently, you have probably noticed that beer pictures can get pretty repetitive.
It’s always fun for me to see what people do to keep their beer pictures interesting.
Whether this be taking pictures from different angles, using different glassware, or even using video formats, it helps to mix it up!
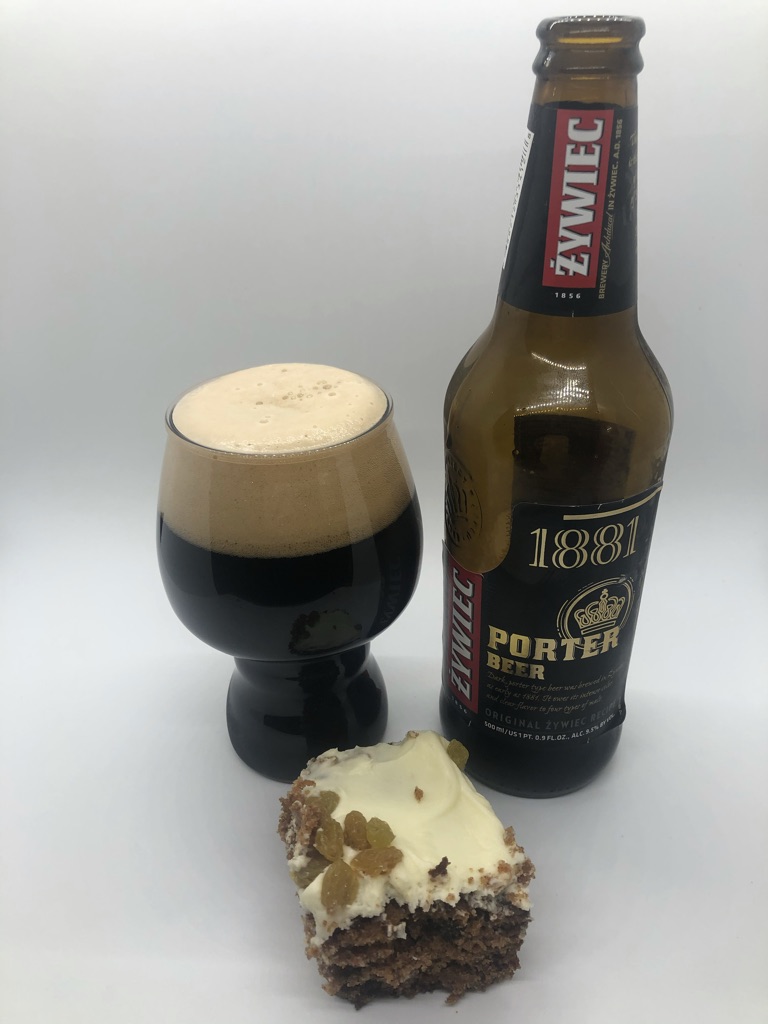
A strategy that I always love to see being utilized is adding the ingredients that were used in the particular beer to the picture. Throw hop pellets or leaves around the India Pale Ale, coffee and chocolate for a stout, or a big ol’ pumpkin for the classic Fall style!
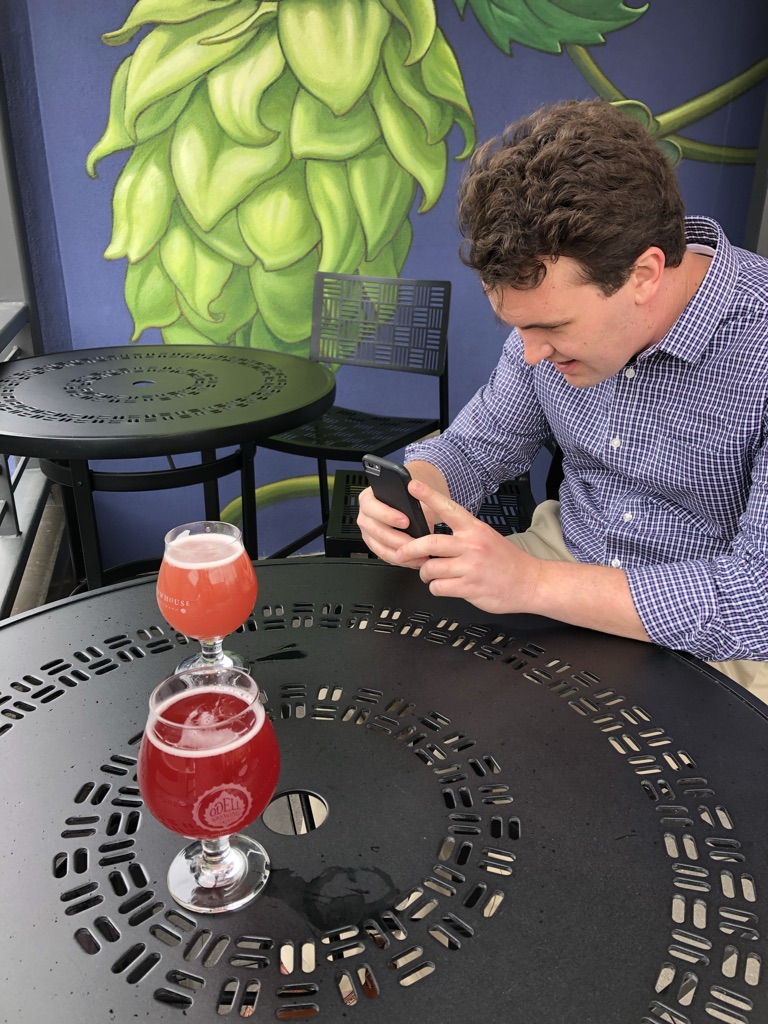
Take the Time to Set it Up Right
This is something I see mostly in public, which is completely understandable. It is somewhat embarrassing to set up a solid beer picture when your friends or other strangers nearby are just trying to enjoy a cold one.
My advice here is to try to look past it and try to be as confident as you can.
Whether you like taking these pictures as a hobby or maybe they are even helping you to make money, that purpose is just as important as others are for drinking their beer.
Don’t be afraid to take the time to find the best lighting and background in the area. As with many things in life, taking a bit more time with preparation will pay off!
Get a Good Camera
This is a tip I have not yet taken myself. I have just used my older iPhone for all of my pictures up to this point.
However, I do recognize the increased quality of beer pictures and videos when taken with a dedicated camera. Obviously, you will want to make sure that the benefits of spending the money on a nicer camera will be worth it for you personally.
I have read that most DSLRs and mirrorless cameras will work just fine for beer pictures.
Thank you for stopping by! Feel free to share any tips that you have learned regarding taking beer photos over the years!
This was a bit different of an article as this website is dedicated to small batch brewing! If you are interested in learning more about how to homebrew, look no further than my how-to articles!