In this article, I will walk you through how to transfer beer from keg to keg without exposure to oxygen! This method works perfectly after you have successfully fermented a beer in a corny keg, and you would like to transfer to another keg for serving.
If you are interested in learning how to ferment in a corny (Cornelius) keg, please click here!
This post will proceed as if you have just fermented a beer in one corny (Cornelius) keg and will be transferring to another corny keg for serving. I will be using the terms fermenting keg and serving keg for the outbound and inbound vessels, respectively. However, this method will work for any keg to keg transfer of beer.
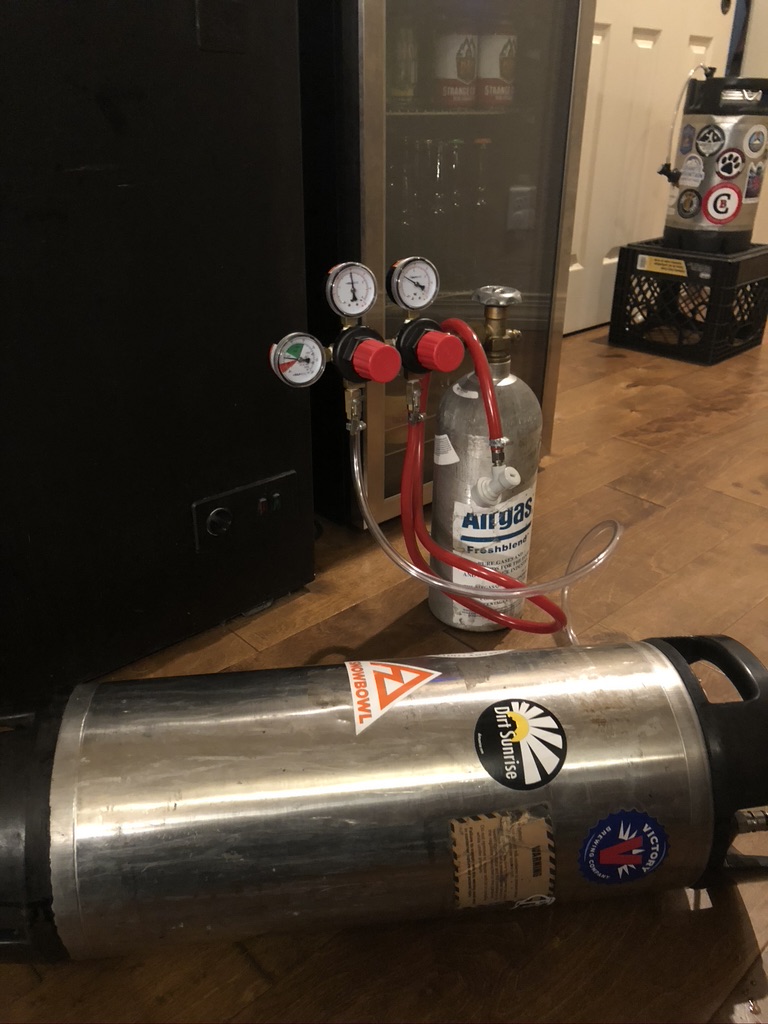
Step One: Obtain supplies
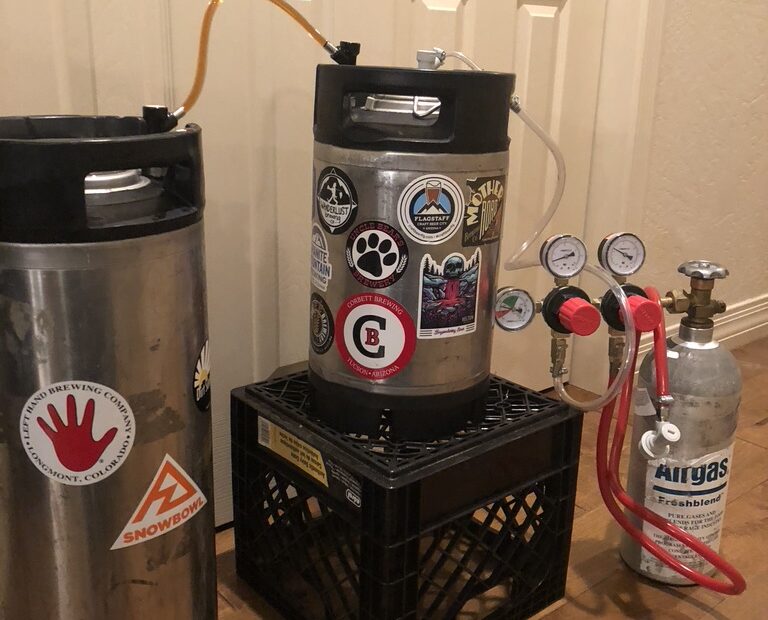
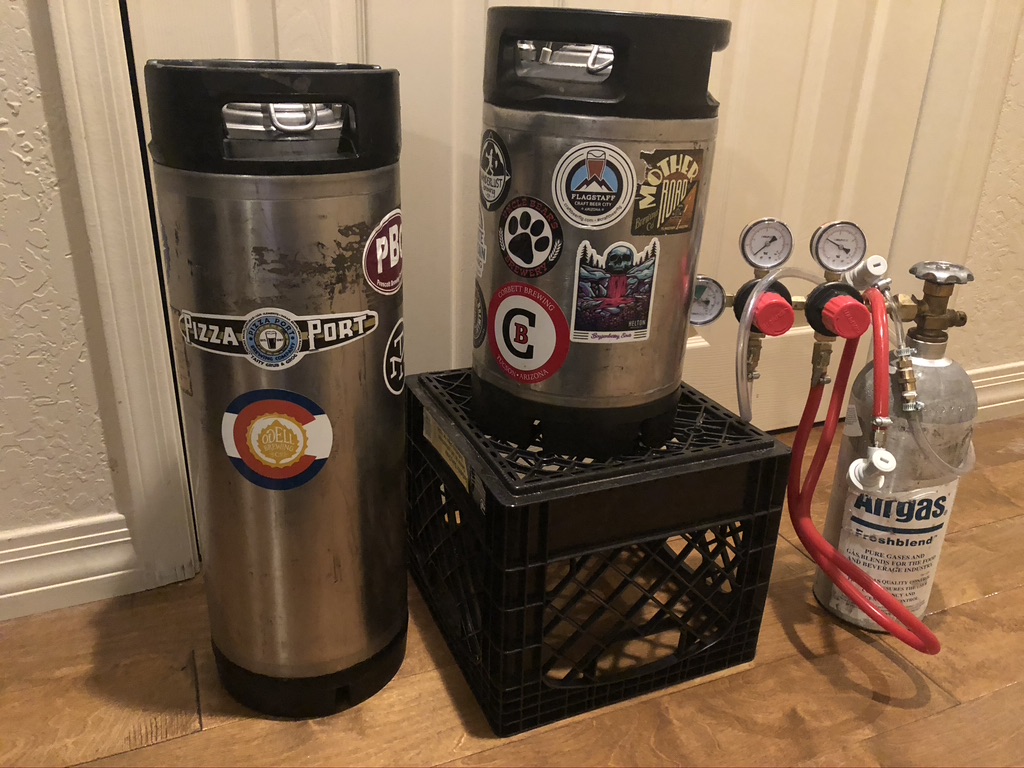
You will need two corny kegs, CO2 tank with regulator, and keg terminal connectors with a small amount of tubing. The majority of homebrew kegs these days use ball lock terminals, but make sure to get the proper connections if you have a pinlock keg.
You will connect the two liquid-side terminal connectors with a small amount of tubing as pictured below.
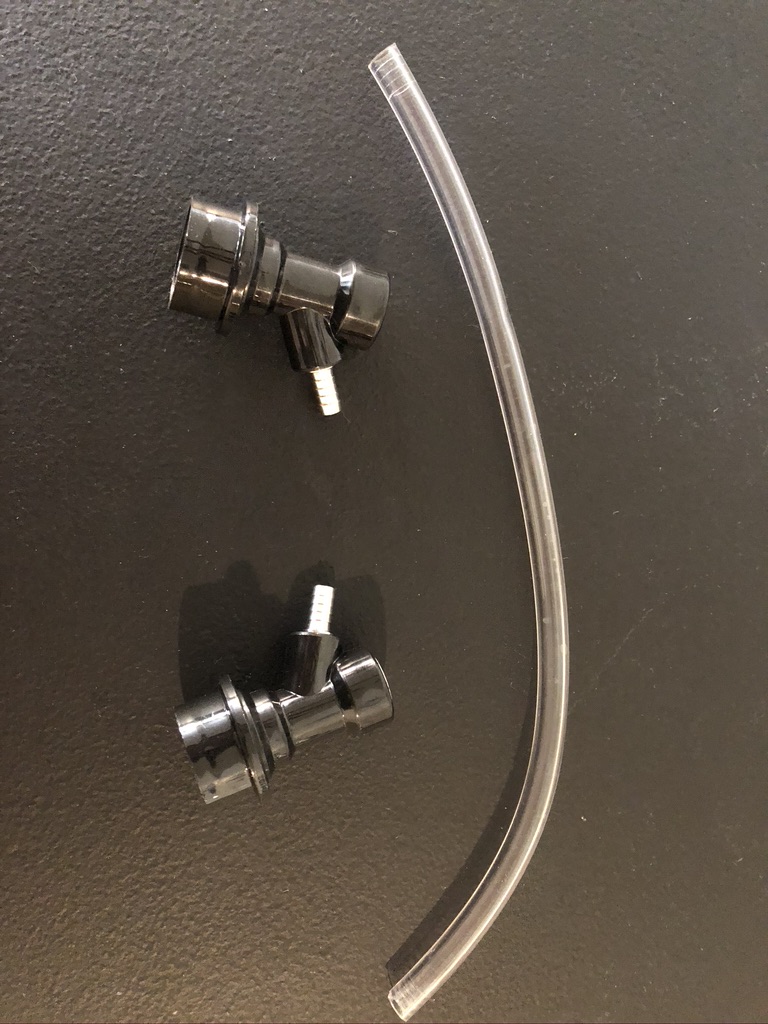
Liquid-side terminals with tubing 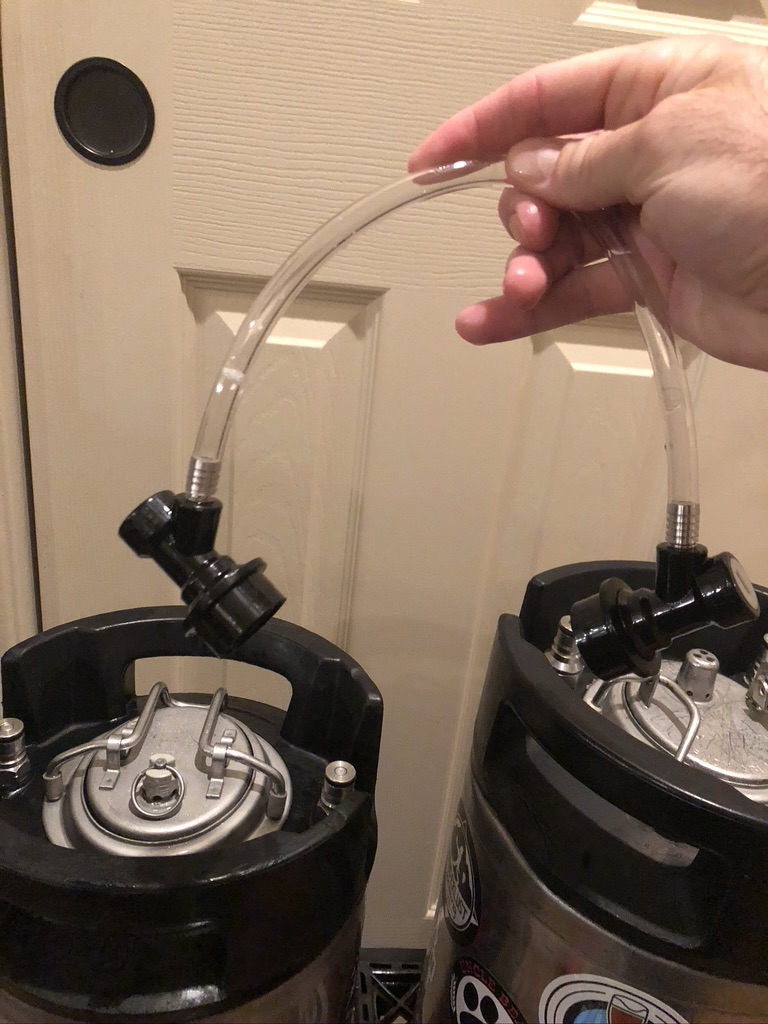
Connected terminals after sanitization
You will want to clean and sanitize these items as they will both be in contact with the fermented beer.
Step Two: Move fermenting keg to transfer location
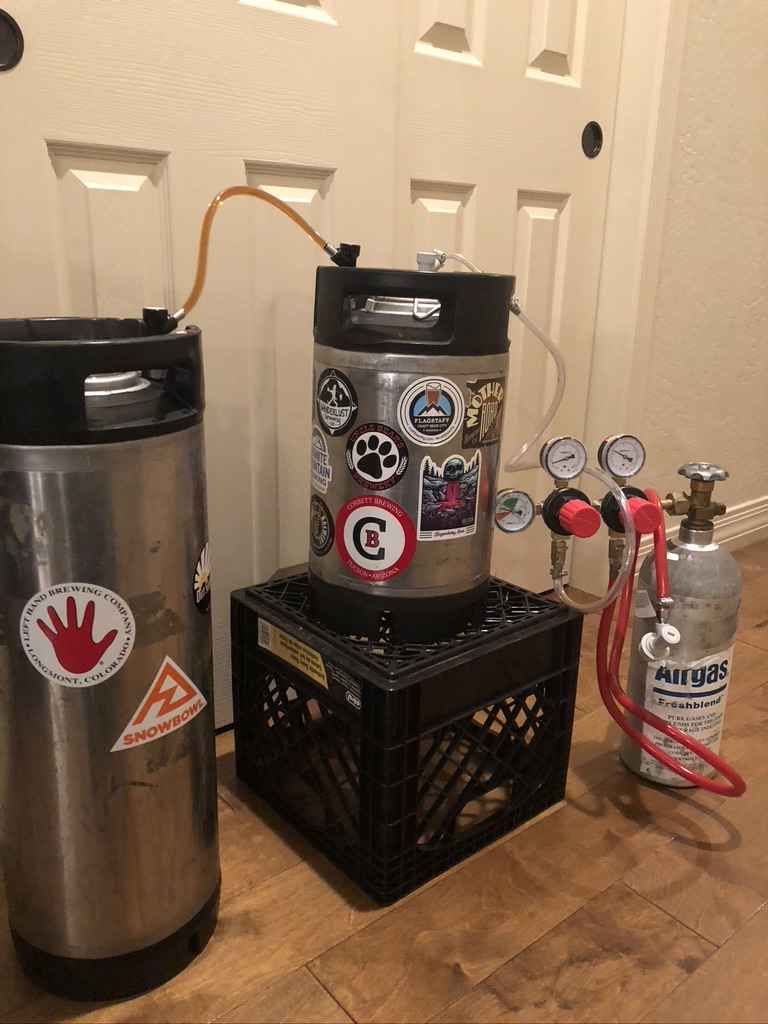
Next you will want to move the fermenting keg to your preferred transfer location. You will see my fermenting keg in this case was a smaller 3-gallon keg that I have shorted the dip tube on. I will be transferring the beer to a 5-gallon keg for serving. It is okay to remove the spunding valve or blow off tube from the fermenting keg during transportation.
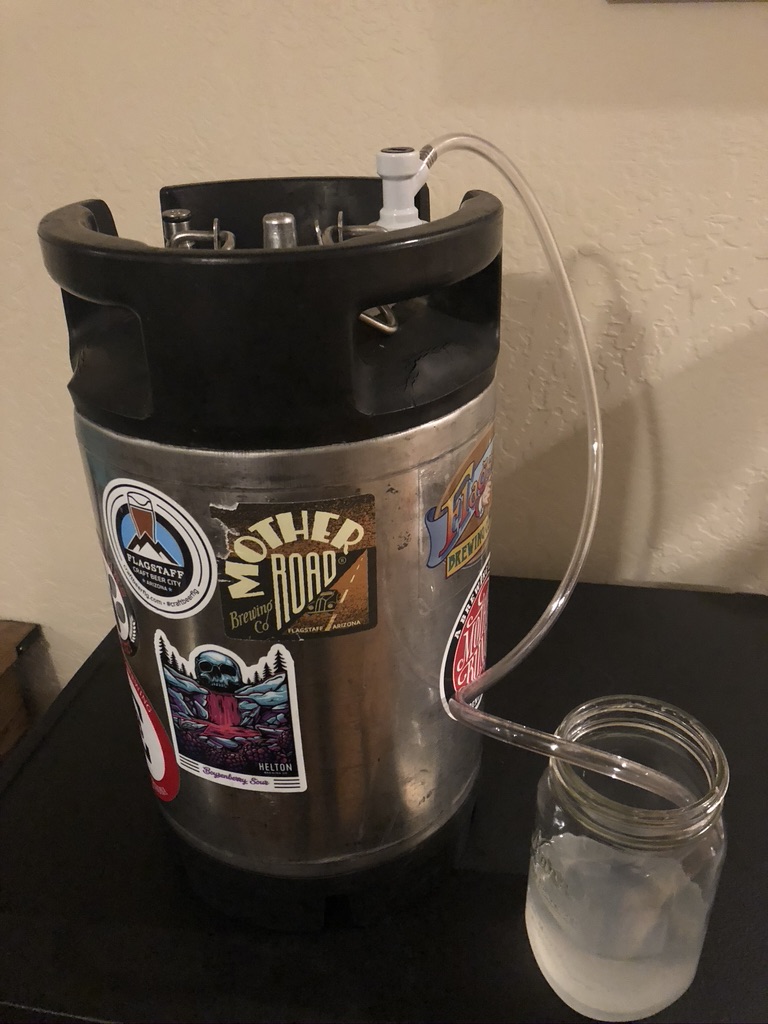
Step Three: Purge serving (receiving) keg with CO2
One of the biggest benefits to transferring in this fashion is to avoid exposure to oxygen. To ensure that this happens, you will want to purge the serving keg with a small amount of CO2.
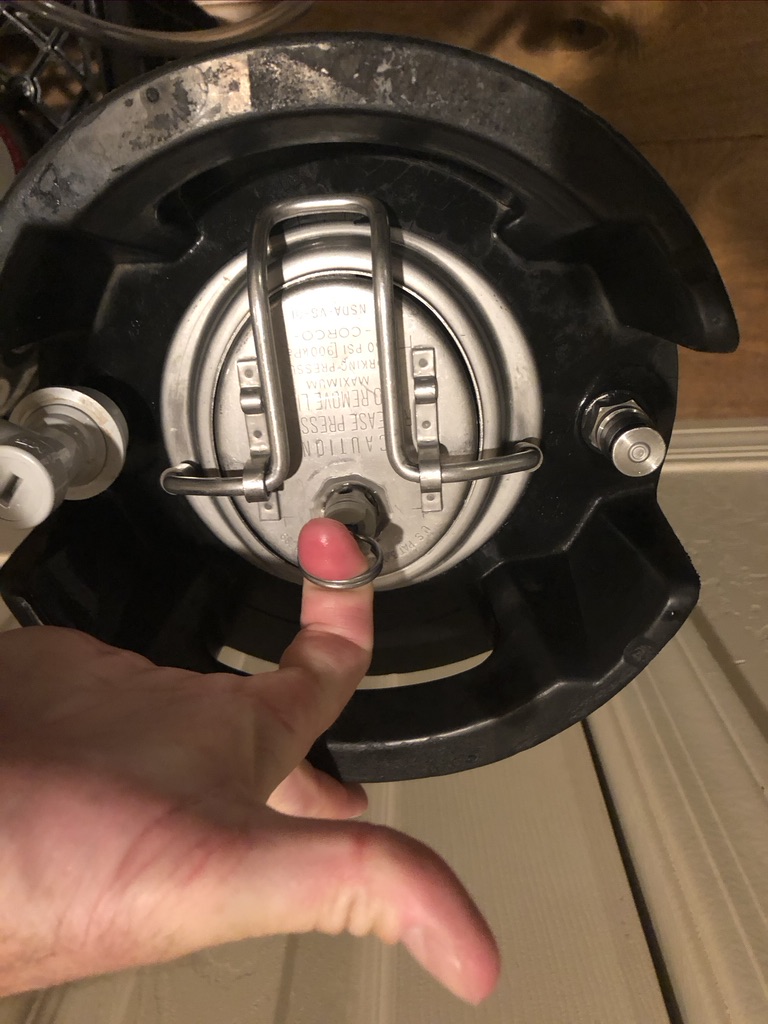
To perform this, attach the gas line from CO2 regulator to the gas-side terminal on the serving keg. Fill with a small amount of CO2 (2-5 PSI). Pull the valve opening on the keg lid to purge the oxygen from the keg. Do this several times to make sure that keg is full of CO2. Then, disconnect the gas line from serving keg.
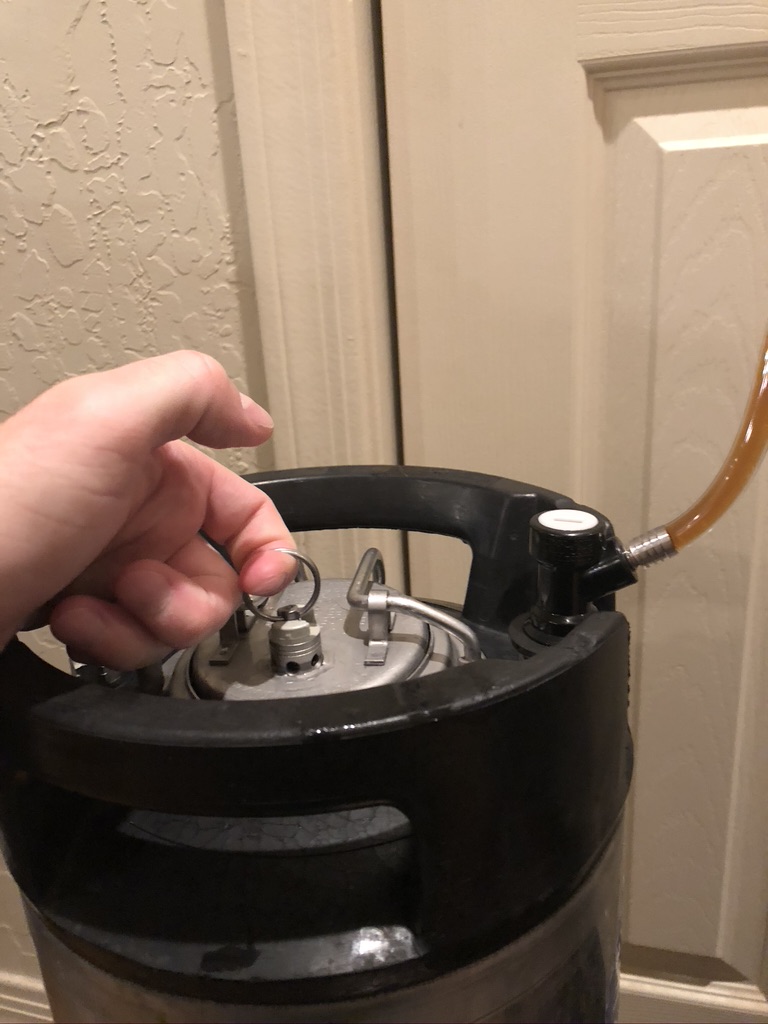
Step Four: Start the keg to keg transfer
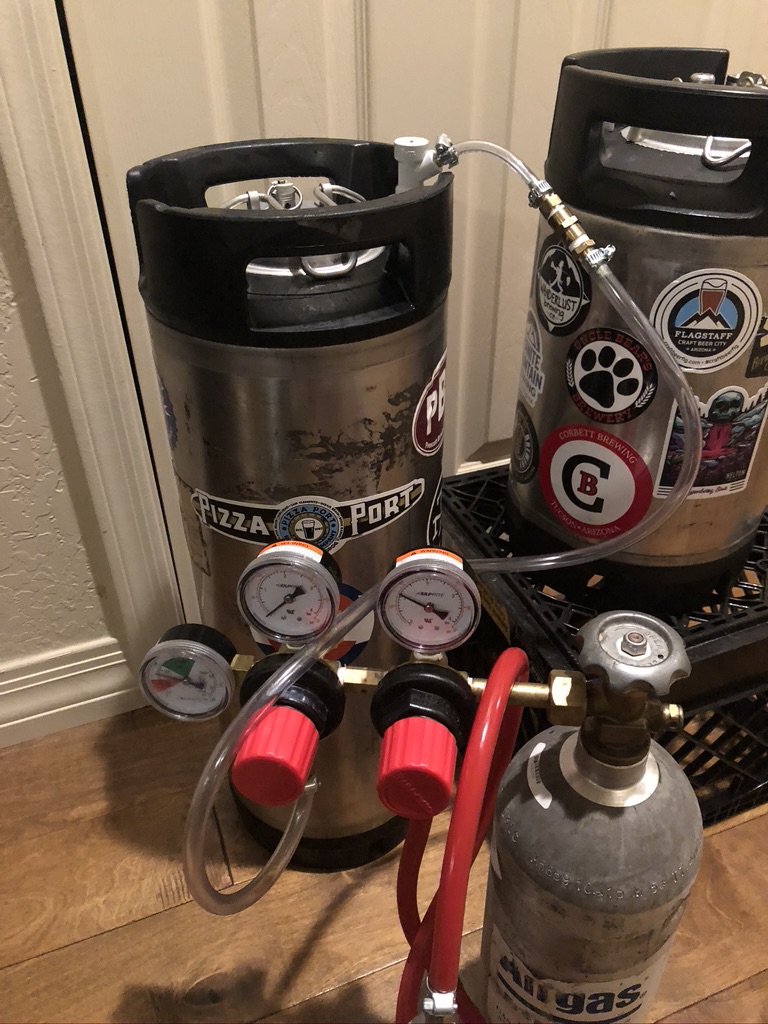
Connect the gas from the CO2 regulator to the fermenting keg’s gas-side terminal, this is the terminal that the dip tube is not connected to. You will want to keep pressure at a low setting (5-8 PSI works well). Then connect, the two liquid-side terminals using the connector that you made earlier. You will be essentially connecting both dip tubes so that the beer slowly travels up the fermenting keg dip tube, through the tubing, and down through the serving keg’s dip tube.
Once the liquid side connectors are in place, you should see beer flowing through the tubing. It may feel like you are home free at this point; however, it is important to remember that since the two kegs are essentially connected at this point, the pressure will soon equilibrate.
To overcome this equilibrium of pressures, you will simply need to periodically pull the valve on the serving keg lid to decrease the pressure in the serving keg. This will allow more beer to continue to flow into the serving keg.
Other than this small action, this method is very hands-off.
Once you start to see foam coming into the tubing, it is time to stop the transfer. Simply detach the liquid side connectors to stop the transfer. If you have shortened the dip tube on the fermenting keg, this should ensure that yeast/hop trub does not enter into the serving keg.
Step Five: Place serving keg in kegerator/keezer and carbonate
Now that beer is fully transferred into serving keg, it is time to start the carbonation process. You can either burst carbonate the beer or let the beer carbonate slowly. I plan on writing an article on pros and cons of different methods of carbonation.
Place the serving keg back into your kegerator or keezer and let chill while carbonating. Remember that cold liquids hold CO2 better!
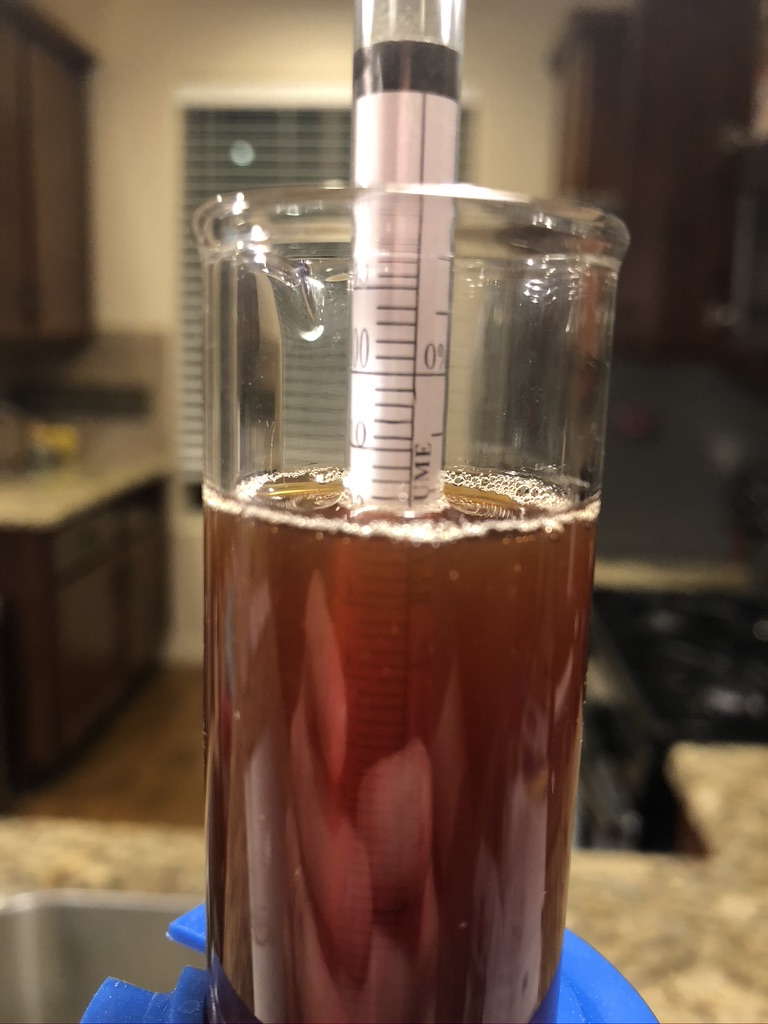
At this time, I recommend taking your final gravity of the beer through the serving tap.
Congratulations! You transferred a beer without exposing it to any oxygen. This should lead to more quality beer!
I hope you enjoyed this article. If you are interested in learning how to ferment in a corny keg, I will be writing an article on this very soon, so stay tuned!
If you are interested in learning how to bottle from your kegerator or keezer without the use of a BeerGun or Counter Pressure filler, please see my post here!
Finally, if there is anything you would like to see articles on in the future, please comment below!
As always, I appreciate you stopping by!