Have you ever wanted to learn how to ferment in a keg? Fermenting in a corny (Cornelius) keg can be a very low cost and effective option! Stainless fermenters can get very expensive these days. Given how a corny keg is set up, it can make transferring the beer after fermentation extremely simple!
If you are interested in seeing my method for a no-oxygen transfer from keg-to-keg, please my post here.
Step One: Clean keg and replace seals
The first step in fermenting in a keg, especially if you bought one used, is to fully clean and sanitize the keg. For my full write-up on how to properly clean a keg, please click here.
If you bought the keg used, I would highly recommend replacing all the o-rings. You can get these kits inexpensively and it will save you frustration down the road!
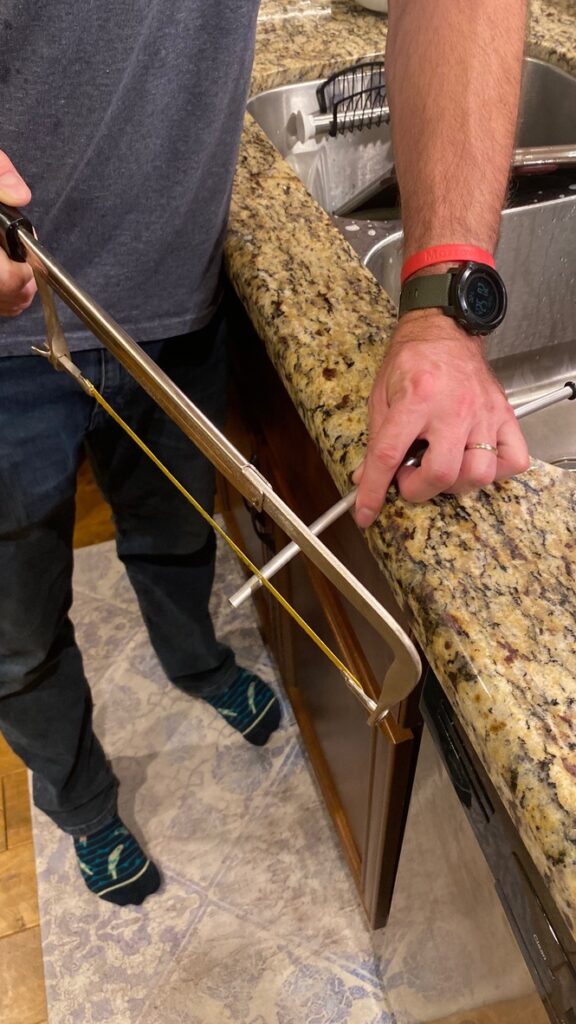
Step Two: Shorten diptube
Shortening the diptube on the fermenting keg will allow you to rack/transfer the beer after fermentation without picking up any yeast that has settled to the bottom of the keg.
Simply, remove the diptube from the liquid-side terminal. Then take a hack saw and cut 1-2 inches off of the end of the dip tube.
It is important to file down the now sharp edges of the diptube with a file to make sure you do not cut yourself in the future.
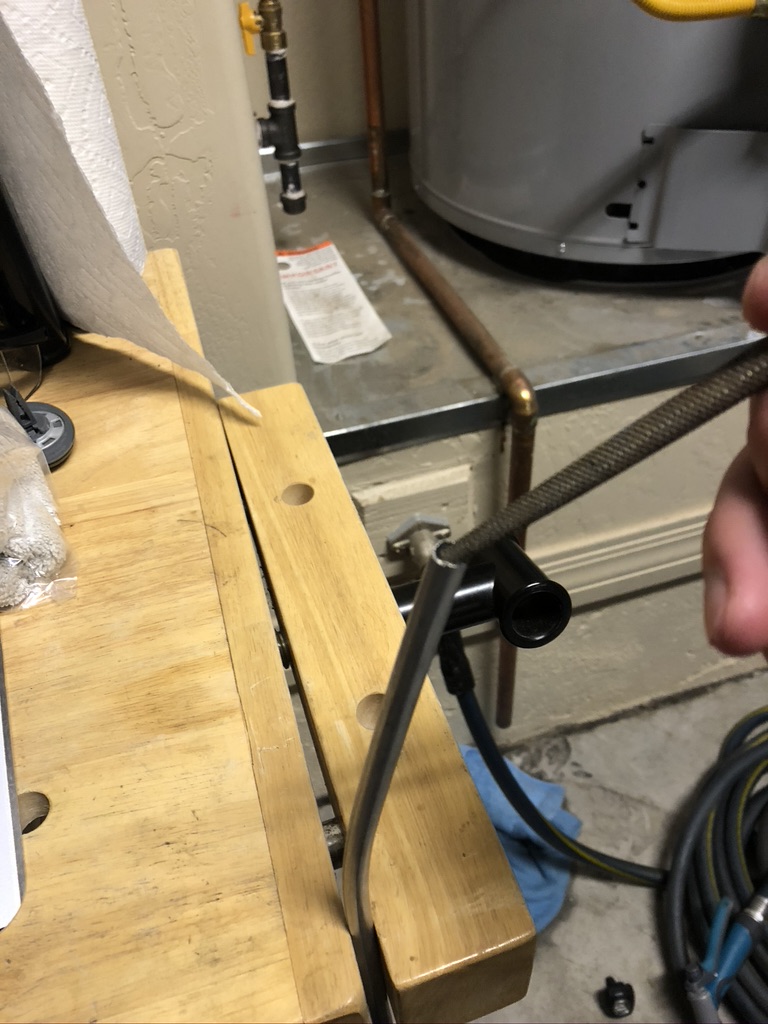
I would recommend cleaning and sanitizing the diptube again to make sure you do not get any metal shavings in your beer!
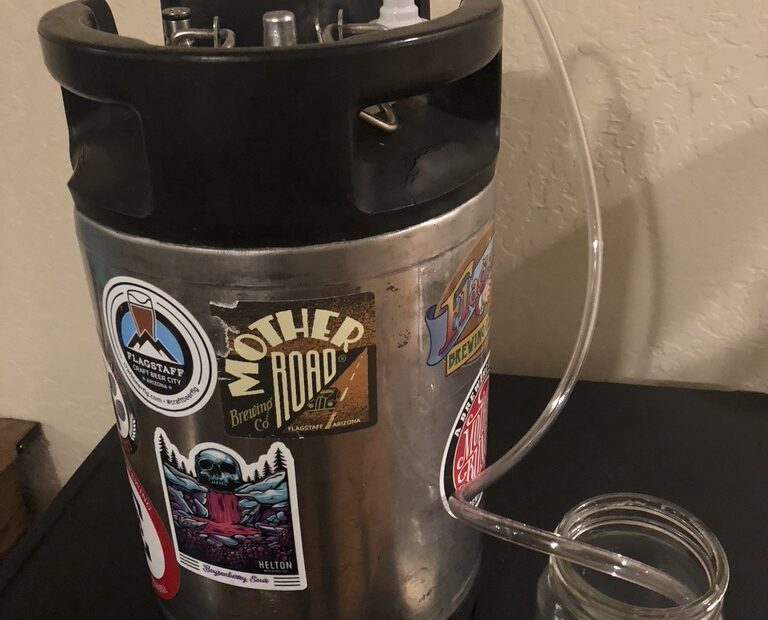
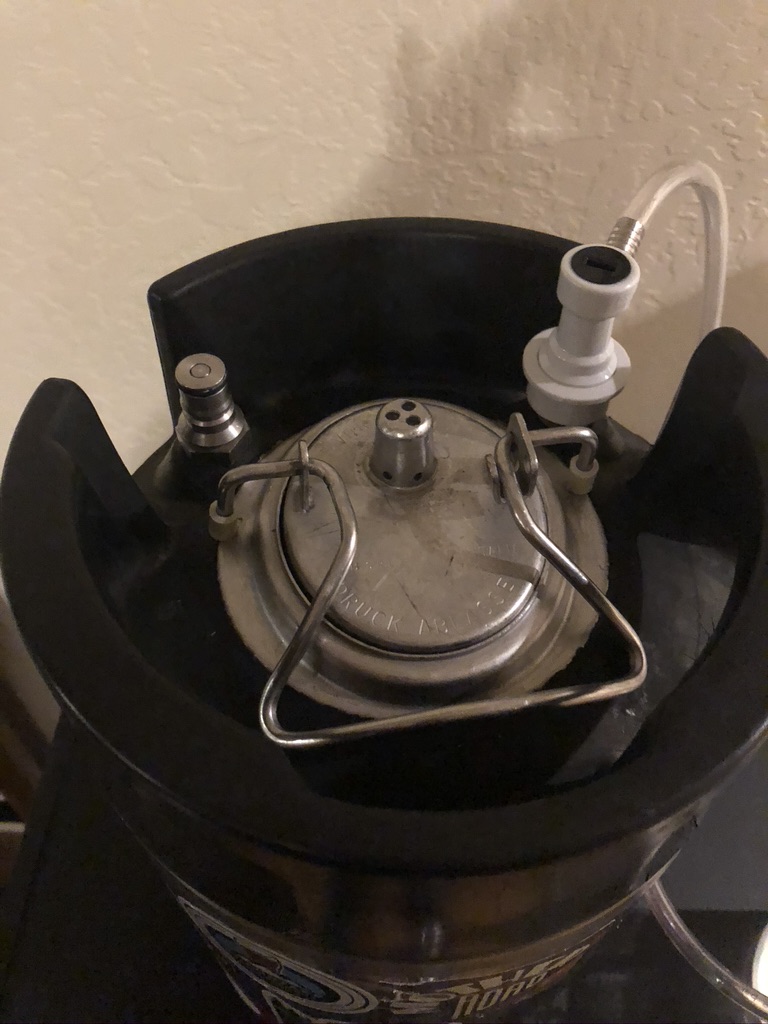
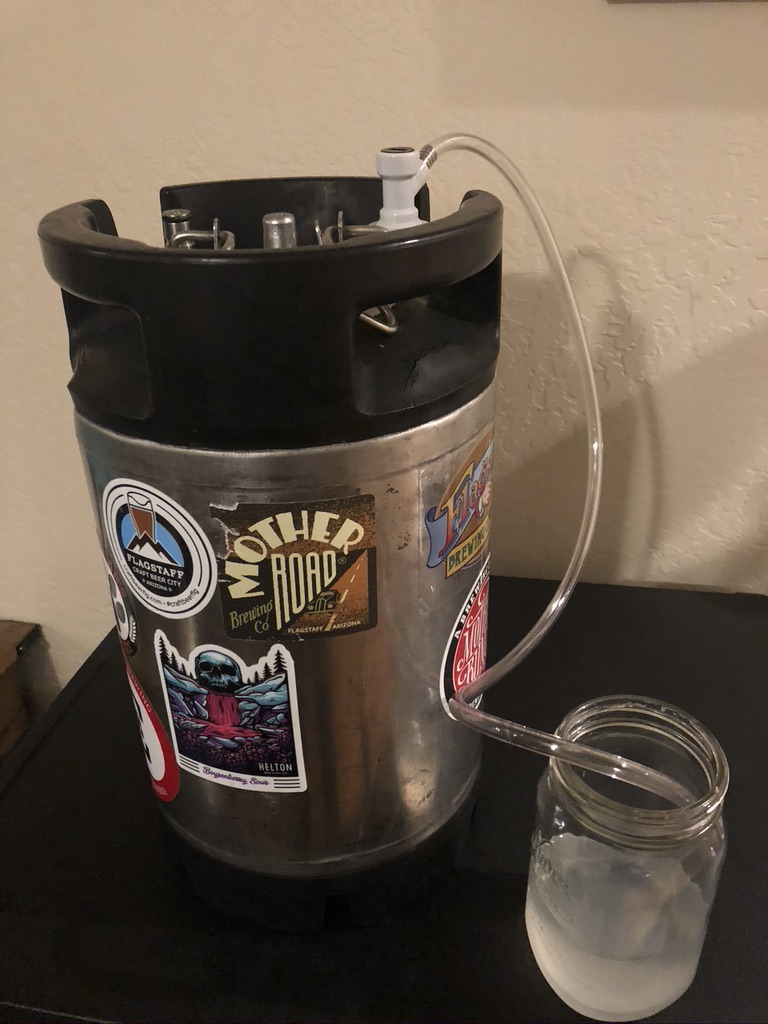
Step Three: Set up blow off tube
To set up a blow-off system, you will need to buy a gas-side terminal quick disconnect. You will then attach a small amount of silicone tubing to this terminal and lead the other end in a mason jar or similar vessel full of sanitized water.
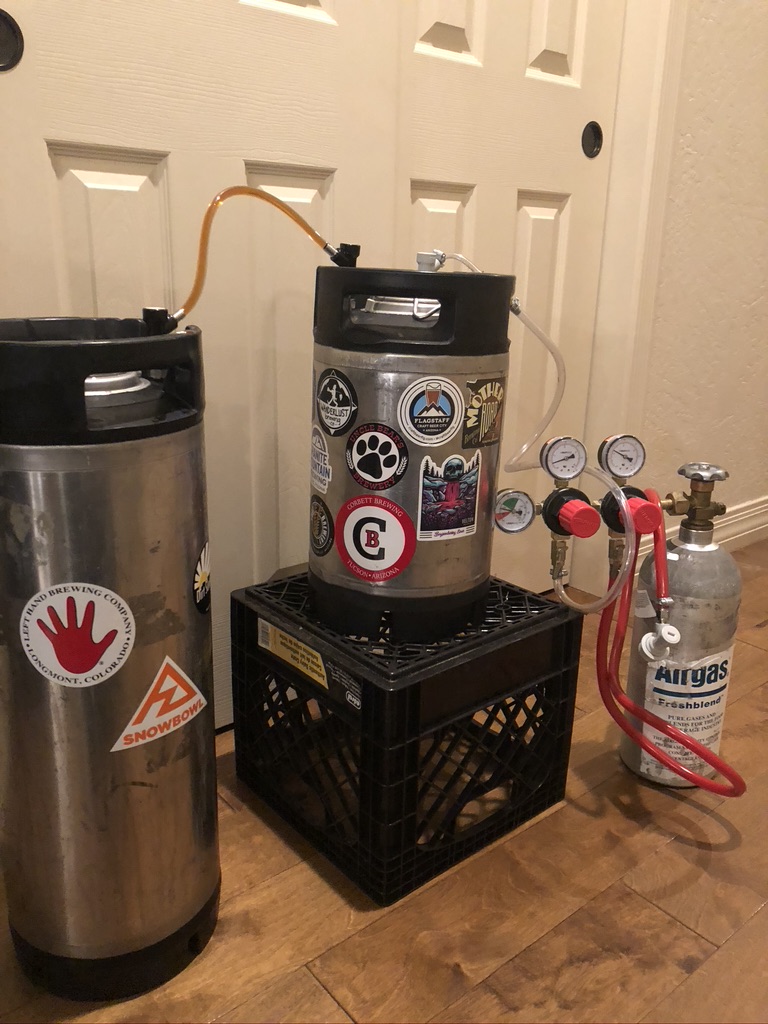
Fermenting Under Pressure?
Yes, one potential benefit of fermenting in a keg is the ability to ferment under pressure. There are many benefits to doing this especially when fermenting lagers. However, it is worth noting that there are some downsides to doing this at too high of a pressure when fermenting with ale strains. If you would like to learn more, please follow this link.
Fermenting under pressure in a keg can be accomplished by using a spunding valve. A spunding valve basically allows you to set up the fermentation at a certain pressure, when this pressure is exceeded, the valve will release CO2 into the atmosphere. These valves can be obtained fairly inexpensively or built DIY style!
Tips:
With any style of fermentation, krausen can become a problem. Specifically when fermenting in a keg, krausen can clog the small valve parts in the terminals.
To mitigate this, I always use FermCap-S. I started using this to significantly reduce boilovers on brew day, but it works wonders during fermentation as well. Another mitigating factor is to not fill the beer to the top of the fermentor. The keg that I use holds a total of 3 gallons, if I am fermenting 2.5 gallons or less, there are no issues.
Another important benefit to fermenting in a keg is the ease of transferring the beer post-fermentation. I wrote an article specifically on this method, which can be found here. This method completely avoids any exposure to oxygen, which is a great enemy to beer post-fermentation!
Thank you for stopping by! I hope you enjoyed this article!
If you are interested in more how-to articles, please follow this link.