If you’ve been brewing for any period of time, or even just looking into getting started, you’ve probably realized that a large part of the brewing hobby is cleaning!
In this article, I’ll walk you through my preferred method of cleaning a corny keg (Cornelius homebrew keg). I will be cleaning a 2.5-3 gallon keg, but this will apply to the classic 5 gallon size as well. Proper cleaning of your packaging equipment is very important as you’ve spent all this time crafting the perfect recipe, taking all the necessary steps in the brewing and fermentation process, you definitely don’t want a lack of cleanliness affecting your finished product!
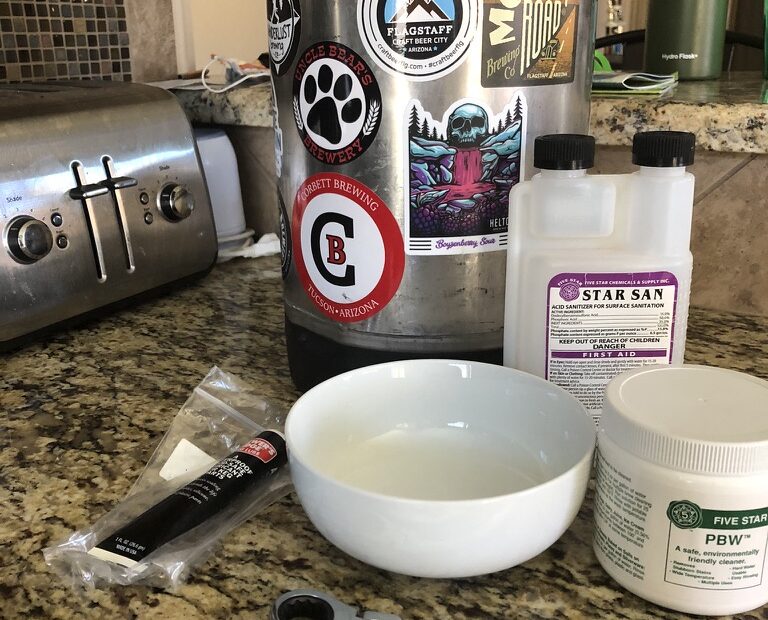
Supplies needed for my preferred procedure to clean a corny keg include: a corny keg, wrenches to fit the fittings on the top of the keg, a bowl, keg lube, clean-in-place agent (such as PBW), and your favorite sanitizer (such as Star-San).
Step One: Fill corny keg with hot water
Let’s get started. The first step to clean a corny keg is to take the lid off of your keg and fill with hot water. For PBW (my preferred clean-in-place agent), it is recommended that this water be between 100-160F. I prefer to use the hot water from my sink as it will be very convenient to rinse with the exact same temperature water later on.
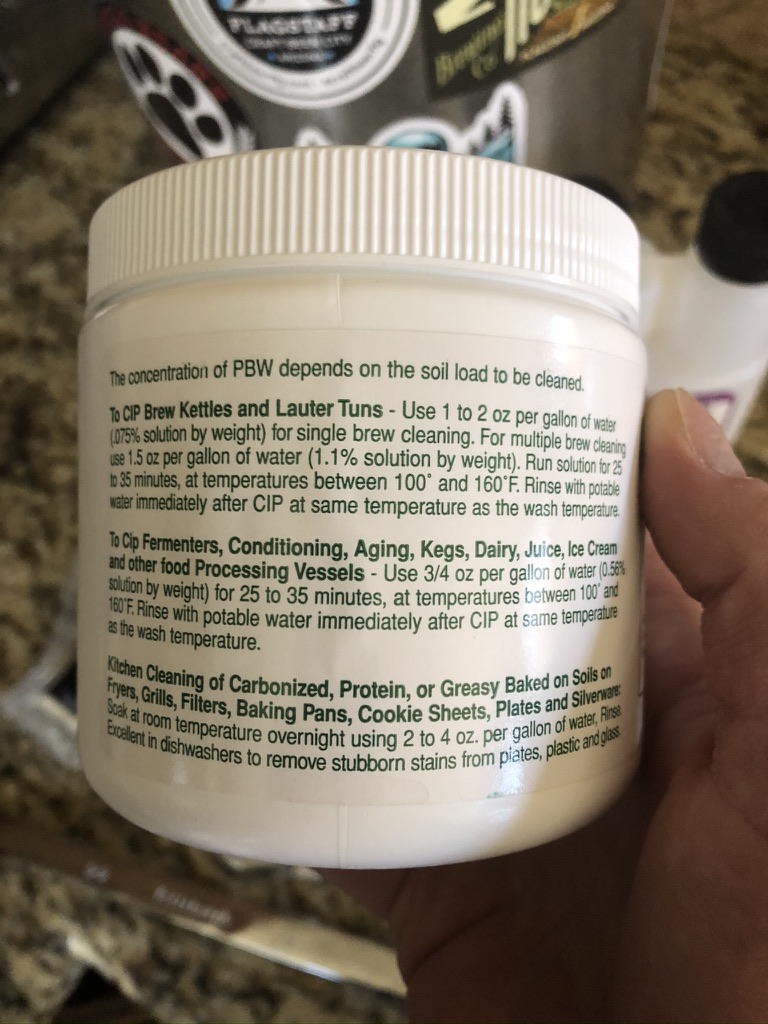
PBW dosage rates and temperature recommendations 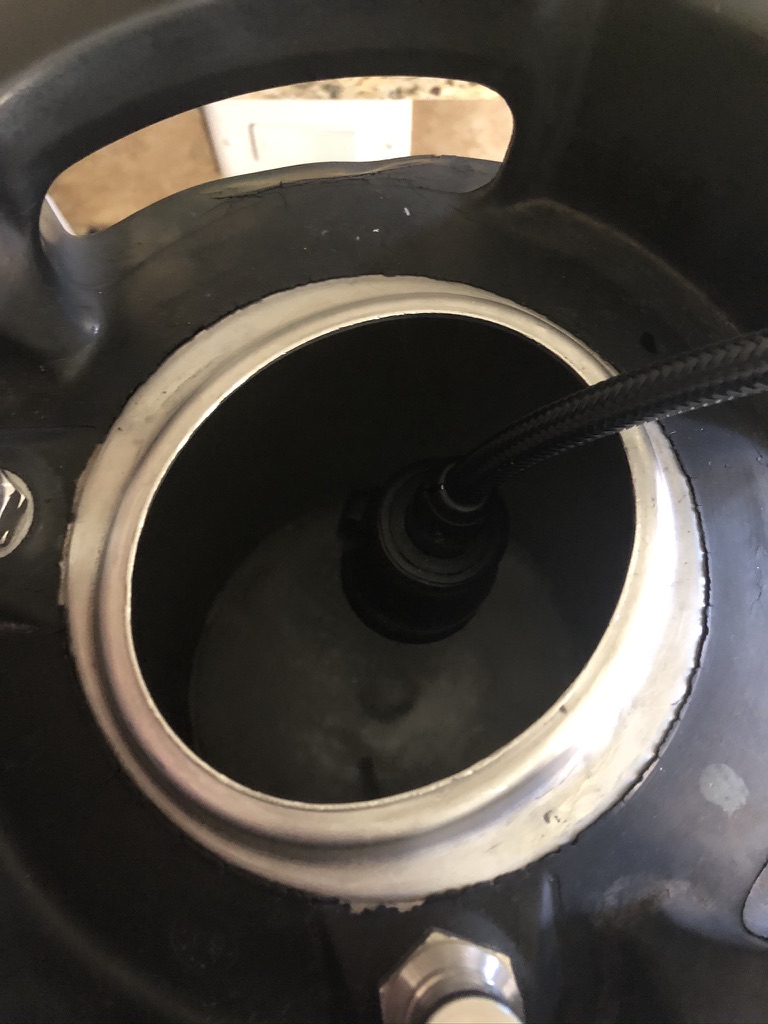
Adding 3 gallons of hot water to keg
Step Two: Add PBW or other clean-in-place agent
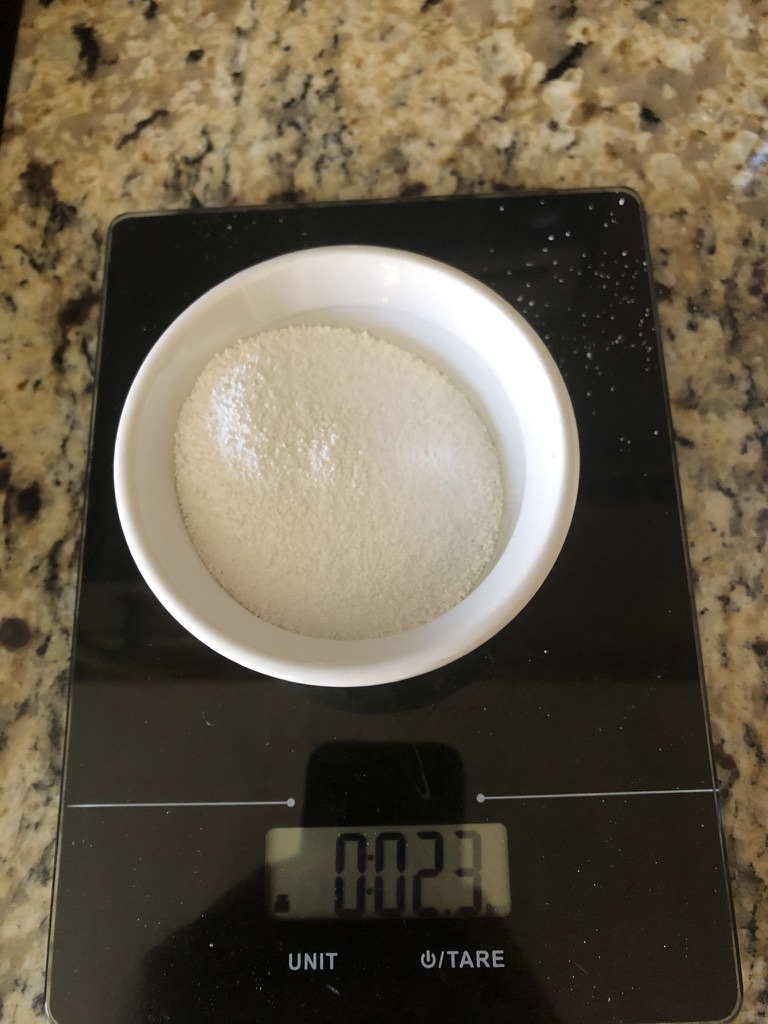
Next, weigh out the PBW powder to be used for the clean-in-place step. For kegs, PBW calls for 3/4oz PBW per gallon of water. As my keg holds just about 3 gallons, I will be weighing out 2.25oz of PBW (0.75 x 3=2.25).
Add the PBW powder to the hot water, seal up the lid, and shake to mix. Next, set a timer for 30 minutes and let the PBW solution make the magic happen!
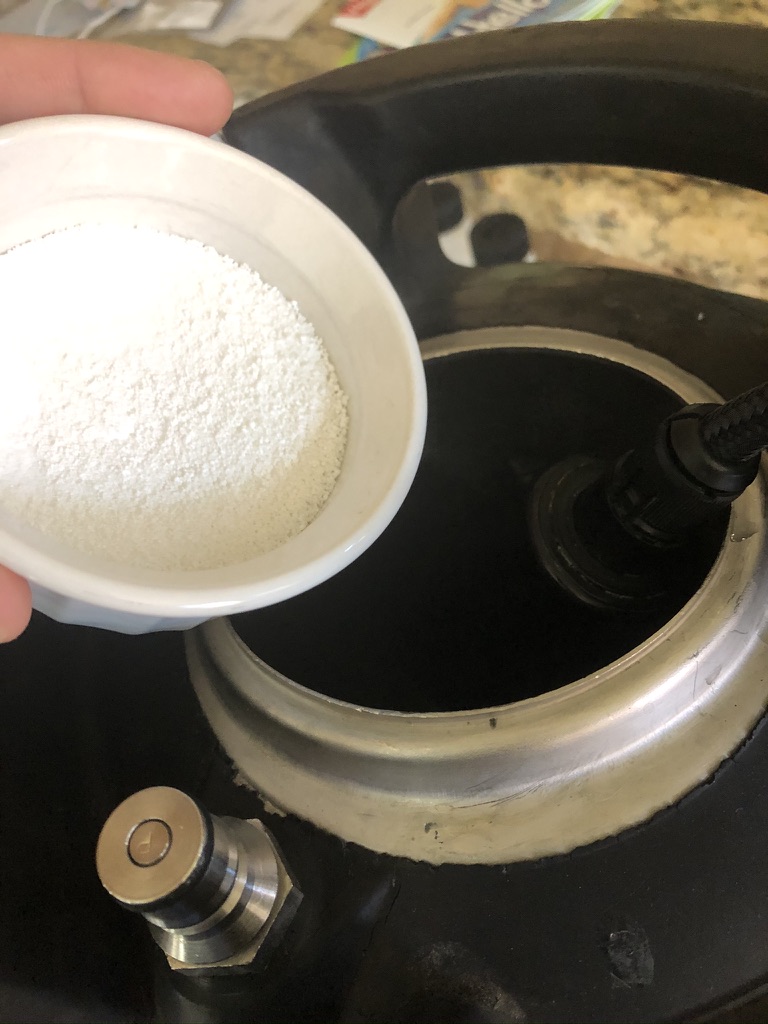
Adding PBW to homebrew keg 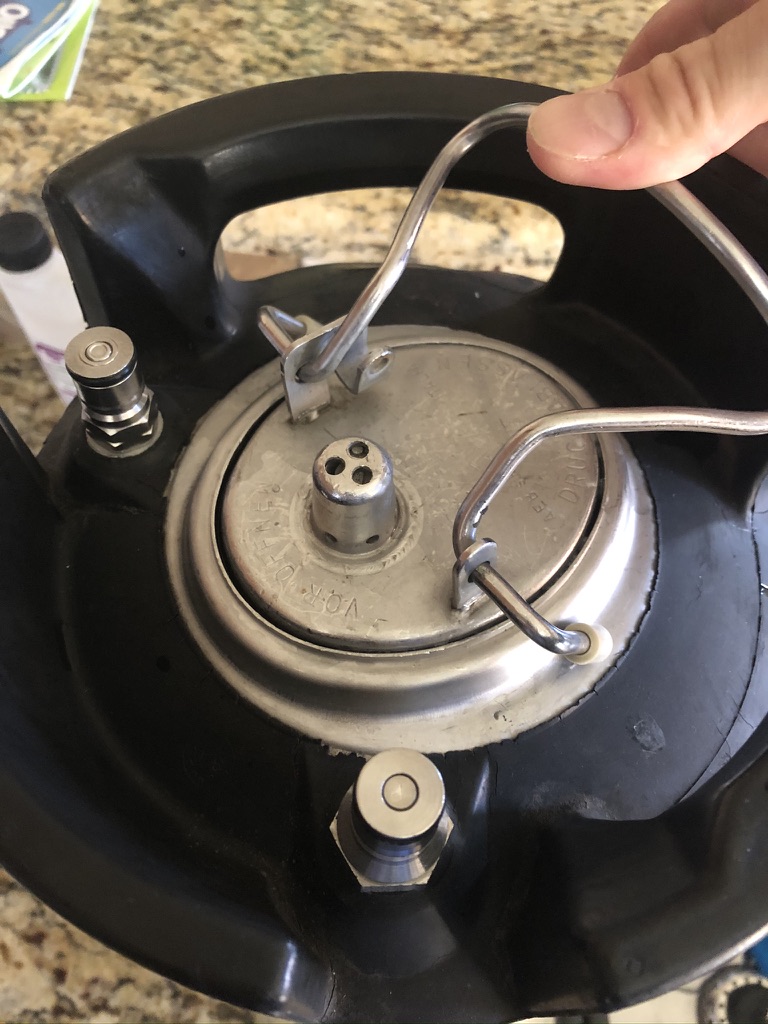
Sealing up keg
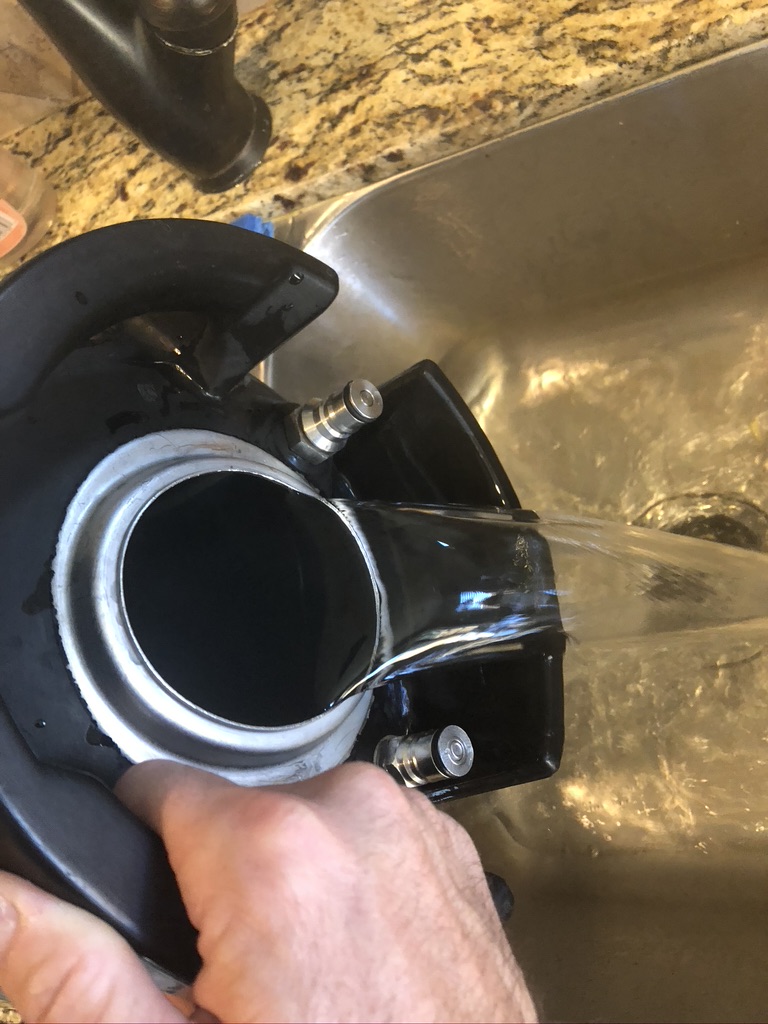
Step Three: Drain PBW and rinse corny keg
After 30 minutes have passed, carefully drain the hot PBW solution. Then, rinse throughly with hot water. I like to spray the keg out with hot water first and then fill the keg up completely with water a couple times to insure that the PBW is fully rinsed.
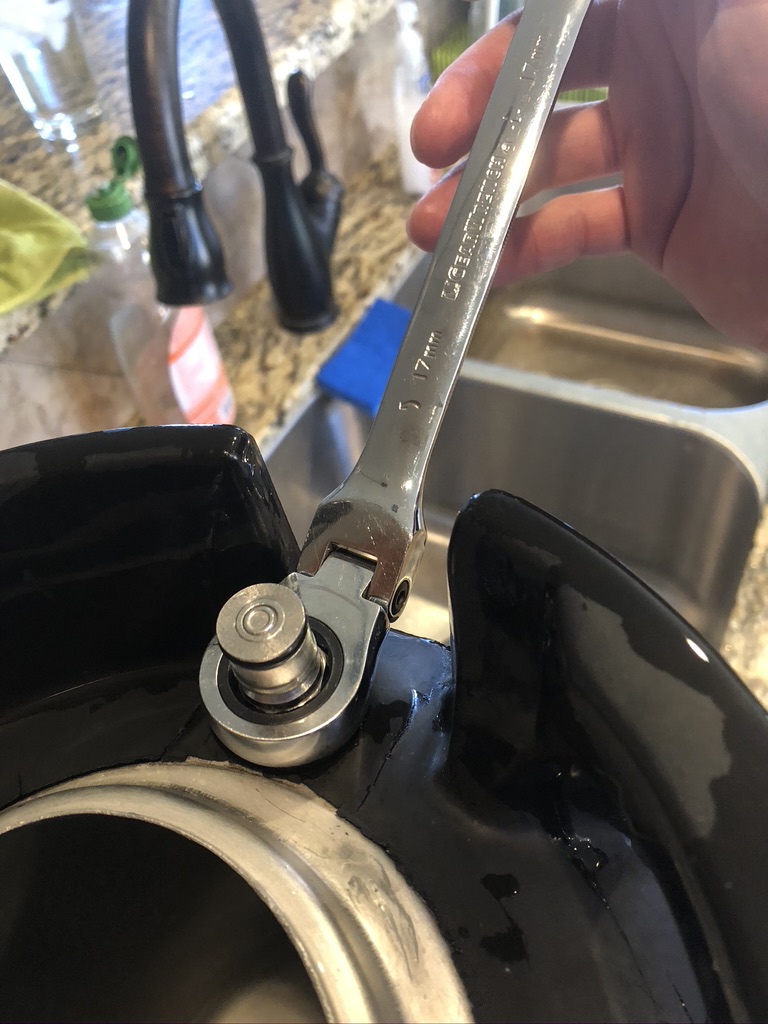
Step Four: Disassemble keg terminals
The next step to clean a corny keg will be to take apart both terminals. One terminal is the gas-side, this is the terminal that does not have the dip tube attached. The other side is the liquid-side, this has the dip tube attached to it. Use the correct size of wrench or socket to remove the terminals. This particular keg has one terminal sized 17mm and the other is 22mm, often the terminals will be the same size. Be careful when taking the terminals apart as there are small spring-loaded pieces that can easily be dropped.
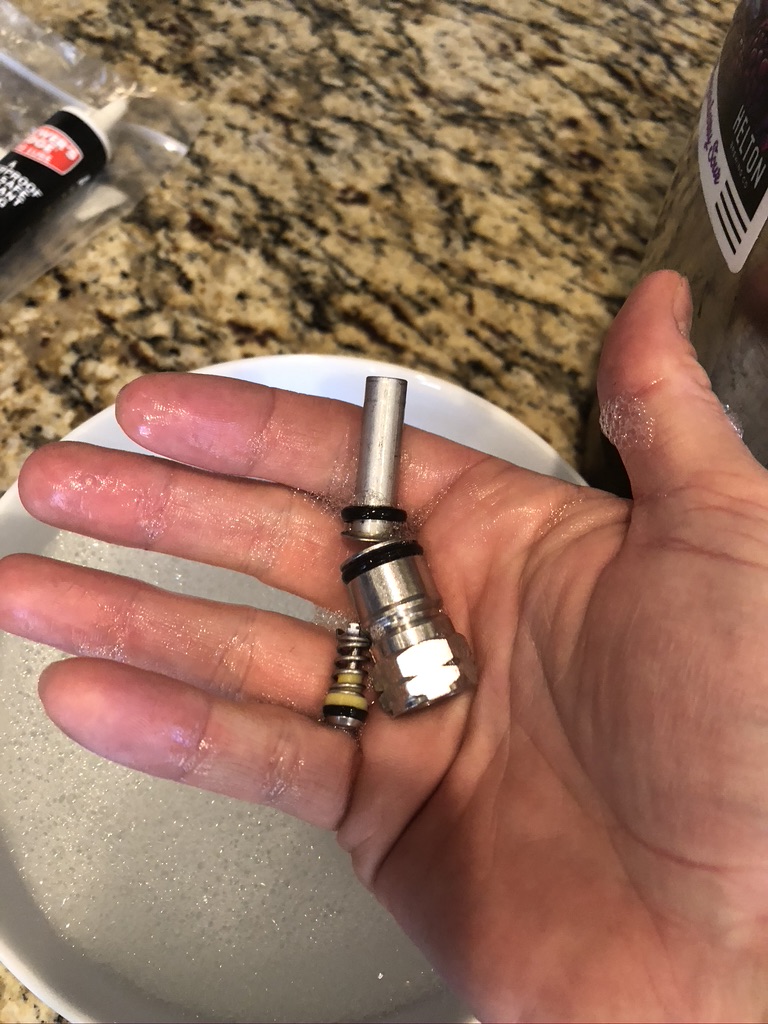
Step Five: Clean the terminal parts
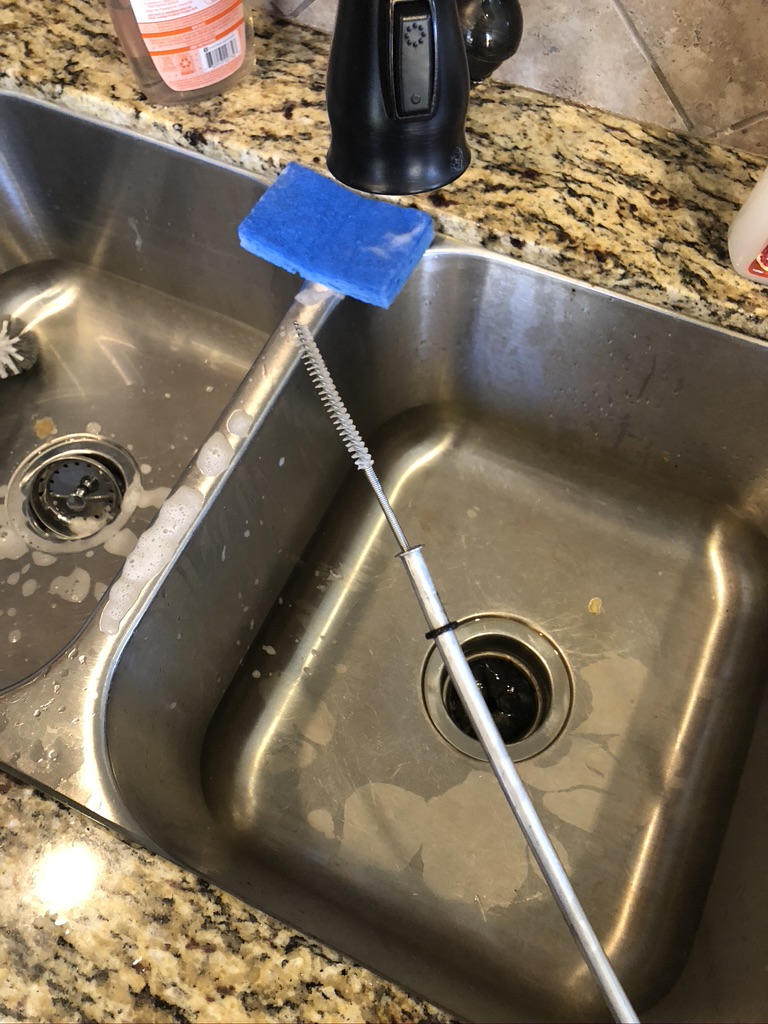
Once the terminals are disassembled, clean all the small parts carefully. I like to use a sponge to clean the parts with soap and water, once rinsed, I place them in a bowl full of sanitizer solution. A small hose cleaner (similar to one used to clean reusable straws or camelback hoses) can be very helpful in cleaning these parts, especially the dip tube.
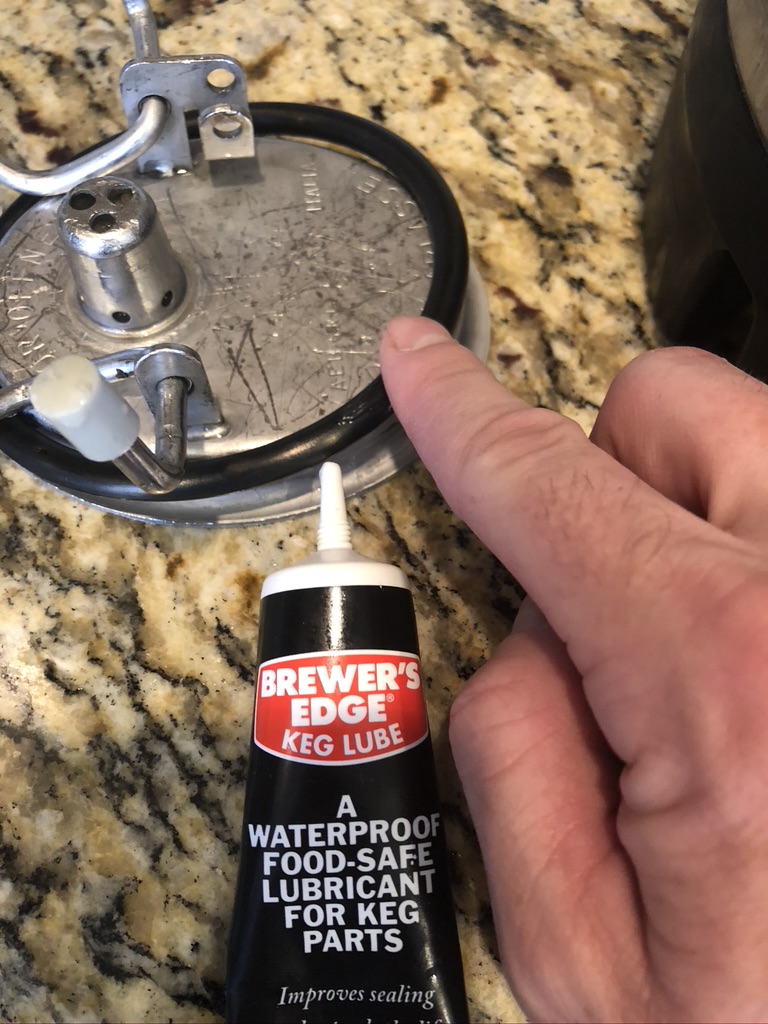
Step Six: Lube the parts!
Now that all the small parts are sufficiently cleaned and soaked in sanitizer solution, it is time to lube all of the parts. It is important to use a food-safe lubricant, such as this Brewer’s Edge Keg Lube. The reason for the lube is to make sure all the fittings do not leak.
Place this lube on all rubber O-rings, including the large O-ring on the keg lid.
Step Seven: Assemble the corny keg
Gather the correct terminal parts for each terminal and assemble the corny keg. Be careful with the small spring loaded valve parts as they like to fall out during assembly. Tighten the terminals with the correct size wrench.
Once everything feels tight, I recommend filling the keg once last time about halfway with a sanitizer solution. Shake the keg to ensure that the sanitizer solution has reached all areas of the inside of the keg.
Step Eight: Add beer or store the keg
If you have a beer ready to be packaged, I would recommend draining the keg of sanitizer solution and kegging right away.
If not, you can either leave the sanitizer solution in the keg or drain it. I prefer to pressurize the keg slightly once cleaned and sanitized, but I do not have any hard evidence as to why we should be doing this.
Cleaning is unfortunately a large process of the brewing process, but with the right tools and processes, this job can be fairly painless!
If you enjoyed this article, please see this article on how to ferment in a keg or this article on how to transfer beer from keg to keg without exposing the beer to oxygen!
Thank you so much for stopping by!