Cleaning and reusing bottles from commercial/craft breweries as well as from other homebrewers is not only the frugal and inexpensive option but also the sustainable option! In this article, I will discuss how to remove labels from used beer bottles to use them for your own homebrew!
Buying new bottles can get expensive, and is totally unnecessary in my opinion! Once your friends and family know that you will be needing bottles in the future, they will likely be more than willing to help you out by providing bottles!
However, there are some important considerations to keep in mind when recycling bottles.
1. Cleanliness of the bottles
This is the first and most important consideration in my opinion. The last thing you want is to put in the time and effort to brew a quality batch of beer, only to package it in a dirty bottle, and potentially ruin it.
Un-rinsed bottles can lead to mold formation in the bottom of the bottle. Generally, this is apparent by looking through the glass into direct light.
Bottles are not extremely hard to obtain, so if I have suspicion about mold development, I won’t put much effort into that particular bottle.
2. Difficulty of getting labels off
Not all label adhesives are equal. There are some companies (Stone is one that comes to mind) that use a plastic-type label with a very strong adhesive. Unless you are very desperate for more bottles at this time, I would not even mess with trying to remove these types of labels.
There are many other companies that use a paper type label with a much more easily-removable adhesive (think Sierra Nevada) that make this process much more efficient.
Examples of companies that have easy to remove labels: New Belgium, Firestone Walker, Samuel Smith, Ayinger, Sierra Nevada, Deschutes
Labels that are generally not worth removing: Stone
*I plan on keeping the above list updated
Having said this, you don’t absolutely have to remove the labels to bottle your beer in these bottles. I personally prefer to do so as I like to add my own labels later.
3. Style of bottle
You will be capping your bottles with crown caps. These are not compatible with twist-top or corked bottles. There are also some bottles (think Belgian-styles) that have a wider diameter opening. The standard diameter for crown caps is 26mm, but some bottles use a 29mm cap. This will require different bottle caps as well as a different capper size. Keep this in mind when selecting bottles to use for homebrewing.
Removing the Labels
Step One: Put bottles in OxiClean solution
I have found that the easiest first step in removing bottle labels is to let the bottles soak in a solution of OxiClean. OxiClean is an oxygen-based cleaner that does not contain chlorine like bleach does. This product works well to break down the adhesive on the labels as well as any leftover proteins within the bottle itself. I generally leave the bottles in this solution for a couple hours to a full day.
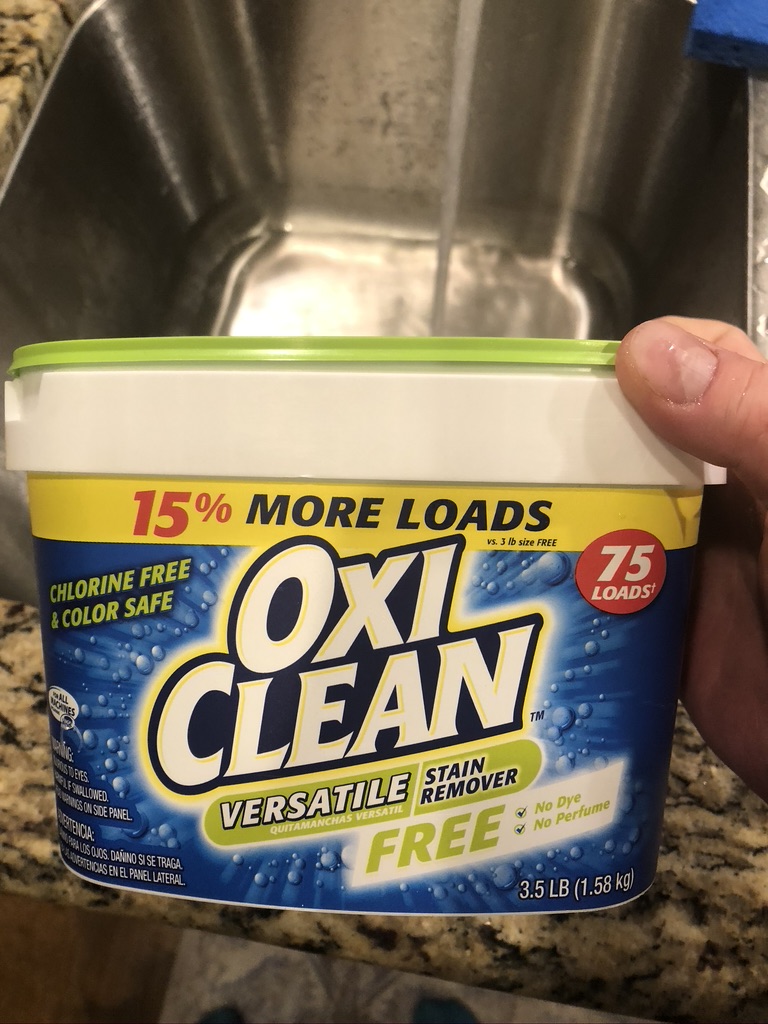
OxiClean Powder 
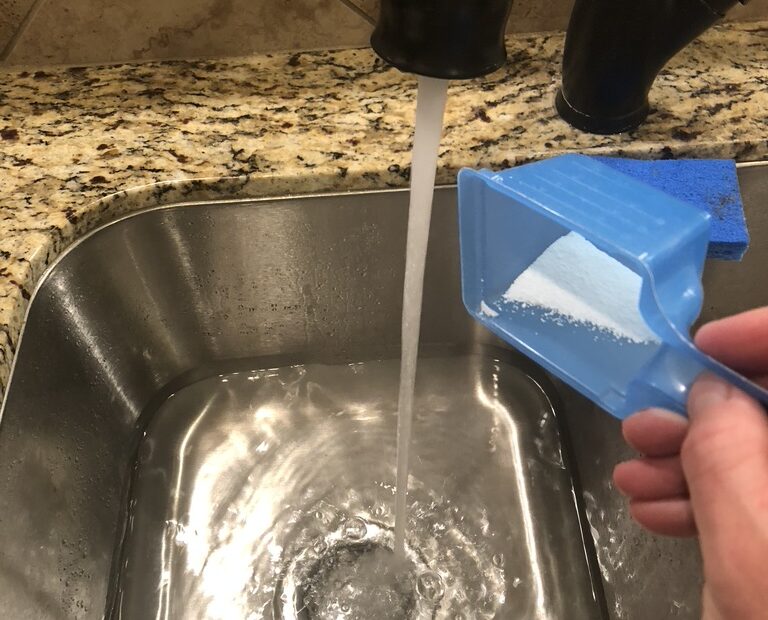
Setting up OxiClean Bath
Step Two: Clean the bottles
After the bottles have had time to soak in the OxiClean solution, it is time to clean them. Remove the bottles from the bath and drain the OxiClean from the bottle. Clean both the inside and outside of the bottles with soap and water.
There may be some leftover adhesive on the outside of the bottles. This can generally be taken care of quickly with the rough side of a sponge. If the adhesive is still very stubborn, you can choose to move on from that particular bottle or put some additional elbow grease into it.
I have found that using a butter knife can assist in scraping off stubborn adhesive after the OxiClean soak. I have also had good success with GooGone in a couple instances, but I would not suggest regular use of this.
Once bottles are completely clean, always make sure to sanitize them before putting your beer inside!
Prior to sanitizing, you may notice that there is a white powdery residue either on the outside or inside of the bottle. If you use an acid-based sanitizer, such as Star-San, this will take care of the residue immediately.
If you enjoyed this article and are interested in learning more on how to bottle, please see my post here.